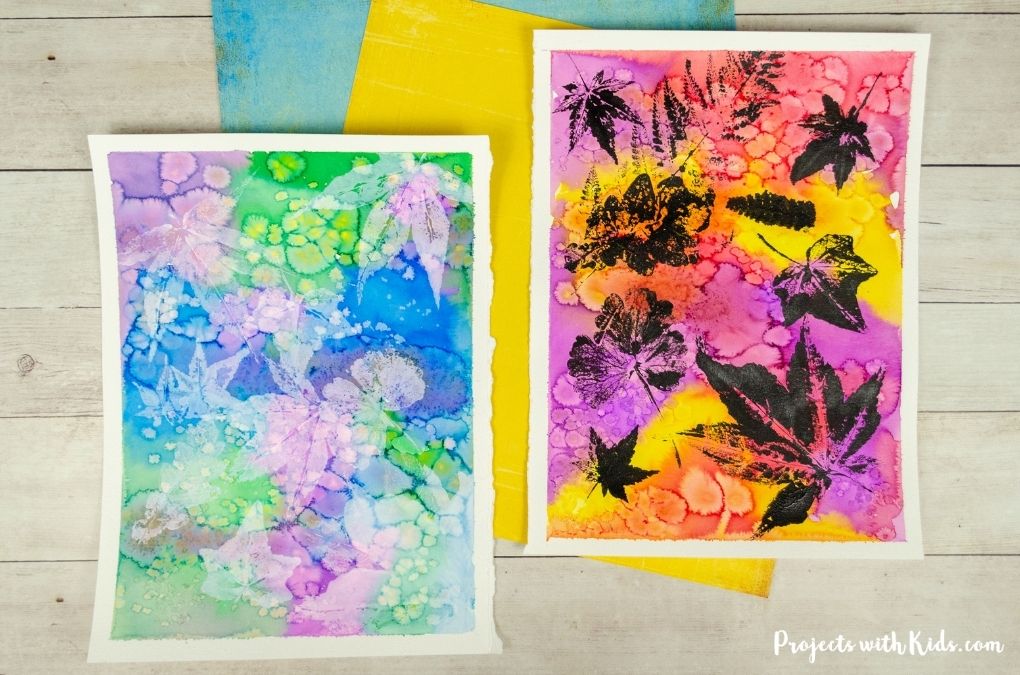
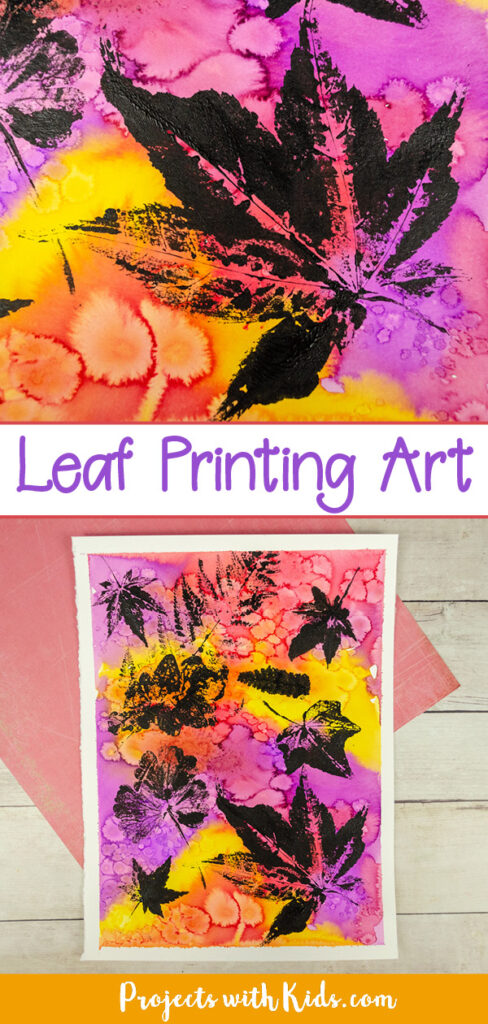
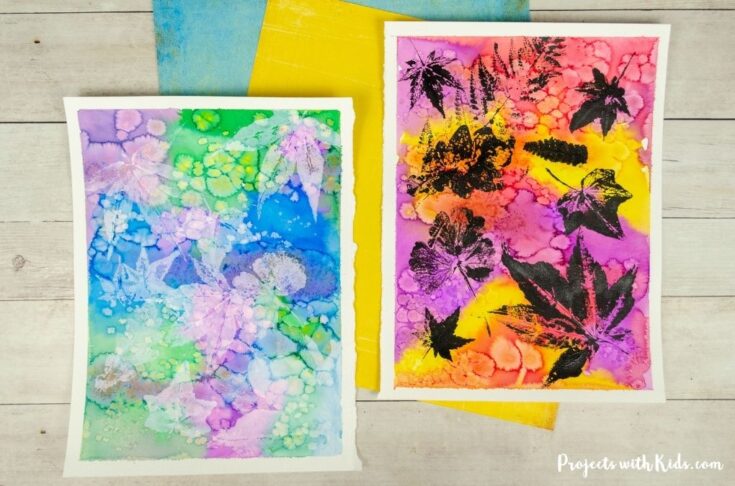
Create easy leaf printing art with watercolor paint and acrylics. First, paint a colorful background using simple watercolor techniques and then use black or white paint to print on your leaves. The result is colorful and dramatic and a fun twist on traditional leaf printing!
Kids will have fun collecting leaves and seeing the different patterns the leaves make on their painted background. Each painting will be unique!
There are so many fun watercolor techniques for kids to try! Take a look at my collection of watercolor painting for kids for more fun and creative ideas.
Using real leaves for art is always fun for kids! Take a look at these leaf printed rocks for another project idea.
If you are looking for more fall art projects take a look at my collection of creative fall painting ideas for kids! There are ideas for kids of all ages that use different types of art materials and techniques.
Create your own leaf printing art
This post contains affiliate links. As an Amazon Associate, I earn from qualifying purchases. If you would like more information please review my privacy & disclosure policy.
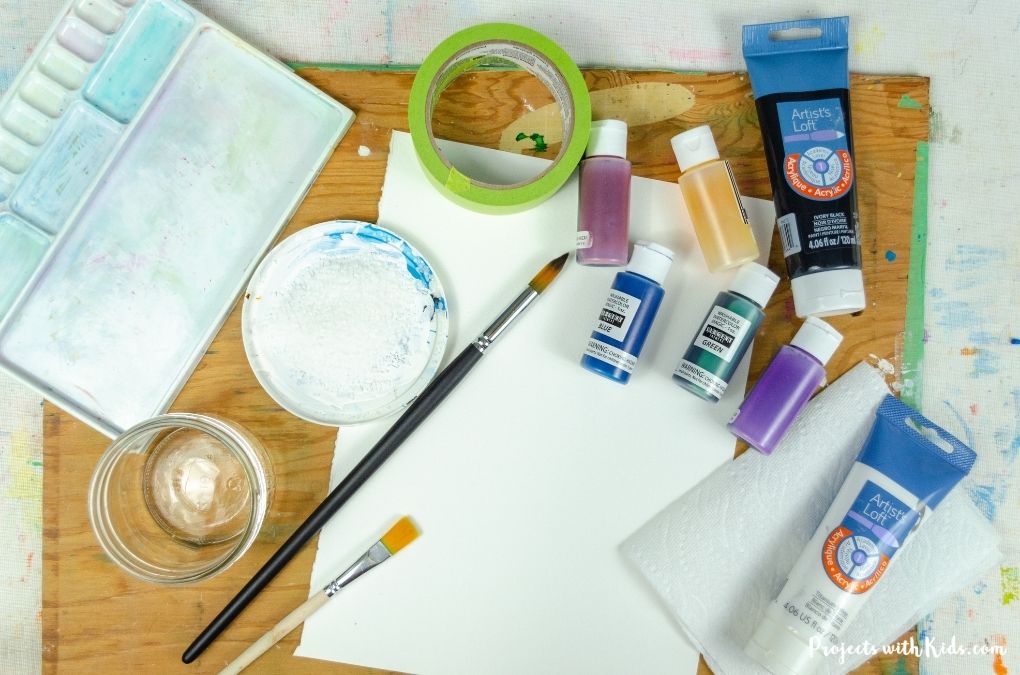
Supplies
- Watercolor paper
- Watercolor paint
- Paintbrushes
- Wooden board and painter’s tape (optional)
- Paint palette and water dish
- Collection of leaves
- Acrylic paint in black or white
- Coarse salt
- Paper towels and scrap paper
Instructions for your fall leaf art
1. If you are going to be doing this art project over two days, it’s best to save the leaf collecting to the second day when you will be using them. That way your leaves won’t dry out.
First, start by preparing your watercolor paper. Taping your paper down to a wooden board helps to keep it nice and flat as kids paint and as it dries. If you don’t have a wooden board, you can try taping it down to a table or you can skip this step.
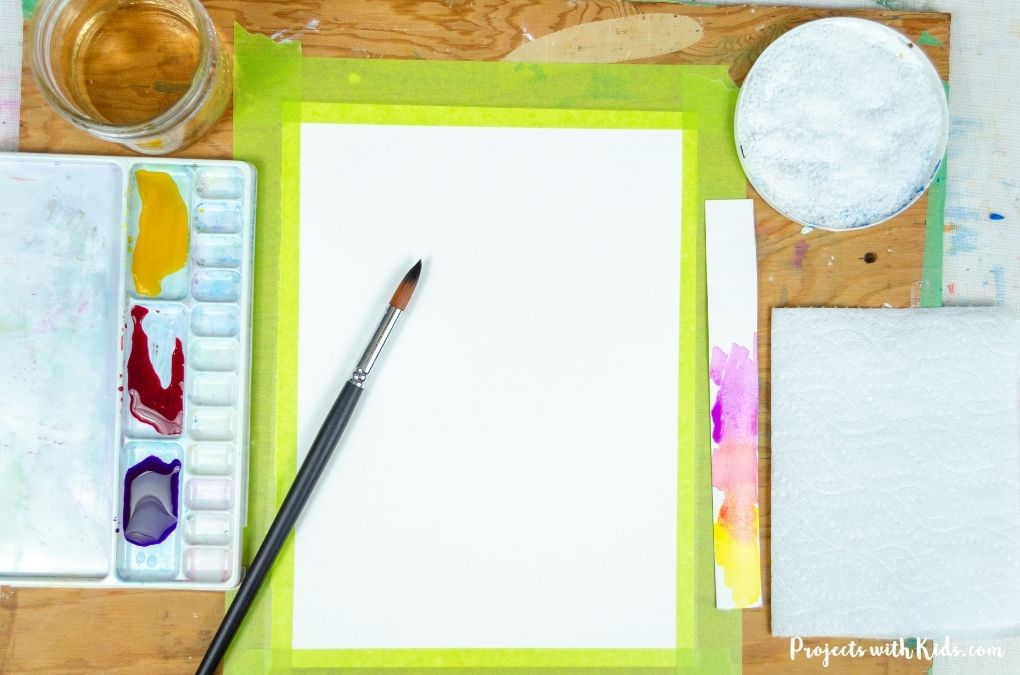
Have kids choose 2-3 colors that they want to use for the background. Watercolor paint will always dry lighter, so if you want nice bold colors, make sure to test them out first on scrap paper.
Paint the paper with clean water, you want your paper to be wet but not soaking.
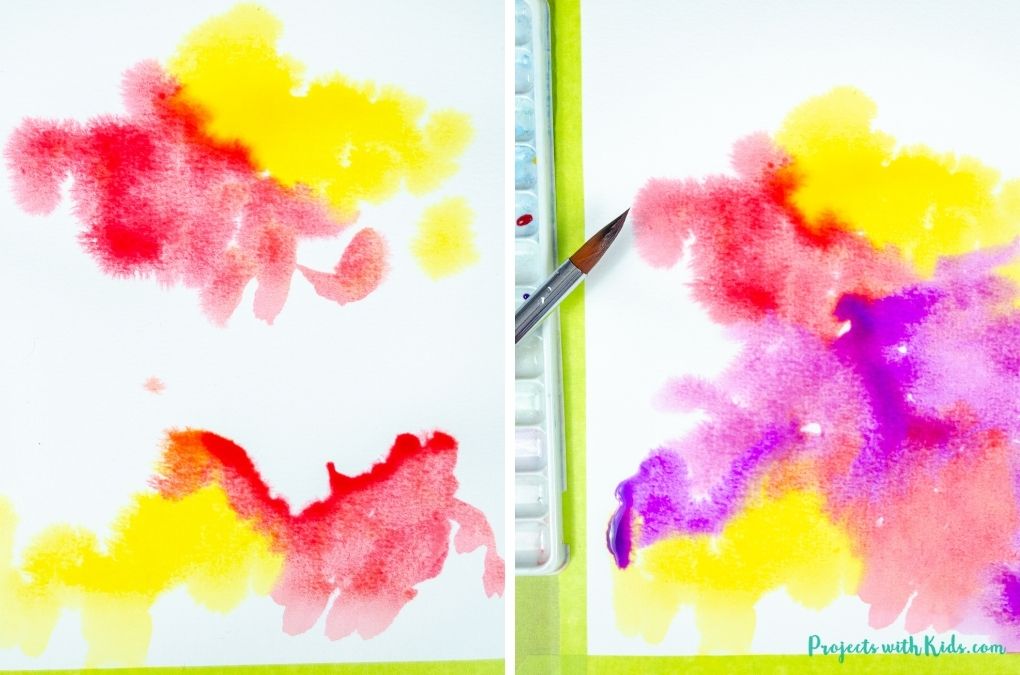
2. Start by painting one color at a time and dabbing it onto the paper while it’s still wet. To add in another color, make sure kids rinse their brush first. As the paint starts to mix together on its own it will create different shades and patterns. Continue painting until the entire paper is covered.
This is called a wet-on-wet technique. Take a look at these 5 easy watercolor techniques that kids can learn for more fun ideas!
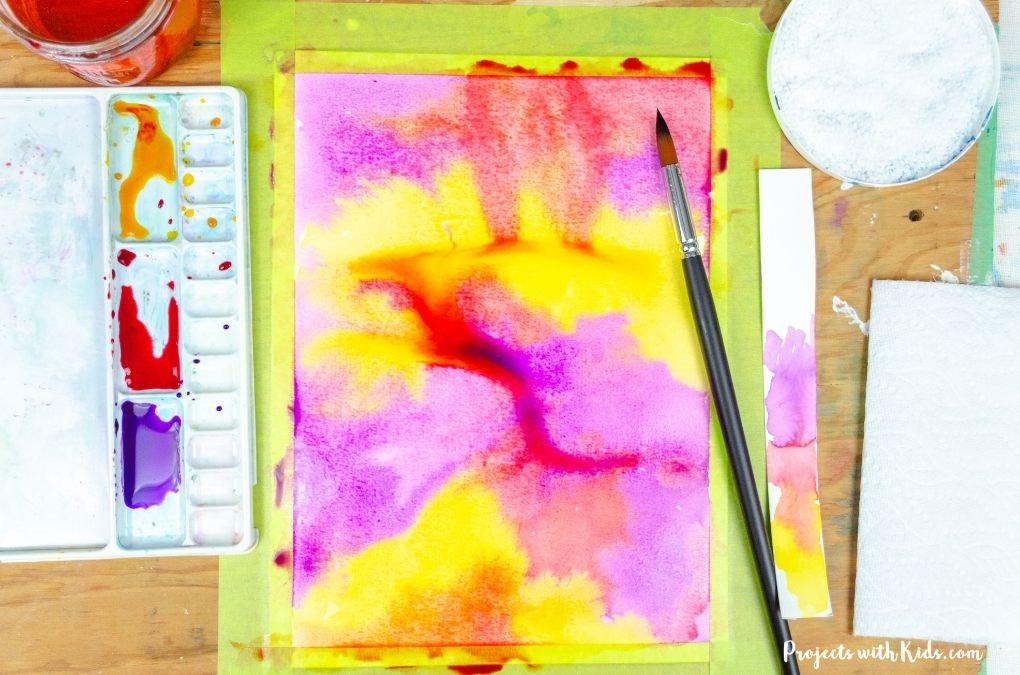
3. Once you are done painting the background, sprinkle on some coarse salt while the paper is still wet. Kids can sprinkle on as much or as little as they like. Adding in the salt will create even more patterns and different shades of colors as the paint dries.
Let the painting dry completely on a flat surface. Once the paper is completely dry, you can brush the salt off into the sink or garbage.
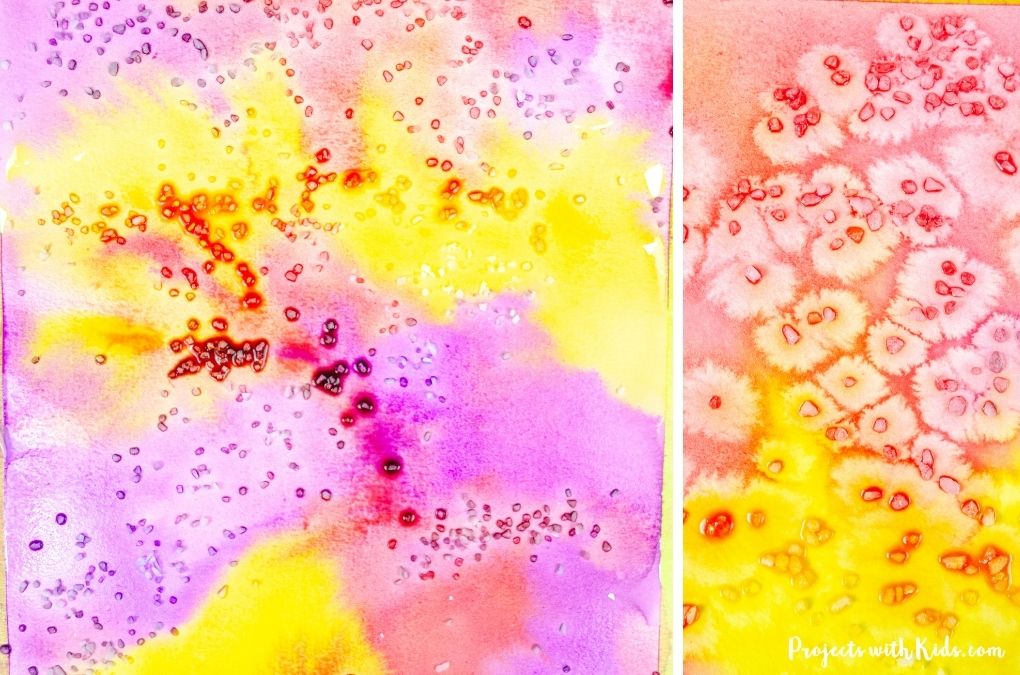
4. Take the leaves that you collected and have kids place them onto their painting to get a general idea of where they want to print them. This way, kids can play around with the placement of their leaves before they start to paint with them.
5. For this step, you will need some scrap paper and paper towels. Decide on white or black paint (or kids can choose another color) and put some paint in a palette. Using a flat brush here makes the leaves easier to paint.
If kids have not done any leaf prints before, or are unsure of the technique, doing a couple of practice leaf prints on another piece of paper is a great idea.
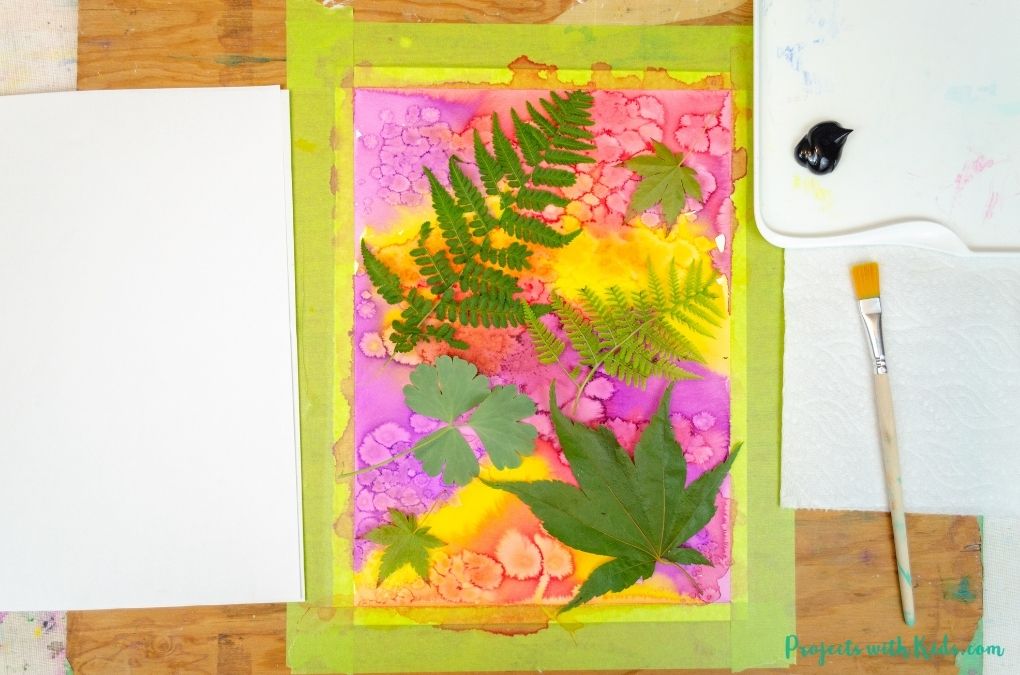
Take a leaf, place it on scrap paper and paint it with acrylic paint. Carefully place it onto your painting and put a clean piece of paper on top. Gently press down to create the leaf print. Rub the paper to make sure the entire leaf gets printed.
Take the paper off, and carefully lift off the leaf to reveal your print!
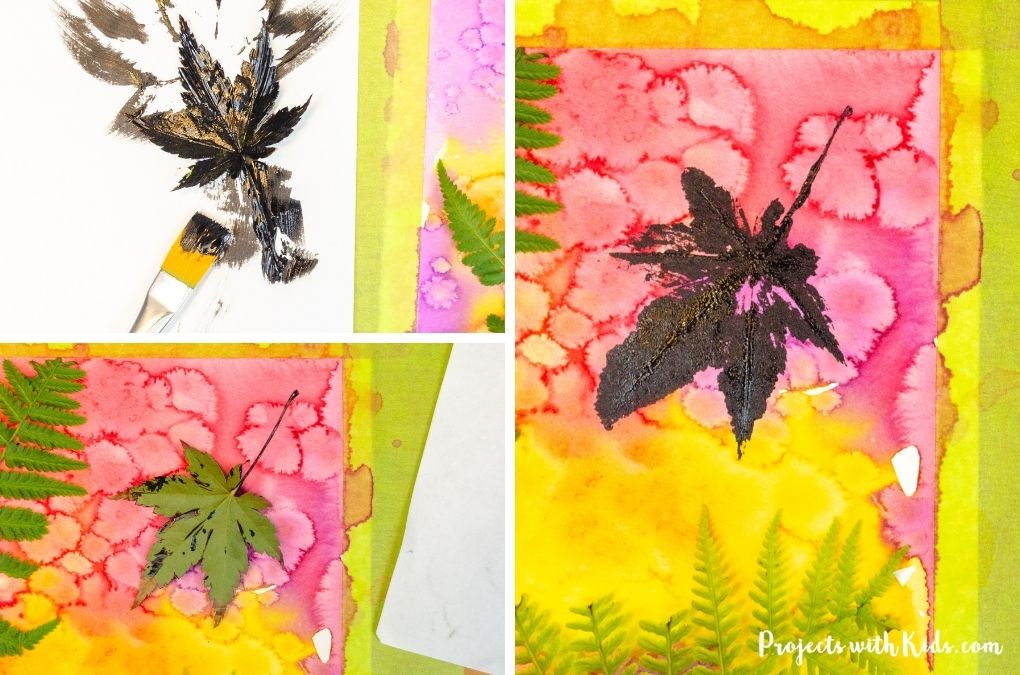
Some leaves will create better prints than others and some prints will turn out better than others, that’s the fun of leaf printing! Each leaf print will be totally unique.
If you use black paint, your leaf prints will be a lot more dramatic. If kids choose to use white paint the prints will be more subtle. Kids can also choose to print their leaves in a different color. Green or brown printed leaves would also look great!
Continue making leaf prints until you are happy with how it looks. Let it dry completely and then carefully take off the painter’s tape around the edges.
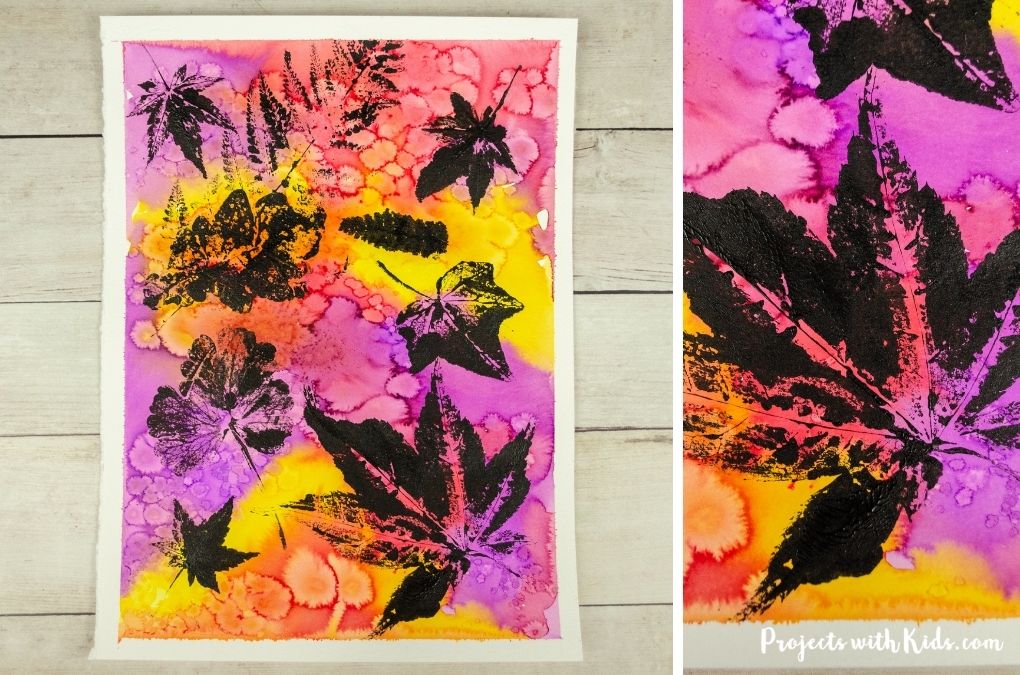
Leaf printing art is always a fun activity for kids to explore! Using a colorful watercolor background gives this project idea a new fun twist.
We love creating and exploring with different art supplies and techniques. If you are looking for more art projects to try, take a look at our ultimate collection of amazing art projects for kids!
More fall art projects kids will love
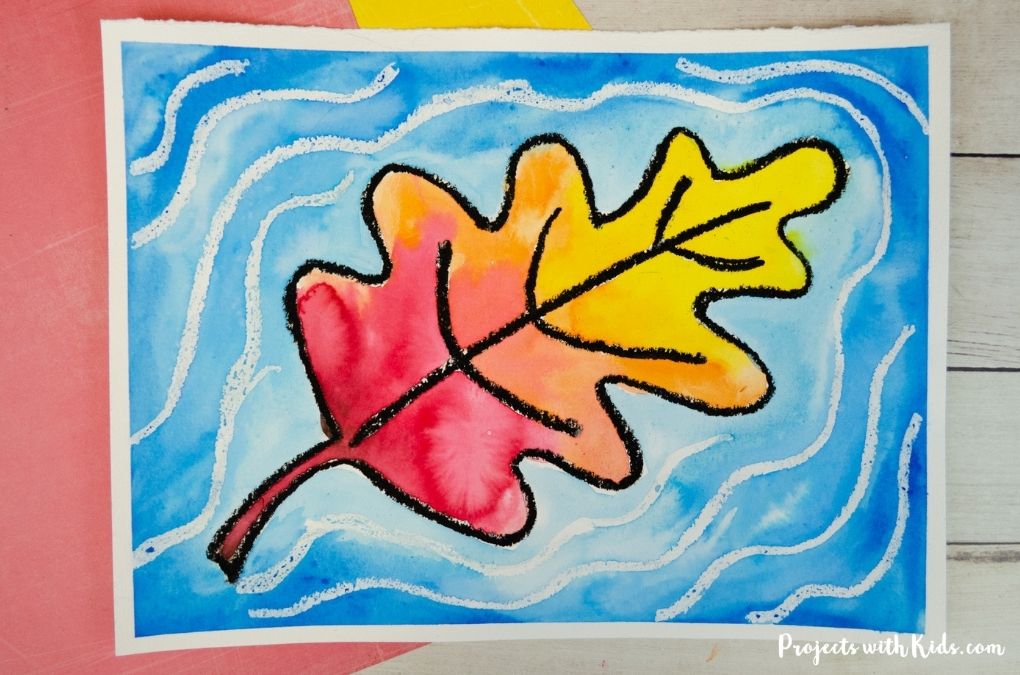
Watercolor Resist Fall Leaf Painting
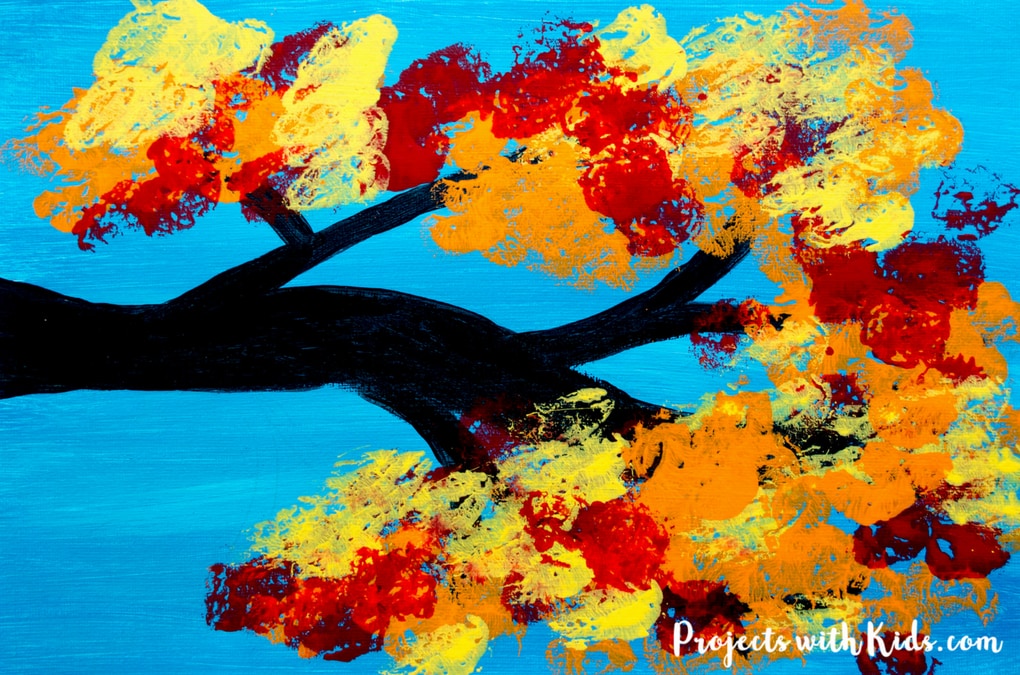
Autumn Tree Painting with Cotton Balls
Follow me on Pinterest for more amazing project ideas.
Pin this painting idea for later
Gorgeous Mixed Media Leaf Printing Art for Kids to Make
Create dramatic leaf printing art using watercolors and acrylic paints! Kids will learn easy watercolor techniques to create a colorful background for their leaf prints.
Materials
- Watercolor paper
- Watercolor paint
- Collection of leaves
- Acrylic paint in black or white
- Coarse salt
- Paper towels and scrap paper
Tools
- Paintbrushes
- Wooden board and painter’s tape (optional)
- Paint palette and water dish
Instructions
- Tape your watercolor paper down to a wooden board or table. This helps to keep the paper nice and flat as kids are painting and as it dries. If you don't have a wooden board, you can skip this step but your paper will not be as flat.
- Have kids choose 2-3 watercolors that they would like as their background and mix them up in a palette. Make sure to test the colors first on scrap paper, watercolors always dry lighter.
Paint the paper with clean water and a clean brush, you want your paper to be wet but not soaking. - Start to paint with one color at a time. Dab the paint on, making sure to rinse your brush between colors. Let the colors mix together on the wet paper to create interesting patterns and different shades. Continue painting your paper until it's all covered.
- While the paper is still wet, sprinkle on some coarse salt. Some kids might only want to sprinkle on a bit, while other kids will want to use a lot of salt. As the salt dries, it will soak up the liquid to create even more interesting patterns and shades.
Each painting will be unique! Let this dry completely on a flat surface, this may take several hours. We left our paintings to dry overnight.
Once your paper is dry, carefully brush off the salt into a sink or garbage. - Have kids place some leaves on top of their painting so they can gauge how many leaves they will need and where they want to print them. Choose either black or white acrylic paint for the leaf printing. Kids can also choose a different color if they like, brown or dark green would also look nice.
Before kids start to make leaf prints on their painted background, have them practice making a few prints on a separate piece of paper first. This way they can get a feel for the technique and the amount of pressure needed to make a leaf print.
When they are ready to print on their painted background have them paint a leaf on scrap paper and carefully place it face down on the painting. - Take a clean piece of paper and place it on top of the leaf, press down and rub the paper to make a leaf print.
Carefully lift off the paper and the leaf to reveal the print! Continue to make leaf prints on the painted background until you are happy with how it looks. - Let the paint dry completely and then carefully remove the painter's tape from around the edge of the paper.


