

Learn about the famous Canadian artist Emily Carr and create a gorgeous Emily Carr inspired art project! Use bold chalk pastels on black paper to create a vibrant forest scene.
Using white glue and chalk pastels together is a fun technique that kids love! The glue acts as a resist to the pastels and also gives the project some dimension and texture.
Chalk pastels are so fun for kids to explore! Take a look at my collection of chalk pastel art for more creative ideas kids will love.

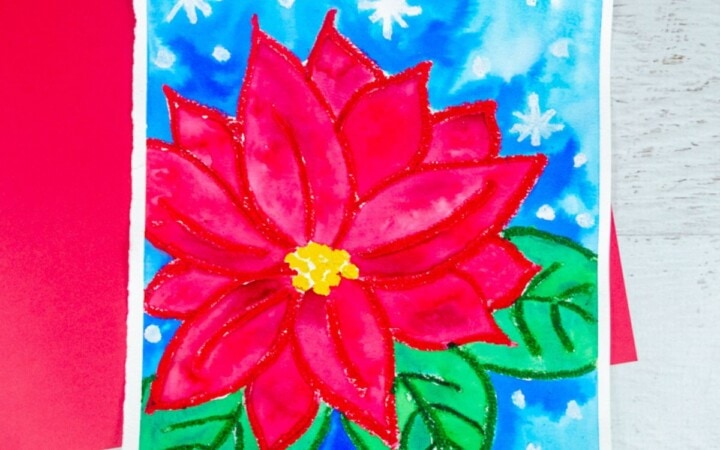
For more famous artist project ideas take a look at this Georgia O’Keeffe poppy art that also uses a chalk pastel and glue resist technique! Try action art and learn about Jackson Pollock with this four-season splatter painting art.
Learn about Emily Carr

Emily Carr was a wonderful artist from western Canada who was inspired to paint pictures of the beautiful forests and landscapes around her. She painted tall trees, vibrant forests, and even totem poles!
Emily loved using bright colors like greens, blues, and earthy browns in her paintings.
When Emily painted, she didn’t just copy what she saw exactly. Instead, she used her imagination to make the scenes more lively and interesting. Sometimes, she made the trees and forests look like they were dancing or moving in the wind!
Emily Carr Printable Study Pack
I made an Emily Carr printable study pack for kids to learn more about Emily Carr’s life and art! This easy to use printable pack contains a biography about Carr’s life and art, a writing response sheet, drawing prompts, a coloring sheet, and more!

>> Click here to get all the details about the Emily Carr study pack!
Helpful Links About Emily Carr
Here is a great site for kids to learn all about Emily Carr’s life and art on Kiddle!
This page on WikiArt shows pictures of some of her amazing artwork.
Here is a short YouTube video from the CBC on Emily Carr and her paintings.

Books About Emily Carr
This post contains affiliate links. As an Amazon Associate, I earn from qualifying purchases. If you would like more information please review my privacy & disclosure policy.
There are so many great books kids can look at to learn about Emily Carr and her life and art!
Emily Carr: At the Edge of the World is a great book for kids to learn about Emily Carr’s life and art! Some illustrations depict different scenes from her life and beautiful color pictures of her paintings! We have this book and love it!
Four Pictures by Emily Carr depicts her life through four of her paintings in a graphic novel style! This is a great book for older kids and tweens.
The Art Room: Drawing and Painting with Emily Carr is written in a story-poem format, talks about Emily Carr’s life and art, and has beautiful illustrations. This is a great book for younger kids!
Create your own Emily Carr inspired art project

Supplies
- Chalk pastels
- Black drawing paper
- White glue
- Pencil and eraser
- White pencil crayon
- Paper towels
TIPS FOR WORKING WITH CHALK PASTELS
Chalk pastels can be messy (but so fun!). There are a few things you can do to help keep some of the mess contained:
- Put newspaper down on desks or tables.
- Put your project on a tray or a shallow cardboard box which will keep most of the mess inside the tray.
- You can try doing your project outside.
- Have lots of paper towels handy.
- Once you are done with your project (or even halfway through if it gets really dusty), take it outside to gently blow or shake off the excess dust.
- If you are using chalk pastels in the classroom and the kids are ready to take their artwork home, simply place the art between some newspaper to keep it from smudging and for easy transport.
Instructions for your chalk pastel art project
1. For this project have kids look at some of Emily Carr’s forest paintings. The paintings that were the inspiration for the tutorial below are “Red Cedar”, 1931, and “Forest, British Columbia”, 1931-32.
Emily Carr painted many forests and trees. Have kids take a look at these paintings and choose one as their inspiration to make their artwork, or follow along with my photos below.

Start with black paper. I used black drawing paper, you could try and use black construction paper but make sure to do a test first to see how it holds the glue and pastels.
Use a pencil to lightly draw in the trees and grass, using simple shapes. Once kids are happy with how their drawing looks, they can trace over it with a white pencil crayon to make it easier to see.
2. Once you have finished your drawing, carefully outline your pencil lines with white glue. The glue will act as a barrier to the chalk pastels and help to keep all the segments separate.

Let this completely dry on a flat surface, I usually like to let everything dry overnight.
3. Choose the chalk pastel colors for the tree trunks. You want to choose at least three colors: dark, medium, and light. There are quite a few reddish tones to the tree trunks, so have kids think about the colors and shades they choose.
Start with the darkest brown color and color in all the tree trunks.

Layer the other two colors on top, being careful not to cover up all the dark brown. Look at the way the colors on the tree trunks are painted in Emily Carr’s paintings, she uses curved lines and different shades for each one.
For more details on different pastel techniques that kids can try, take a look at these 5 essential chalk pastel techniques for beginners.
Continue layering on the different colors of brown for the tree trunks. Try using your index finger to gently blend some of the colors together creating a soft texture.

Taking the lightest color and drawing a few simple lines to highlight the tree trunks will really add depth and make them stand out.
Once kids are happy with how the tree trunks look, it’s time to move on to the branches.
4. Choose the shades of green for the tree branches. Depending on how many shades of green are available, kids can choose three to five shades. Again, you want darker shades, medium tones, and at least one very light shade of green for highlights.

Start by coloring in all the areas with branches a dark green. Use the medium shades to layer on top. If you look at Emily Carr’s paintings, she uses sweeping brushstrokes in the branches to suggest movement and give a sense of energy.
Have kids think about drawing and layering on their colors in the same way, sweeping strokes with chalk pastels to show movement.
Continue to draw and layer on the different shades of green, using your index finger to gently blend some of the colors together.

Draw some highlights on the branches with the lightest green color to finish off the branches.
5. Start the grass the same way you did the branches. Draw the grass area in with the darkest green, layering lighter shades on top.
In Emily Carr’s paintings “Red Cedar” and “Forest, British Columbia”, you can see the different types of brushstrokes she used for the grass area. They look wavey like they are swaying in the breeze.

Have kids think about drawing the chalk pastels in this way, to create a wavy pattern. This will help to distinguish the branches from the grass and add more texture to their artwork.
Continue drawing in the grass area, layering and blending the chalk pastels together. For the lightest color, leave some areas un-blended.
You can see in my example photos I used a yellow/green color for the grass highlights.

6. To fill in the background, use a medium/light brown color to color everything in. Draw and blend shades of brown and green on top to create a soft background that doesn’t stand out too much.
You want the trees and grass in the foreground to be the focus of the artwork.
7. For the final touch, take a black chalk pastel and draw in some line details. As you can see from my example and Emily Carr’s paintings, a few detail lines are added using a very dark or black color.

For this step, less is more, think about drawing in only a few lines with black chalk pastel to highlight the tree trunks. Refer to Emily Carr’s painting for inspiration on this.
This step is optional and some kids may wish to skip it, which is completely fine.
8. If there is any extra dust on your artwork, carefully take it outside and blow and gently shake the dust off.

This Emily Carr inspired art project is a great way for kids to explore drawing, layering, and blending with chalk pastels. Kids will be inspired by an amazing Canadian artist who painted landscapes in a different way to express her feelings and show movement and energy in her art!
>> Click here to get all the details about the Emily Carr study pack!
More famous artist inspired art projects kids will love
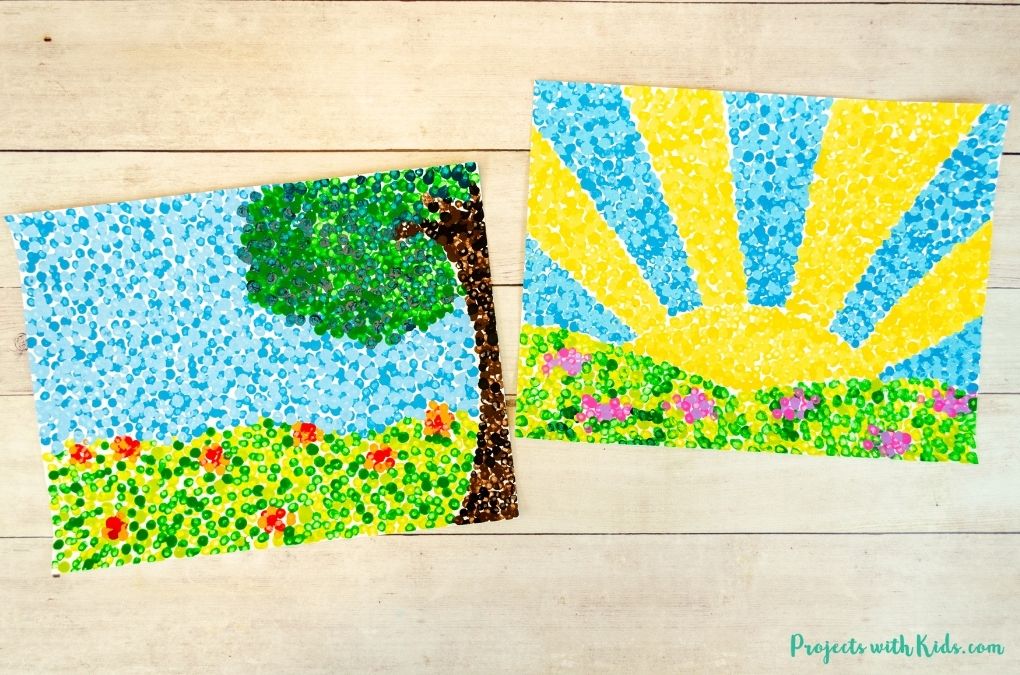
Simple Pointillism for Kids Art Project
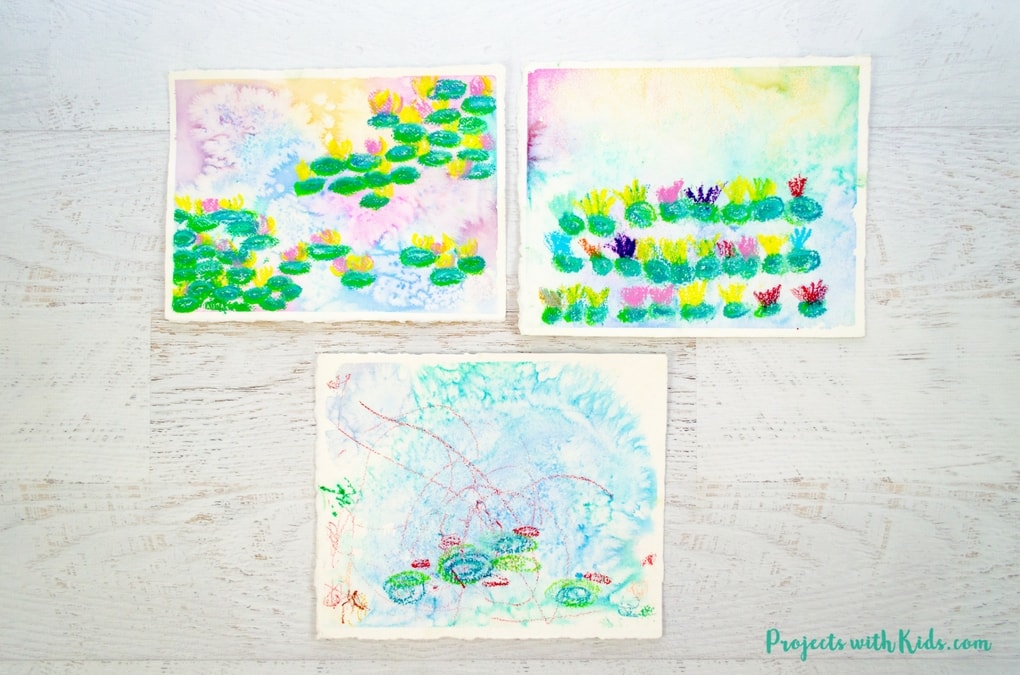
Monet Water Lilies Art Project
Follow me on Pinterest for more creative project ideas!
Pin this art project for later

CREATE AN EMILY CARR INSPIRED ART PROJECT WITH CHALK PASTELS

Use vibrant chalk pastels on black paper to make this gorgeous Emily Carr inspired art project with an easy glue resist technique.
Materials
- Chalk pastels
- Black drawing paper
- White glue
- Pencil and eraser
- White pencil crayon
- Paper towels
Instructions
- Choose inspiration: Look at Emily Carr's forest paintings like "Red Cedar, 1931" and "Forest, British Columbia, 1931-32" for ideas.
- Prepare materials: Use black drawing paper. Lightly sketch trees and grass shapes with a pencil. Trace over with a white pencil crayon to make it clearer.
- Outline with glue: Carefully trace over your pencil lines with white glue. Let it dry completely, preferably overnight.
- Color tree trunks: Use dark, medium, and light brown chalk pastels. Start with dark brown, then layer with the other shades. Blend gently with your finger for texture.
- Color tree branches: Choose dark, medium, and light green chalk pastels. Apply similar sweeping strokes like Emily Carr's paintings to show movement. Blend colors as you go.
- Draw grass: Use dark green chalk pastel for the base, then layer lighter shades on top. Create a wavy pattern for texture.
- Background: Use medium/light brown chalk pastel to fill in the background softly. Blend with greens to keep focus on trees and grass.
- Final details: Optionally, add a few black chalk pastel lines for detail on tree trunks. Less is more; refer to Emily Carr's style for inspiration.
- Blow off excess dust: Remove any extra dust by gently blowing or shaking outside.
Leave a Reply