
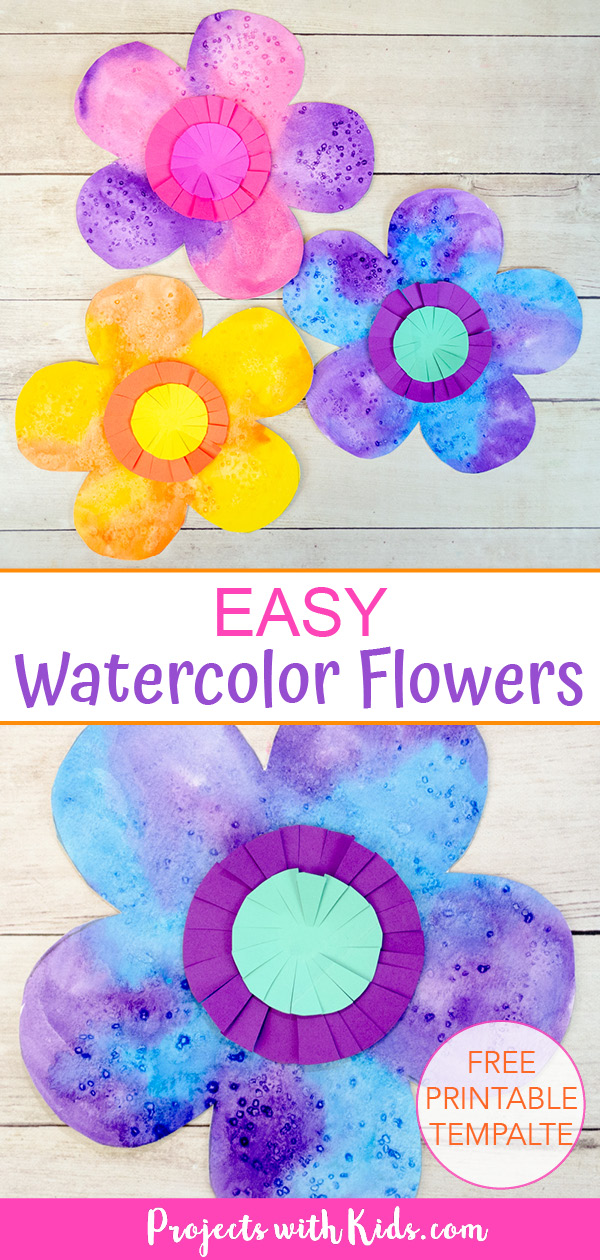
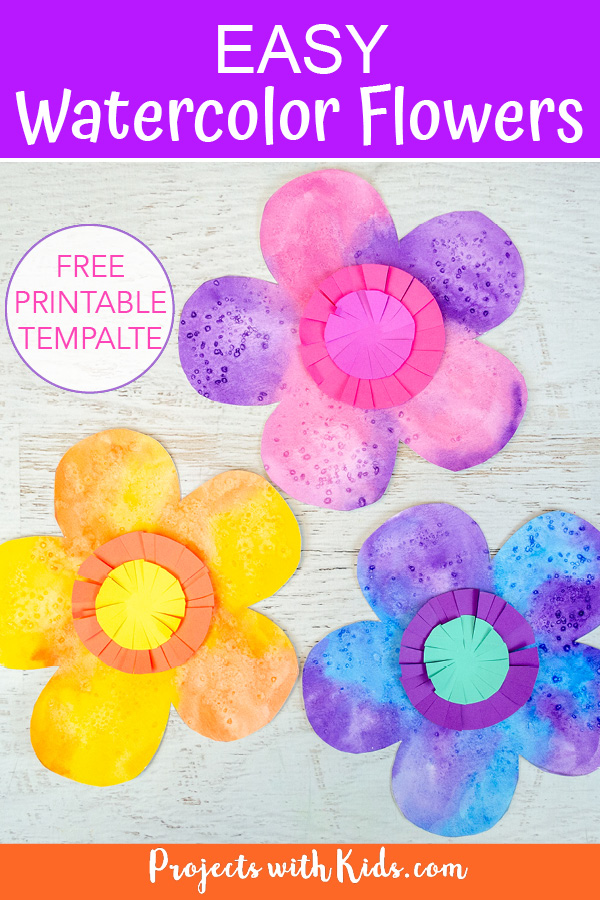
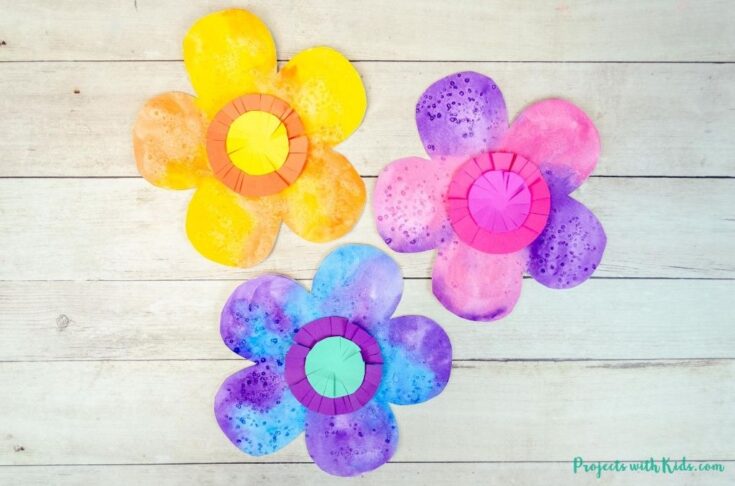
These watercolor flowers are so colorful and fun! This is an excellent beginner watercolor project for kids of all ages that uses two easy watercolor techniques and a 3D paper center, making each flower unique.
There are so many fun watercolor techniques for kids to try! Take a look at my collection of watercolor painting for kids for more fun and creative ideas.

For this project, I created a free printable template to make this art project even easier for you. This template is available to my email subscribers. Fill out the form below to get the free template.
After signing up you will receive a welcome email with your download link.
Using cut paper for the center of the flower really gives it a nice 3D effect. Plus it’s great for kids to work on their scissor skills!
Watercolor flowers are always a fun art project for kids, take a look at this watercolor flower painting that uses oil pastel resist. Or this similar project that we did for Remembrance Day with watercolor poppy art.
Create your own easy watercolor flowers
This post contains affiliate links. As an Amazon Associate, I earn from qualifying purchases. If you would like more information please review my privacy & disclosure policy.
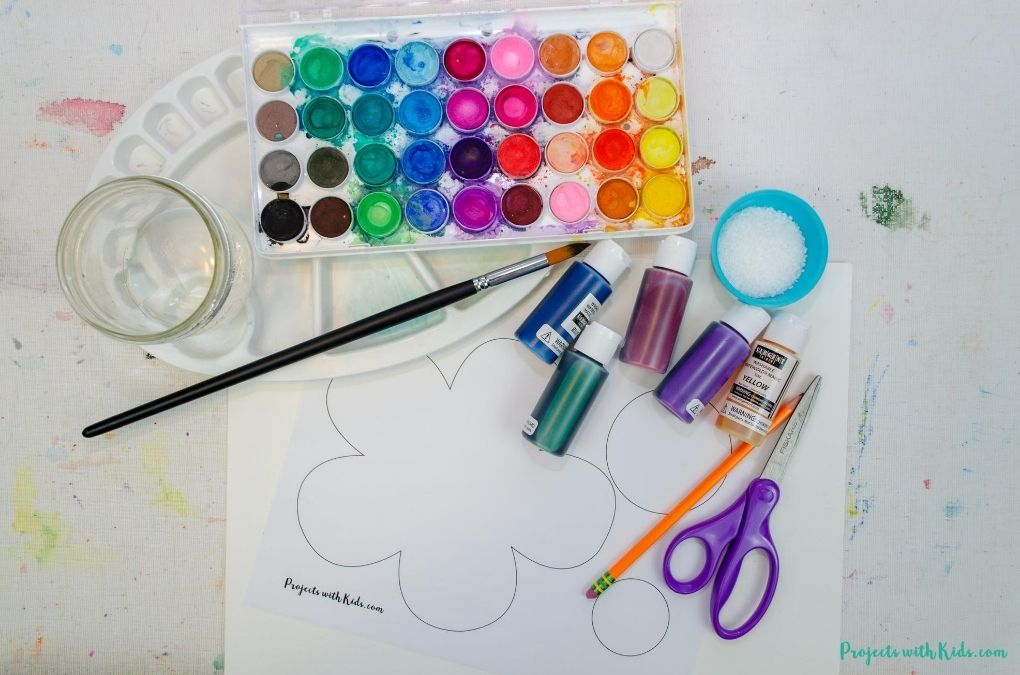
Supplies
- Flower template (available below)
- White printer paper
- Watercolor paper
- Watercolor paint
- Paintbrushes
- Paint palette and water dish
- Scissors and a pencil
- Coarse salt
- Gluestick
- Colored cardstock
Instructions for your watercolor flowers
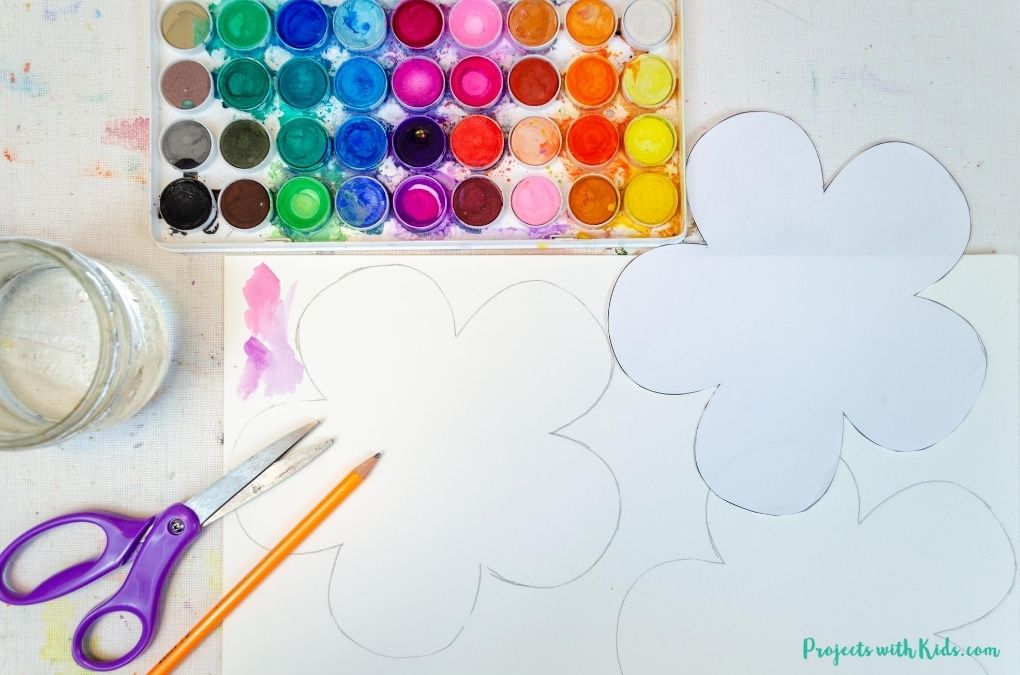
1. Print out the flower template onto white printer paper and cut out the flower and circle templates.
2. Trace the flower onto watercolor paper. I used 11 X 15 inch watercolor paper, so two flowers could fit onto each page.
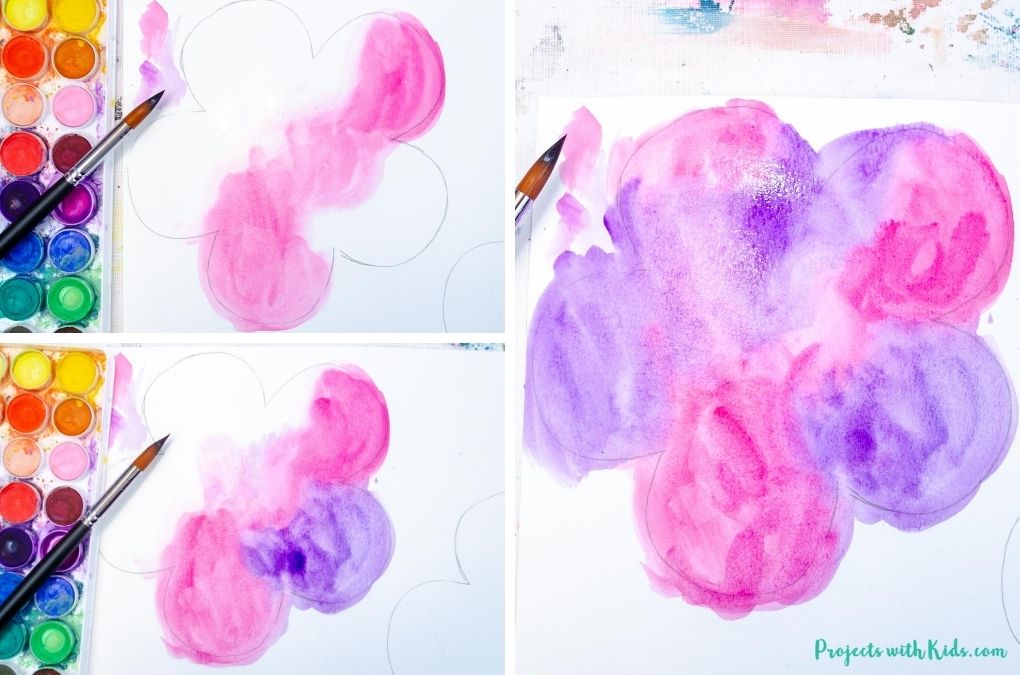
3. Have kids choose two or three colors for their flowers. You can use liquid watercolors or a watercolor set for this project. I ended up using a mixture of both.
Take a look at these beginner watercolor supplies for kids for more details.
Kids can also look at photos of flowers to help them choose their colors.
Watercolors generally dry lighter so keep that in mind if you are mixing colors in a palette. I like to have a scrap piece of watercolor paper on hand to test out my colors first.
Paint the flower drawing with clean water first. You want your paper to be fairly wet but not soaking.
Start to paint your flower with the watercolors. Remind kids to rinse their brushes in between colors.
Let the wet paint mix together on the paper, as the paint mixes and starts to dry, it will create interesting patterns and also different variations in the colors. This is really cool for kids to watch!
This technique is called a wet on wet technique. Read more about these five easy watercolor techniques for kids.
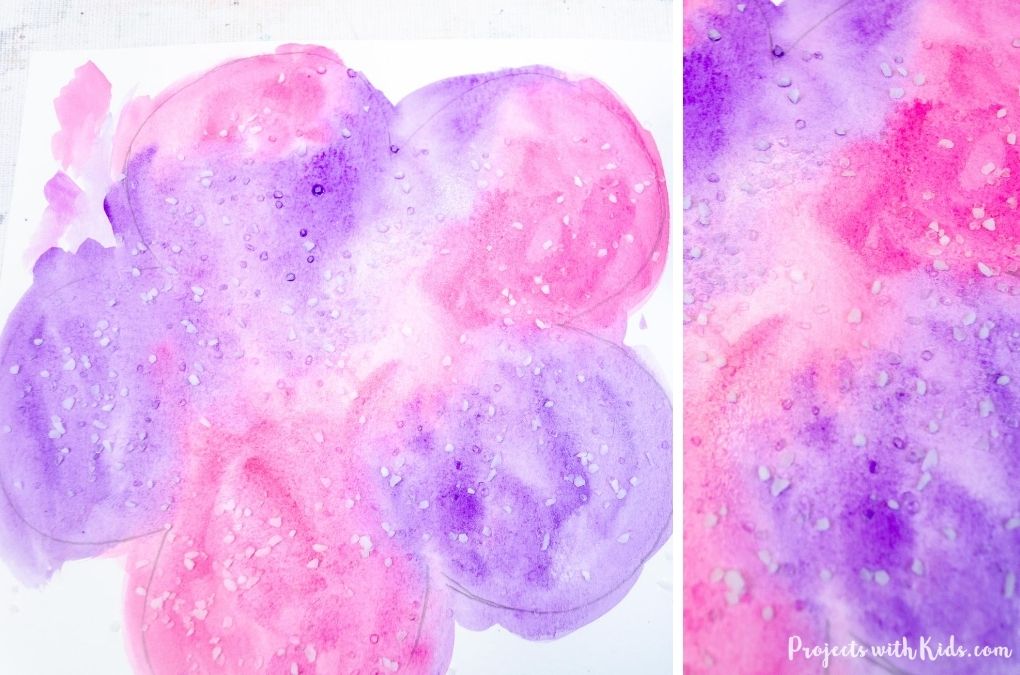
4. While the paint is still wet, have kids sprinkle on coarse salt. You can sprinkle on just a little salt in a couple of areas, or sprinkle salt all over the flower.
As the salt dries, it soaks up some of the water and paint and creates even more patterns. Let the painting dry completely on a flat surface.
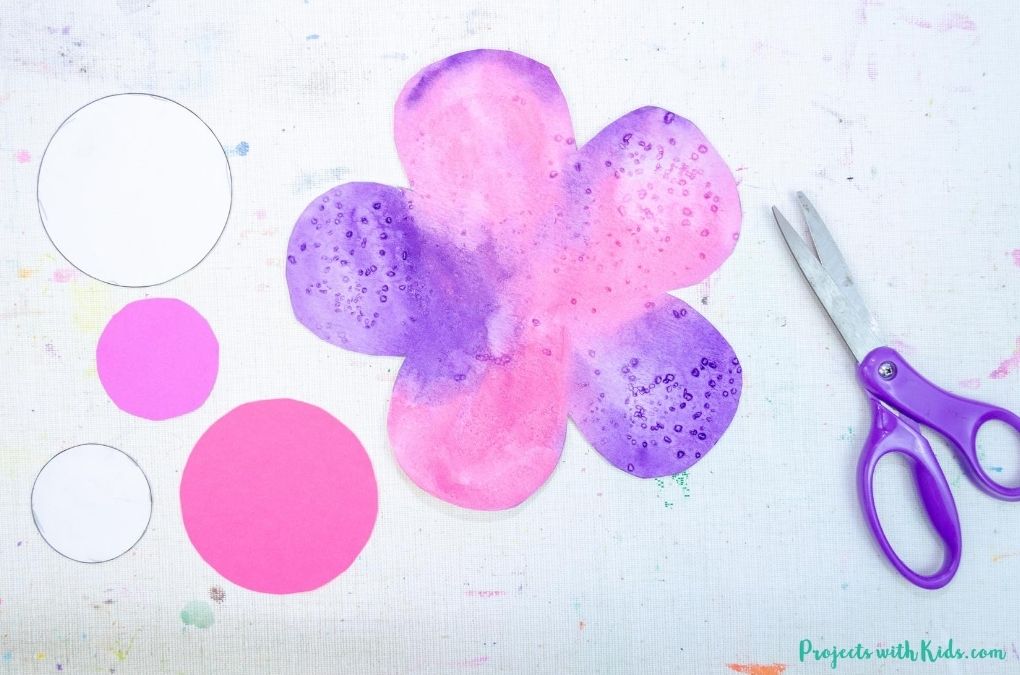
5. Once the paint is dry, brush the salt off into a sink or outside. Cut out the flower.
Choose two colors of cardstock for the center of the flower. Use the circle templates, trace, and cut the circles out.
If you are looking for more spring projects, take a look at this colorful collection of spring art for kids!
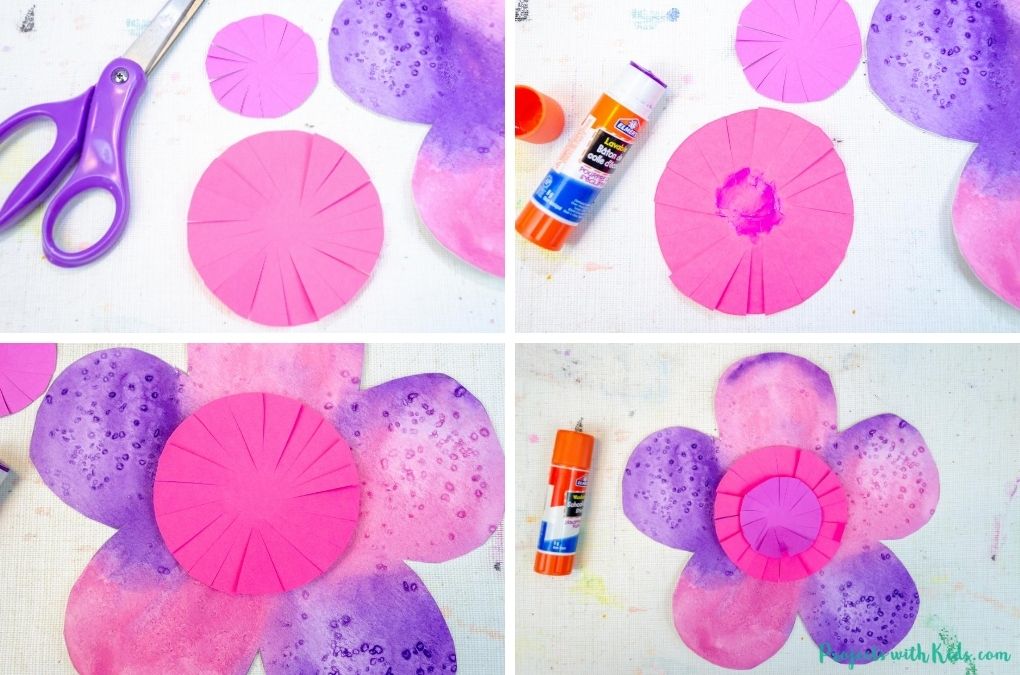
6. Start with the bigger circle and cut lines all the way around towards the center. Remind kids not to cut all the way through. Use a glue stick to glue the circle to the center of the flower.
Do the same with the smaller circle. Cut lines all the way around and glue it to the center of the larger circle.
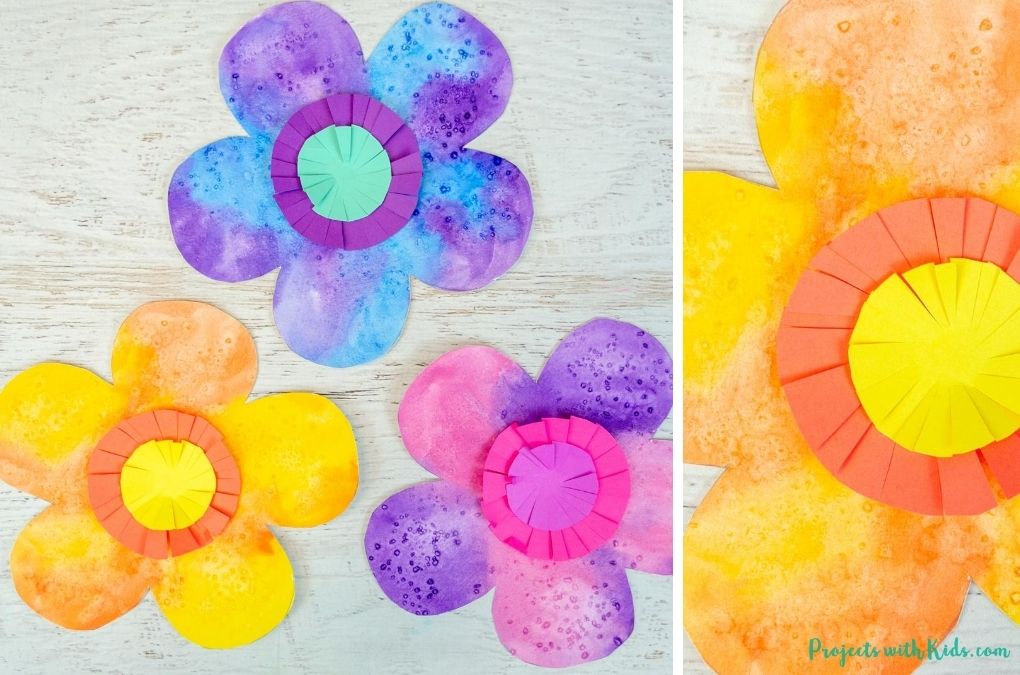
These watercolor flowers are so fun and easy for kids to make, they will want to make more than one. Using easy watercolor techniques gives each flower a unique look and adding in a 3D center makes the whole art project really pop!
For another fun idea using the same flower template, take a look at this gorgeous chalk pastel flower art.
Fill in the form below to get your free printable template!
After signing up you will receive a welcome email with your download link.
More art projects kids will love
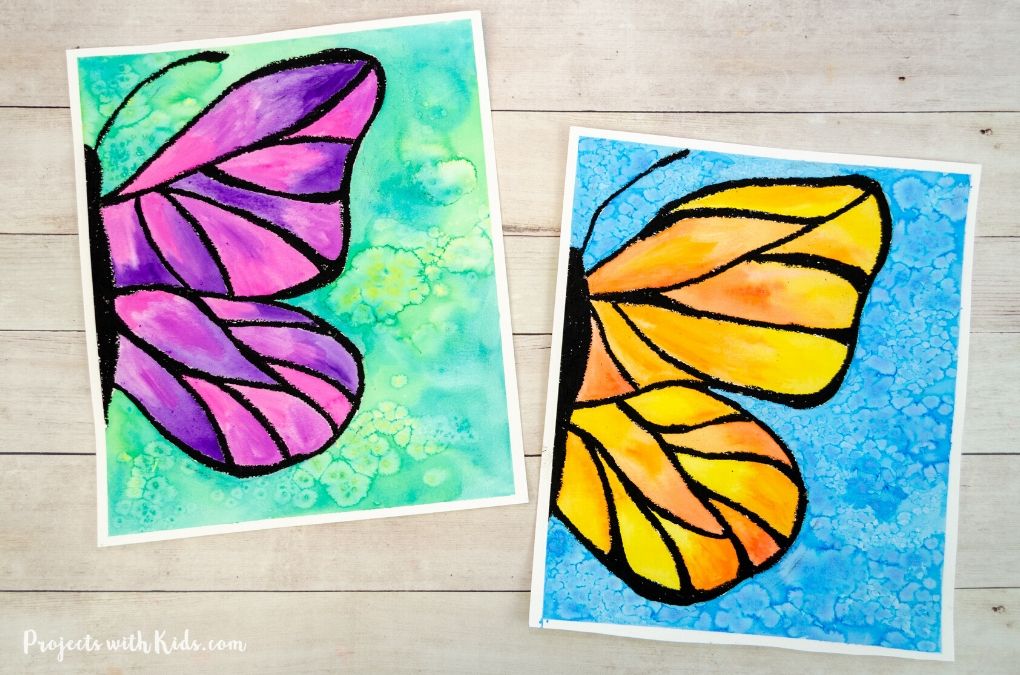
Beautiful Watercolor Butterfly Painting
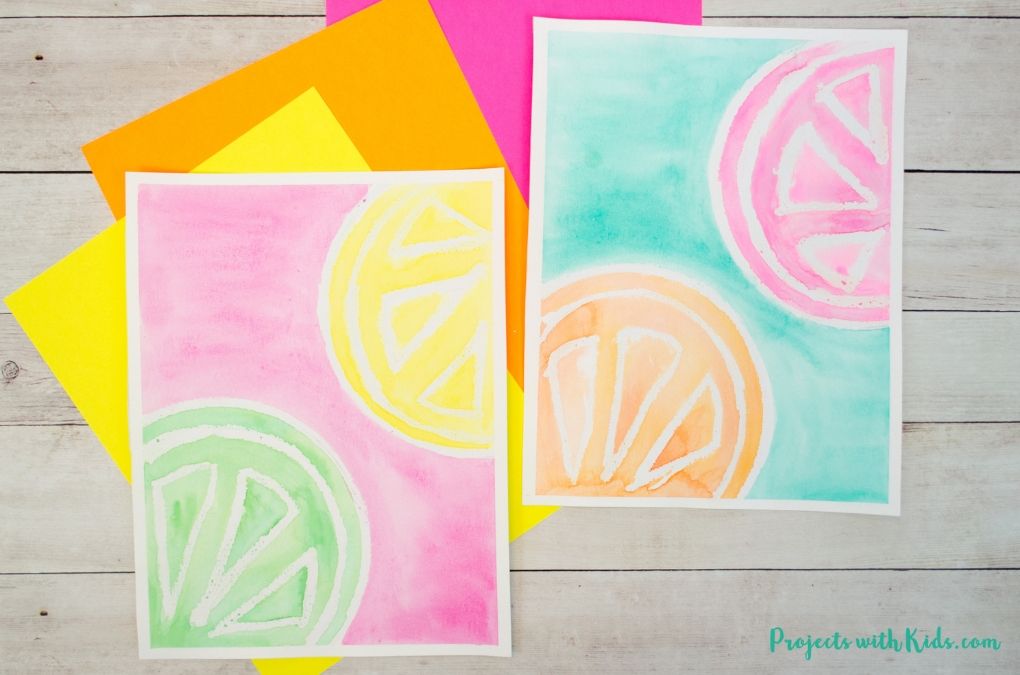
Bright and Fun Watercolor Resist Citrus Painting
If you are looking for more summer art projects, take a look at this amazing collection of summer art ideas for kids!
Follow me on Pinterest for more amazing project ideas.
Pin this watercolor art for later
Easy Watercolor Flowers for Kids to Make
These easy watercolor flowers are a fun and colorful art project for kids of all ages! A great beginner watercolor project using easy techniques.
Materials
- Flower template
- White printer paper
- Watercolor paper
- Watercolor paint
- Coarse salt
- Gluestick
- Colored cardstock
Tools
- Paintbrushes
- Paint palette and water dish
- Scissors and a pencil
Instructions
- First, print out the flower template onto white printer paper and cut out.
- Trace the flower template onto watercolor paper with a pencil.
- Choose two or three colors for your flower and test out the colors on a scrap piece of paper. Watercolors will always dry lighter so you may want to adjust your colors accordingly.
- Paint the flower drawing with clean water to start. You want your paper to be fairly wet but not completely soaking.
- Start painting the flower with your watercolors, letting the paint mix together on the paper to create interesting patterns. This is called a wet on wet technique.
Kids love to watch how their paint mixes together on paper! - While your paint is still wet, sprinkle on coarse salt. Kids can choose to sprinkle a small amount in a few places or sprinkle salt all over their painting.
Let the painting dry completely on a flat surface. - Choose two colors of cardstock for the center of the flower. Use the circle templates provided to trace and cut the circles out.
- Start with the bigger circle and cut lines all the way around, being careful not to cut all the way through.
- Use a glue stick to glue the larger circle to the center of the flower.
- Repeat the same process with the smaller circle and glue that to the center of the larger circle to finish off your watercolor flower.


