

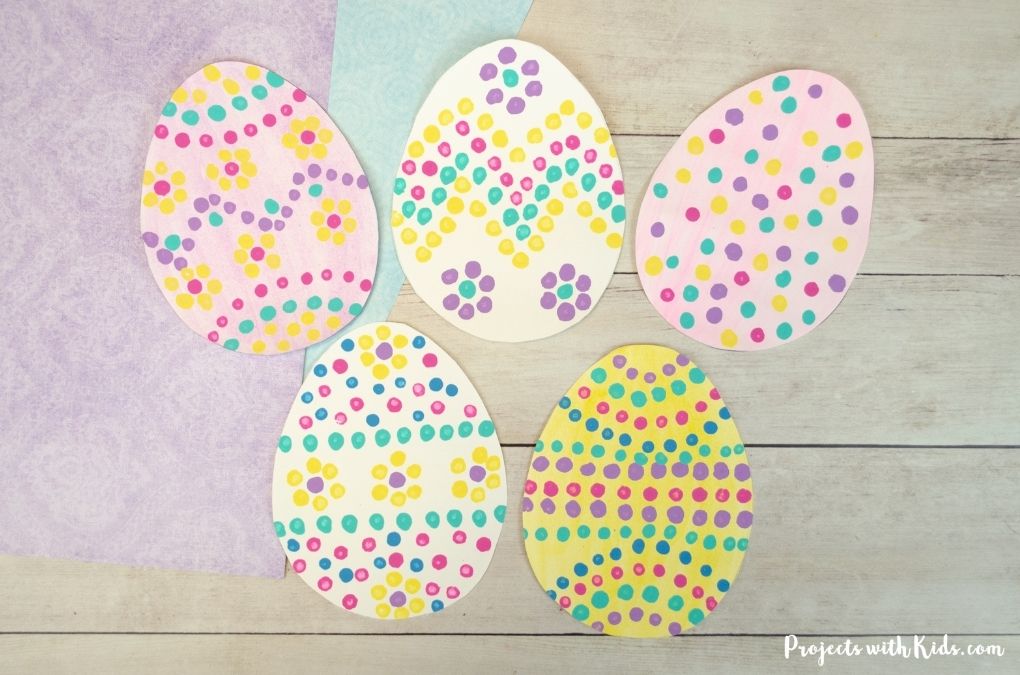
This Easter egg sponge painting craft is a fun and engaging art project for kids in preschool and elementary classrooms. Kids will love using sponges to stamp colorful patterns and designs, each egg print will be unique. This is a great painting activity that promotes creativity and fine motor skills.
If you are looking for more Easter art activities, take a look at this creative collection of Easter art projects for kids!

This project is a great opportunity for kids to explore creating patterns and using color. There are endless design ideas that kids can create and make their projects unique.
If you are looking for more spring projects, take a look at this colorful collection of spring art for kids!
Create your own Easter egg sponge painting
This post contains affiliate links. As an Amazon Associate, I earn from qualifying purchases. If you would like more information please review my privacy & disclosure policy.

Supplies
- Sponges
- Scissors
- Acrylic paint in bright or pastel colors
- Sturdy white paper or cardstock
- Paper plates or a paint palette
- Paintbrushes & water dish
Instructions for your Easter egg art project
1. Begin by cutting your sponges into simple oval or egg shapes. You can make a template out of cardboard and then trace the template onto your sponge to make this process easier. You can also make a few different sizes so kids can create a variety of egg prints.
Have your paper ready to go. Cardstock works well for this project since it can hold up to paint.

2. Squeeze small amounts of your desired paint colors onto paper plates or a plastic palette. Spread the colors out a bit so kids have room to load their brushes easily. You can offer a mix of spring colors—pinks, yellows, purples, greens—or let kids choose their own combinations.

3. Use a paintbrush to apply paint right onto the sponge surface. Encourage kids to think of the sponge like a blank Easter egg they’re decorating—this is their chance to add stripes, dots, zigzags, swirls, or blocks of color. Applying the paint with a smaller detail brush gives them a lot of control over the design and helps keep the patterns crisp when stamped.
Make sure to have clean water dishes so kids can rinse their brushes in between colors. You can also have one paintbrush per color to make switching between colors easier and faster (especially for younger kids).

4. Once the sponge is painted, gently place it onto your white paper or cardstock and press down with gentle, even pressure across the whole surface. This helps the paint transfer evenly and keeps the egg shape nicely defined.

To reveal the egg print, carefully lift the sponge straight up off the paper. Pulling it up in one smooth motion helps keep the edges clean and prevents the paint from smudging.
Kids will love seeing how their egg print appears on the paper!
5. Repeat with new patterns and colors. Encourage kids to experiment with different color combinations and patterns. Each new print offers a fresh chance to get creative.

This bright, colorful Easter egg sponge painting craft for kids is a creative and engaging art activity. Kids will experiment with different patterns, color combinations, and sponge sizes to make each egg print their own.
Project variations to try
There are a lot of fun ideas you can do with this project! Here are just a few to try. Cut out the finished eggs and use them for:
- Easter cards
- A garland
- Classroom door displays
- Bulletin board borders
More Easter painting ideas kids will love
Colorful Q-tip Easter Egg Painting
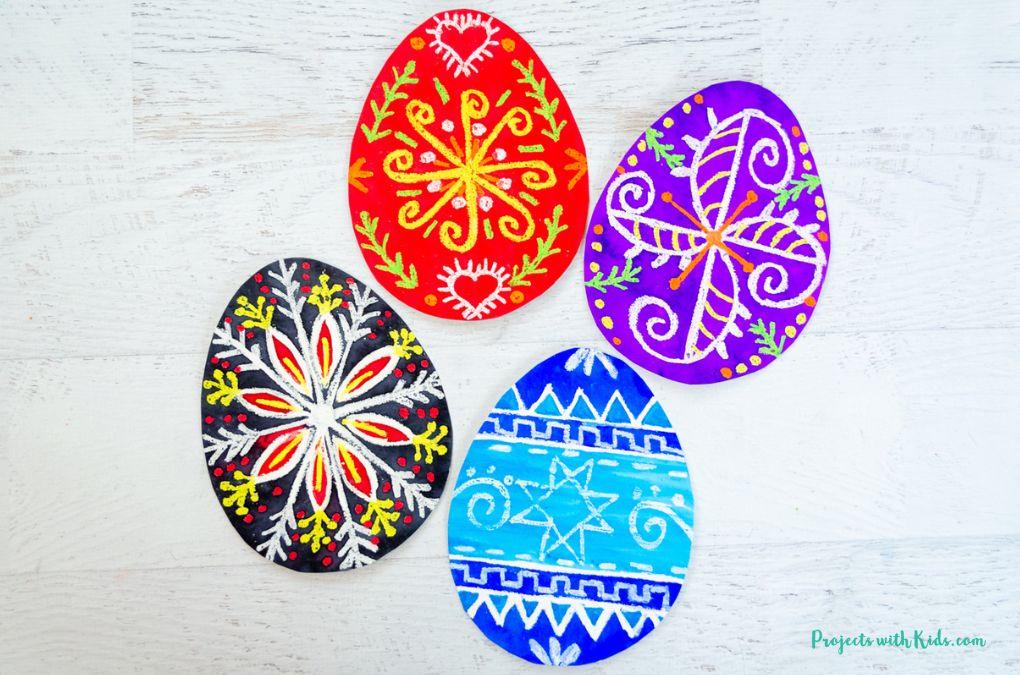
Ukrainian Easter Egg Art Project
Follow me on Pinterest for more creative project ideas!
Pin this Easter art project for later


