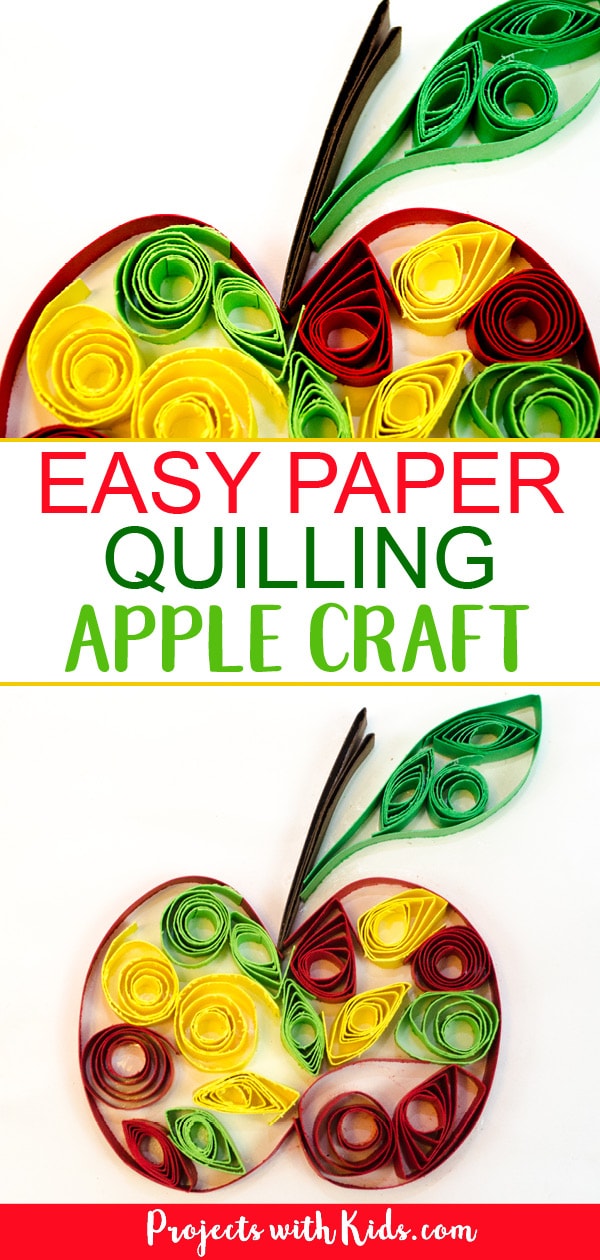
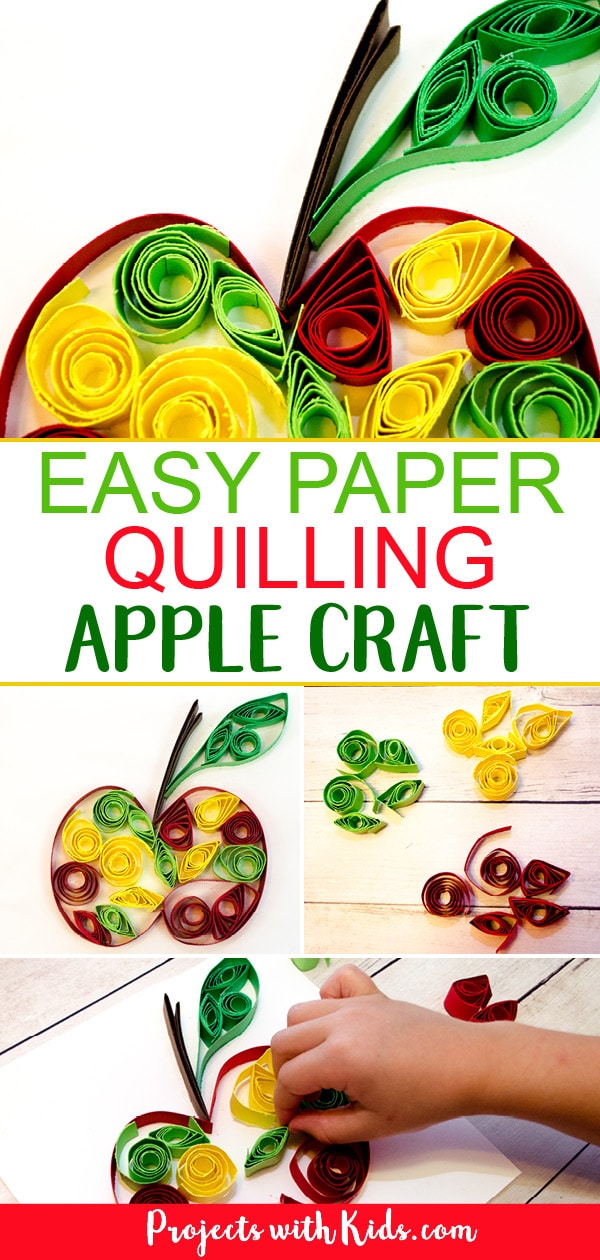
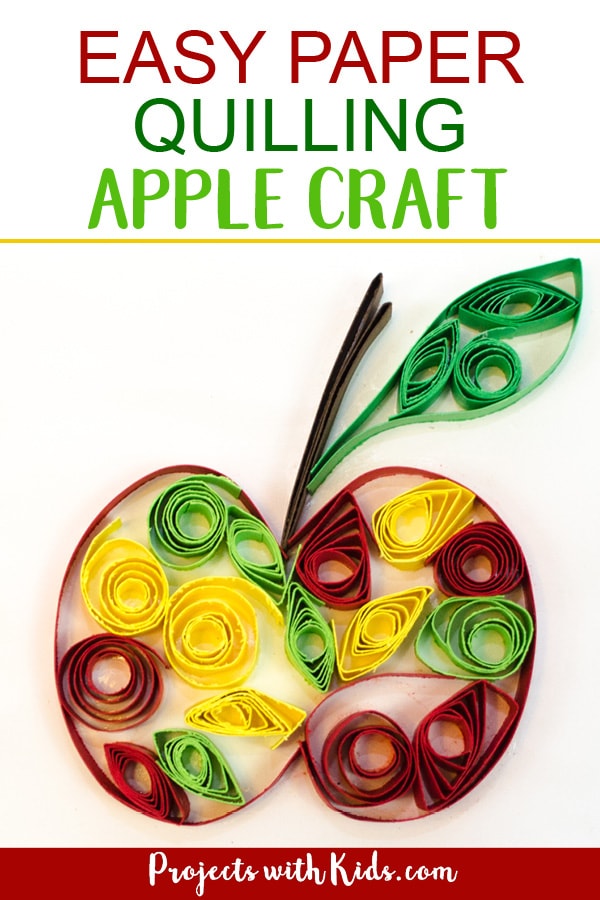
Paper quilling just might be my new favorite craft! I’ve been wanting to try it out for a while and this fall-themed apple craft made a great beginner project. My 8-year-old daughter also loved it, she loved making the different shapes of quills and putting it all together.
This project was easy enough for her to do all on her own, she is thrilled with how her apple turned out and wants to hang her picture up in her room.
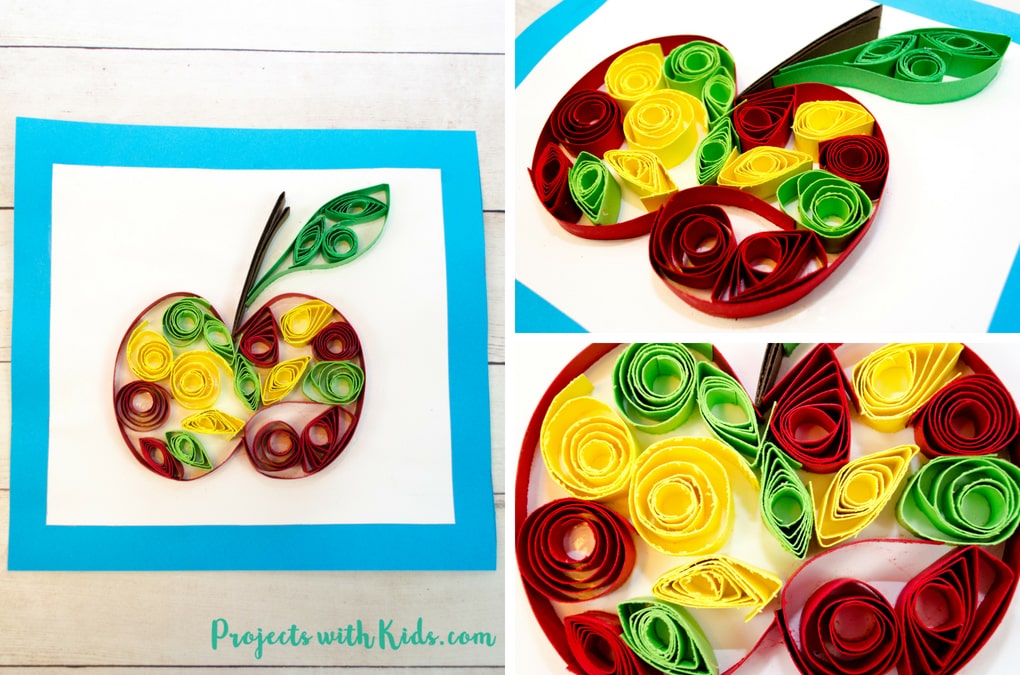
We didn’t use any special tools or paper for this project, so it is a great beginner paper quilling craft and great for kids. Just a chopstick to use as a quilling tool and cut up cardstock that I cut on my paper cutter. Add in some glue and that’s really all you need!
Make your own paper quilling apple craft
This post contains affiliate links, which come at no cost to you. If you would like more information please review my privacy & disclosure policy.
Supplies
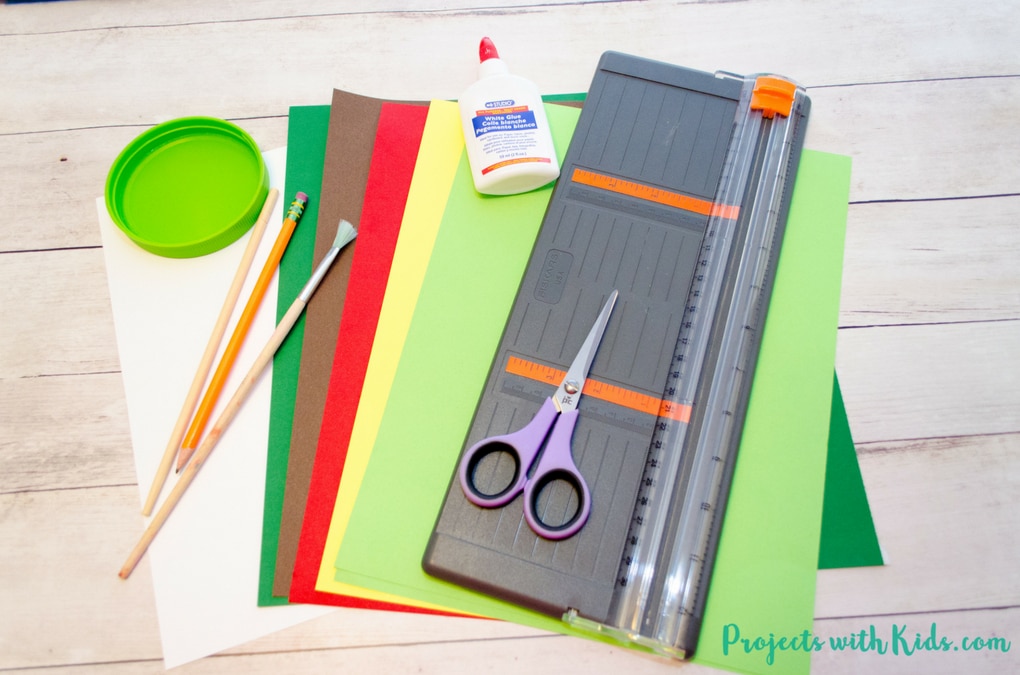
- Chopstick, pencil or paintbrush to use as a quilling tool
- White glue, glue dish (we used a plastic lid) and paintbrush
- Paper cutter or Scissors
- Cardstock in red, green, yellow, brown, and white
Instructions
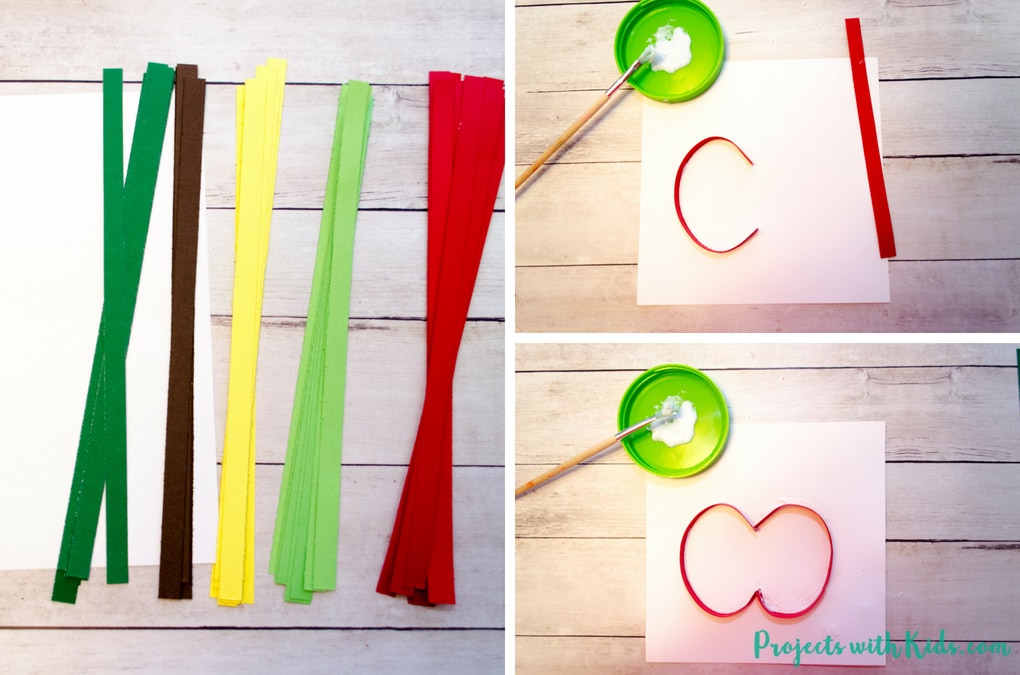
1. First, cut your paper strips out of cardstock. I cut our strips 1/2 inch wide. You can use a paper cutter to make this faster and easier but if you don’t have one then you can always eyeball it and use scissors.
2. Trim your white cardstock, I cut ours down a bit and then trimmed it to 7 1/4 inched x 8 inches when my daughter was finished.
3. Next, create the outline of your apple. I cut our red cardstock into 2 pieces of 8 1/4 inches. I found this to be a good size for us. Take a paintbrush and paint the edge of your cardstock with glue, placing it down and shaping it into a half circle. Do the same with the second piece, making sure that the pieces join up like in the picture above.
Related: Cookie Cutter Process Art Made into Fall Placemats
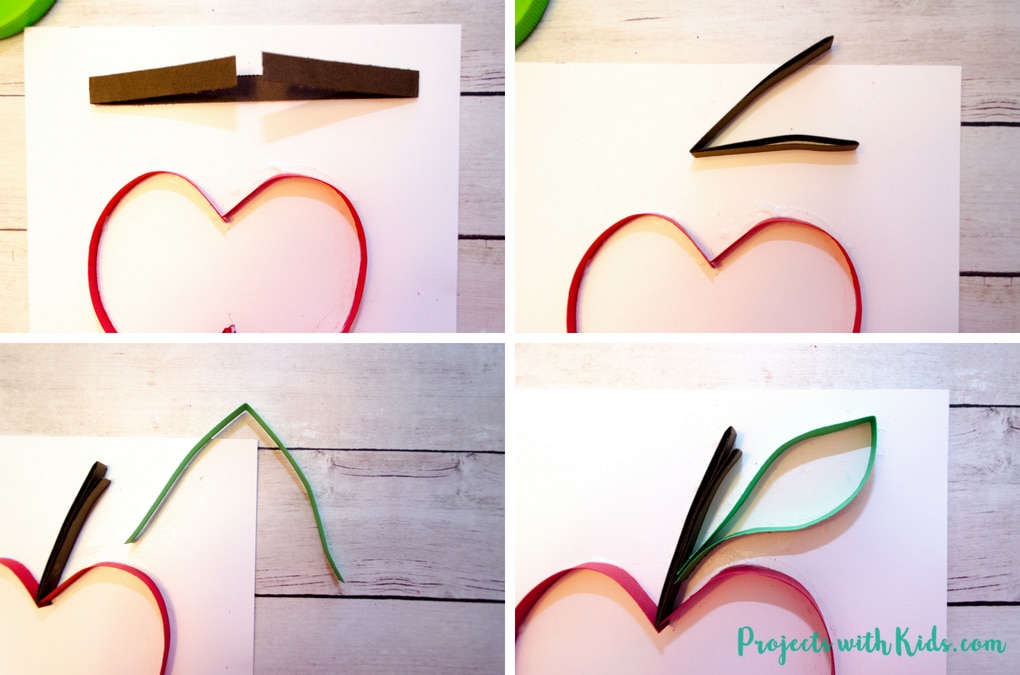
4. Take a strip of brown paper and fold both ends to meet in the middle, then fold it in half like the picture above. Glue down your apple stem.
5. Take a piece of green paper to create your leaf. Glue the edge and shape it as you glue it down.
Time to create your quills!
Related: Easy Paper Sugar Skull Craft
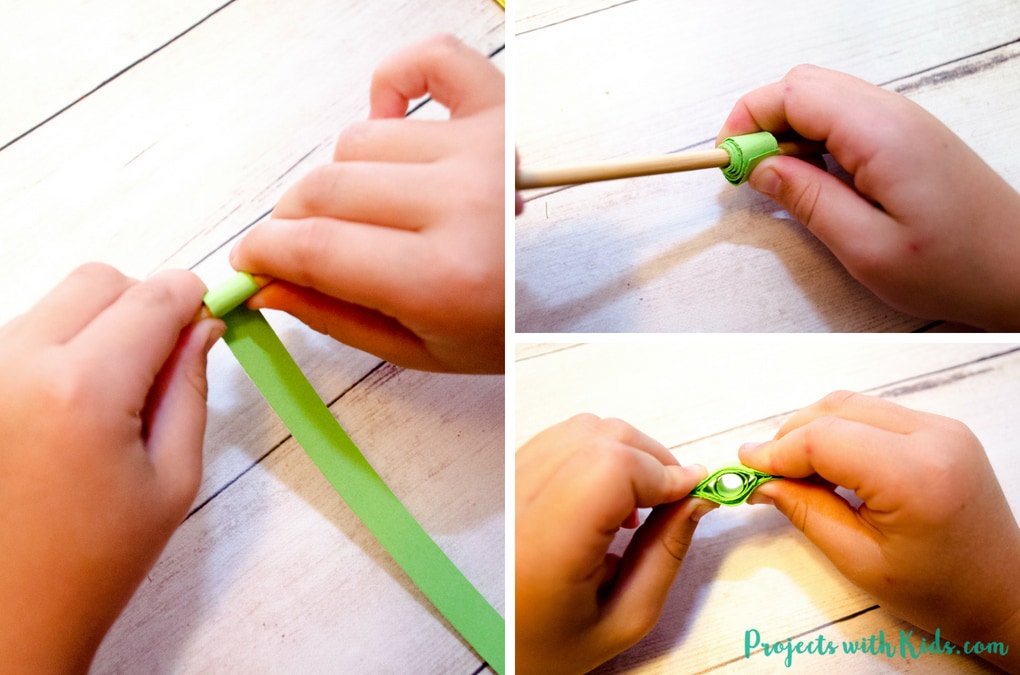
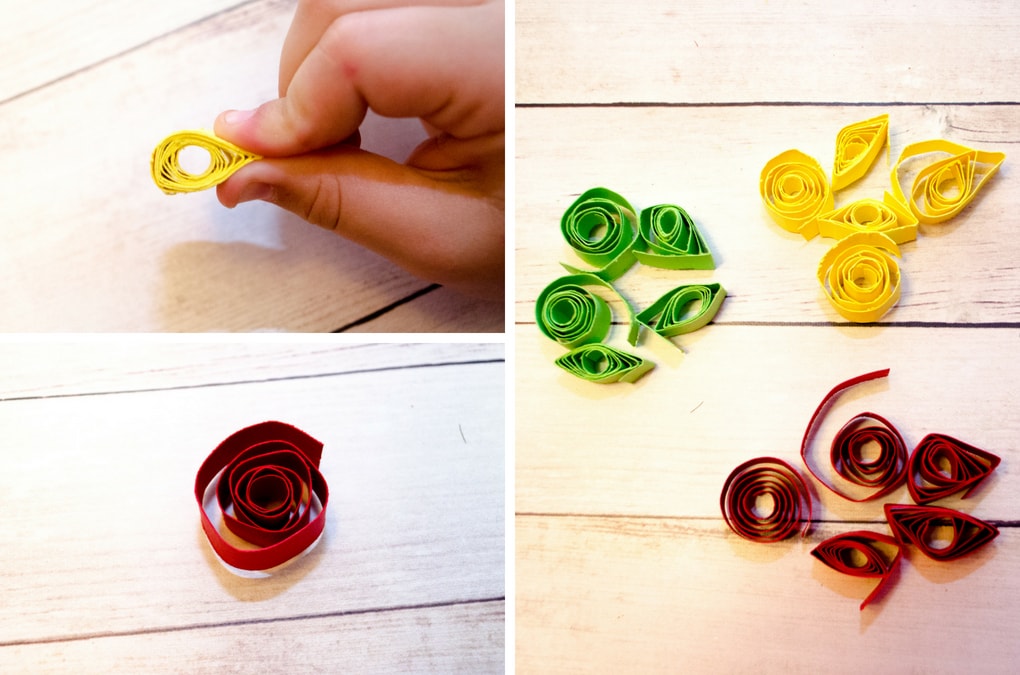
6. Take your chopstick, pencil or paintbrush (a chopstick seemed to work the best for us) and wrap a strip of paper around it. From there, kids can create a few different shapes. Try pinching both ends, pinching one end and just leaving it as a coil shape.
Related: Autumn Sunflower Craft with Oil Pastels
My daughter loved making the different shapes, she made quite a pile in a short amount of time. I can see how paper quilling could be a relaxing and destressing craft for both kids and adults!
7. When you have made your different shapes of quills in red, green and yellow, place them into the apple and play around with the arrangement until you like how it looks.
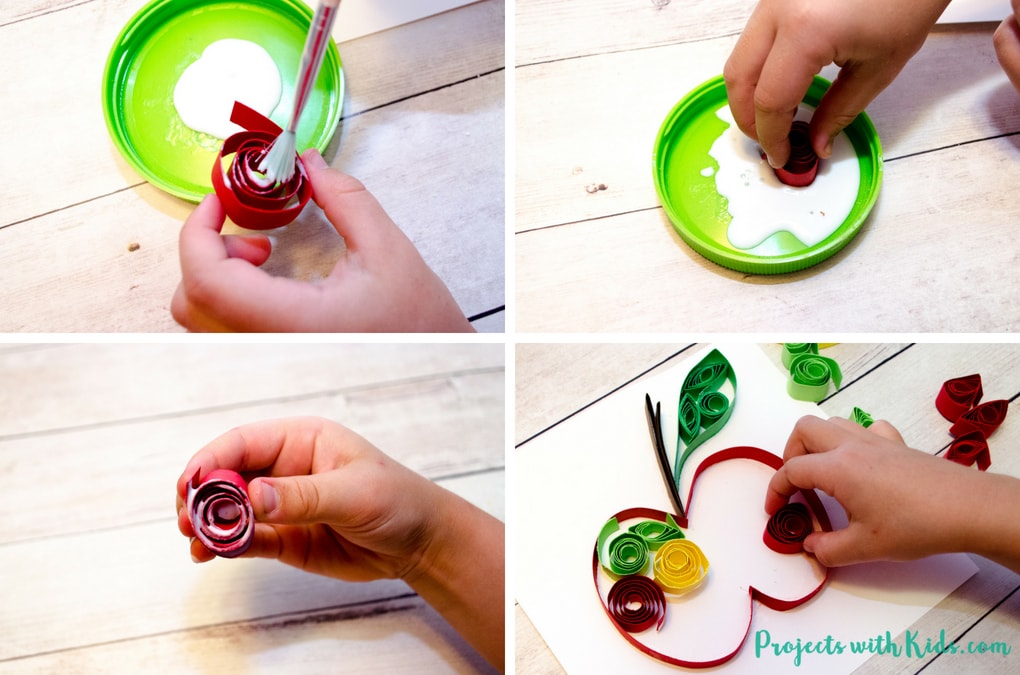
8. Now it’s time to glue. You can use a paintbrush to apply the glue or my daughter found it easier to just dip the quills into the glue. Continue to glue all of the paper quills down, adding more if needed.
9. Trim your paper down if you like. I glued my daughter’s apple craft onto some blue cardstock to finish it off. I like the way the bright blue looks with the red, yellow and green of the apple.
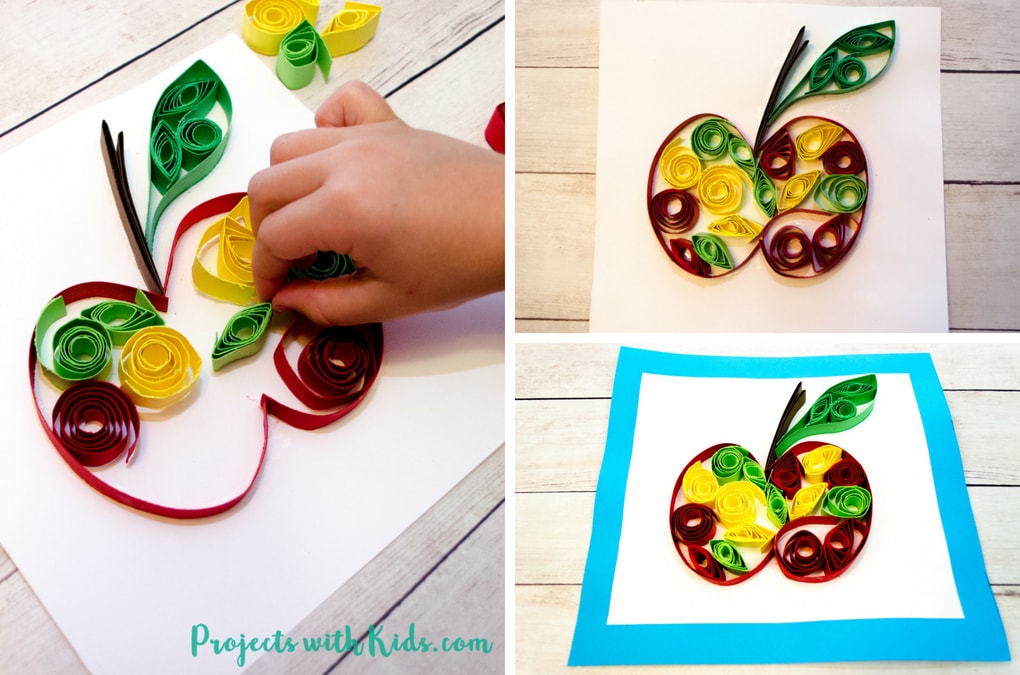
Both my daughter and I fell in love with paper quilling with this apple craft! I love the bright colors of the apple and the cool designs that the paper quills make. We will definitely be doing more paper quilling projects in the future.
More fall projects you might like
Fall Leaf Painting with Watercolors & Glitter
Make Unique Fall Suncatchers Using Seeds
Follow me on Pinterest for more amazing project ideas!
Pin this project for later




[…] you are looking for more fun fall projects check out this Easy Paper Quilling Apple Craft that is so fun (I think it might be my new favorite art technique!) or these Unique Fall […]