These flower painted rocks are so bright and colorful and the perfect spring or summer craft! They also make a great summer camp or playdate project. Rock painting is always a fun activity for kids and a great handmade gift idea. You only need a few simple supplies and your creativity to get started.
If you are looking for more rock painting ideas check out my collection of creative rock painting for kids!
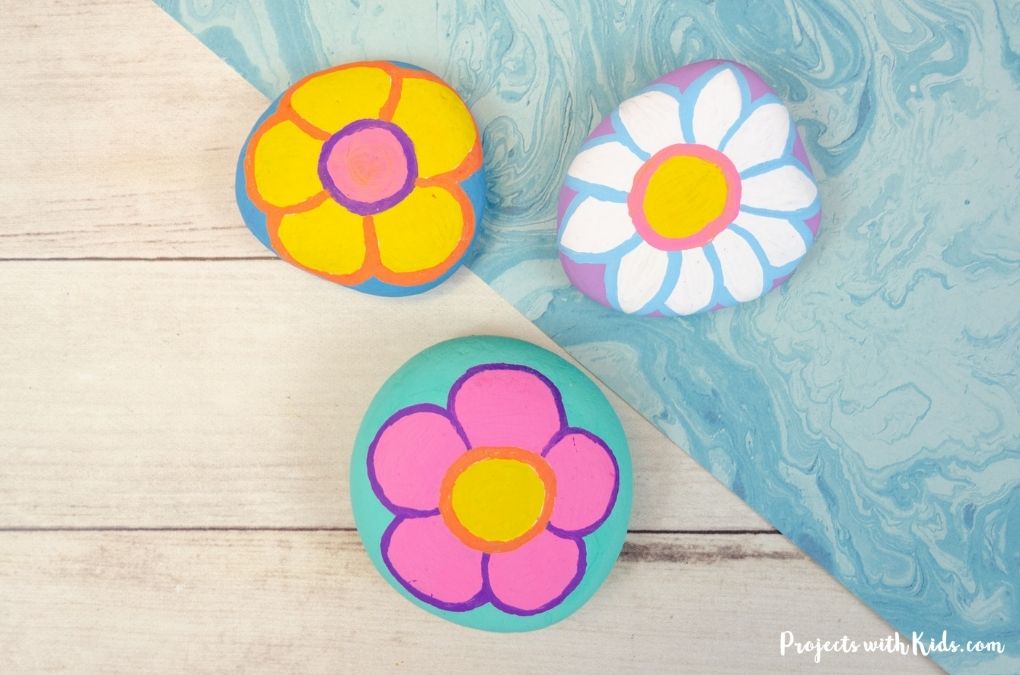
Painted rocks are also great for kids to make and hide in the garden! If you are going to be placing rocks outside, make sure to protect them with an outdoor sealer.
If you are looking for more spring projects, take a look at this colorful collection of spring art for kids!
Create your own flower painted rocks
This post contains affiliate links. As an Amazon Associate, I earn from qualifying purchases. If you would like more information please review my privacy & disclosure policy.
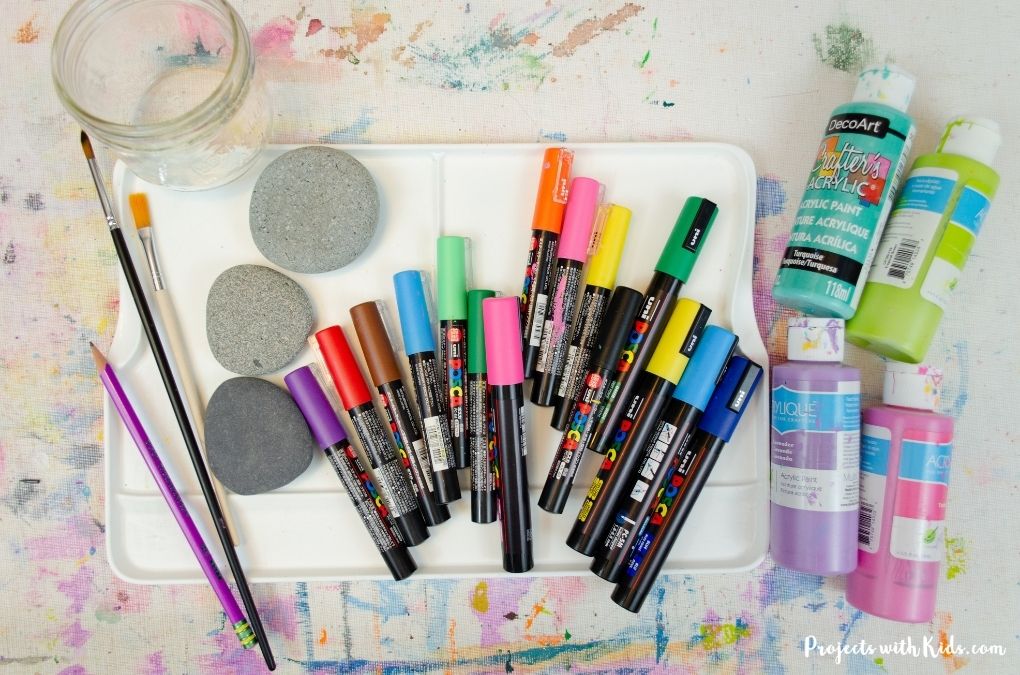
Supplies
- River rocks
- Paint pens
- Acrylic paints
- Paintbrushes
- Paint palette and water dish
- Pencil
- Cork or small plastic lid to use as a template (optional)
Instructions for your rock painting
1. First, make sure your rocks are clean and dry. Paint your rock with a bright color of acrylic paint. Depending on the type of paint and the color you choose, you may need more than one coat.
Let the paint dry completely before moving on.
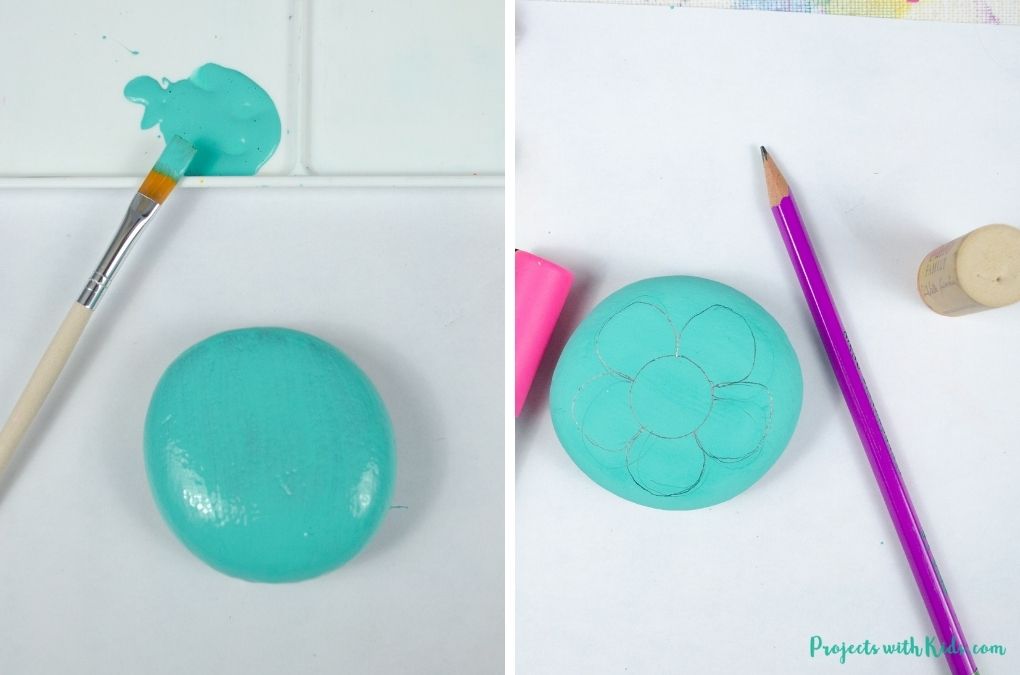
2. Use a pencil to draw in a simple flower shape. Using a cork or small plastic lid as a template for the center of the flower will make it easier for kids to draw.
Kids can draw in any type of petal shape they like, a simple petal shape like in the example photo above works best.
Press lightly with your pencil so you can erase if you need to.
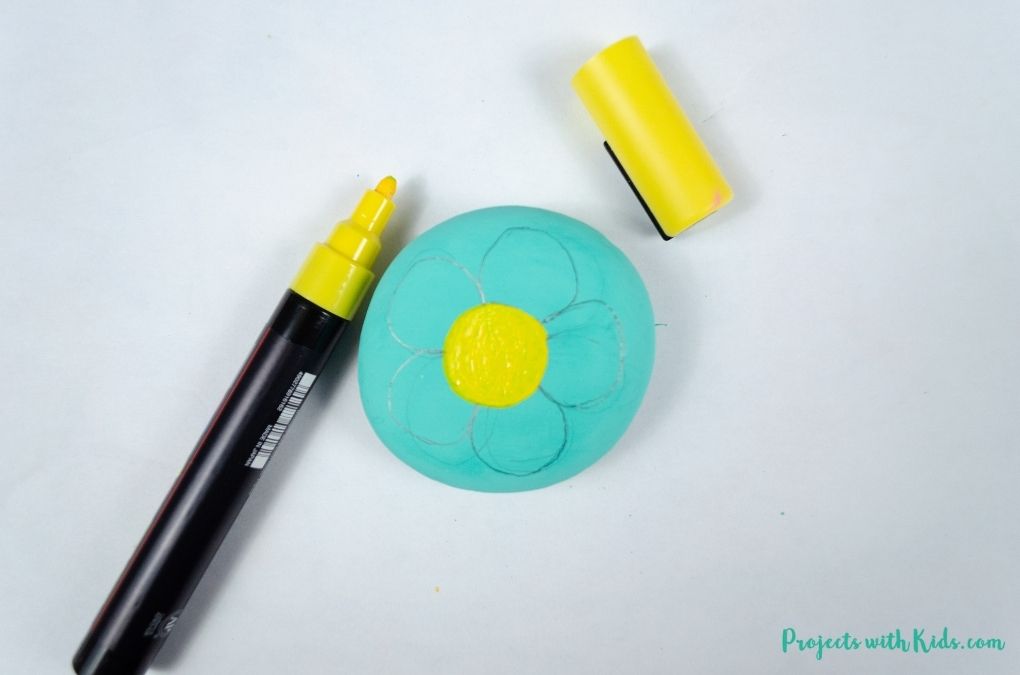
3. Decide on a color for the center of your flower and color it in with a paint pen. I used a medium point paint pen for this part. Depending on the type of paint pens you are using and the color you choose, you may have to do two coats.
Let each coat dry in between completely. Sometimes with paint pens you can start to scrape off the first coat if it’s not completely dry.
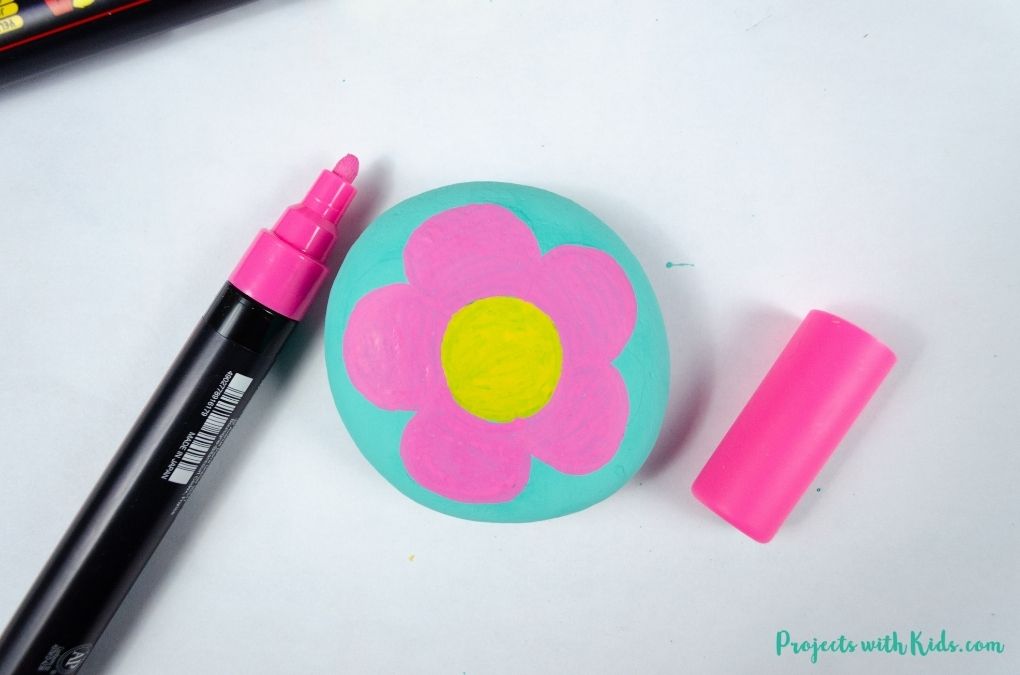
4. Color the petals of your flower with a paint pen. Again, more than one coat may be needed. Remember to let each coat dry completely.
You can also try using acrylic paint for the flower instead of paint pens. Using a small detail brush for this part will help to make it easier.
Another fun summer rock painting idea are these adorable watermelon painted rocks!
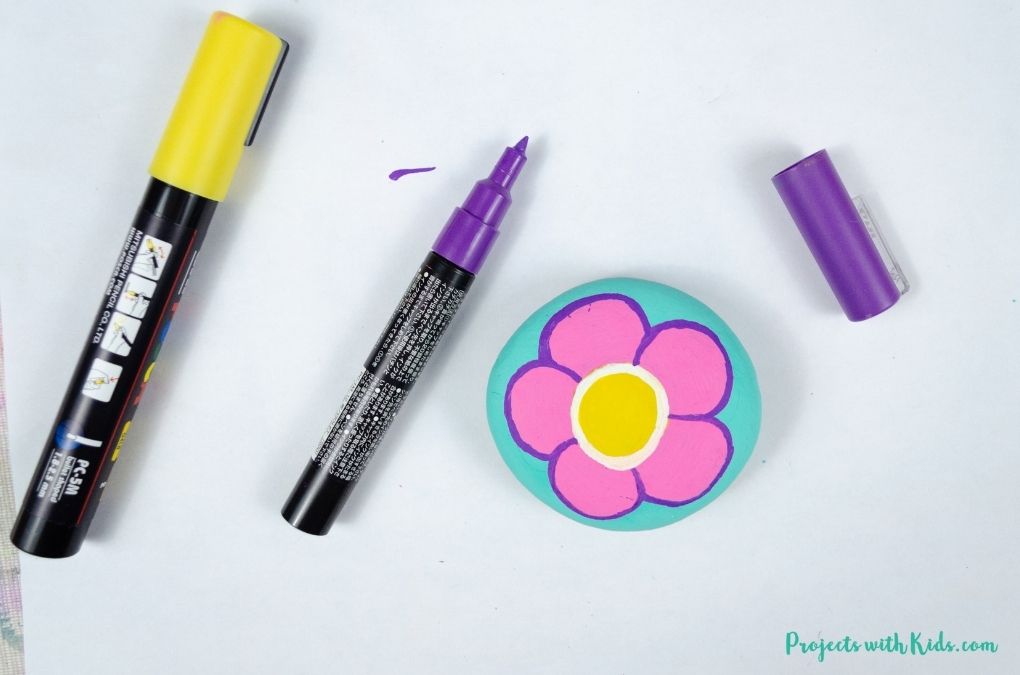
5. Choose 2 different colors to outline the flower center and flower petals. This can be contrasting colors to make them really stand out, or even a brighter or lighter shade to have them blend in more (depending on the colors of paint pens you have).
Carefully outline the center of the flower first. I outlined mine in white first, to help the orange go on brighter. Make sure to let everything dry in between coats.
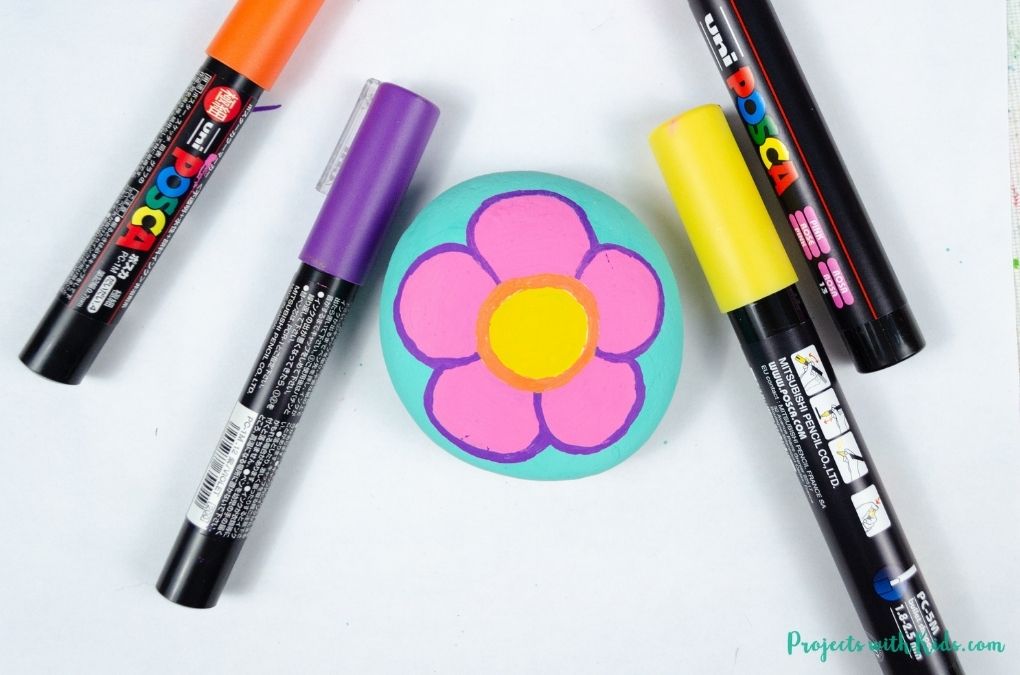
6. Carefully outline the flower petals with a paint pen. You can use a fine point or medium point for this part. Outlining the flowers really makes them bold and stand out!
7. Protect your painted rocks by painting on two thin coats of a sealer. I like to use Mod Podge for this, it’s easy for kids to paint on themslves and you don’t have to worry about using any toxic sprays.
If you are going to be placing your rocks outside, make sure to use an outdoor Mod Podge to protect your rocks from the elements.
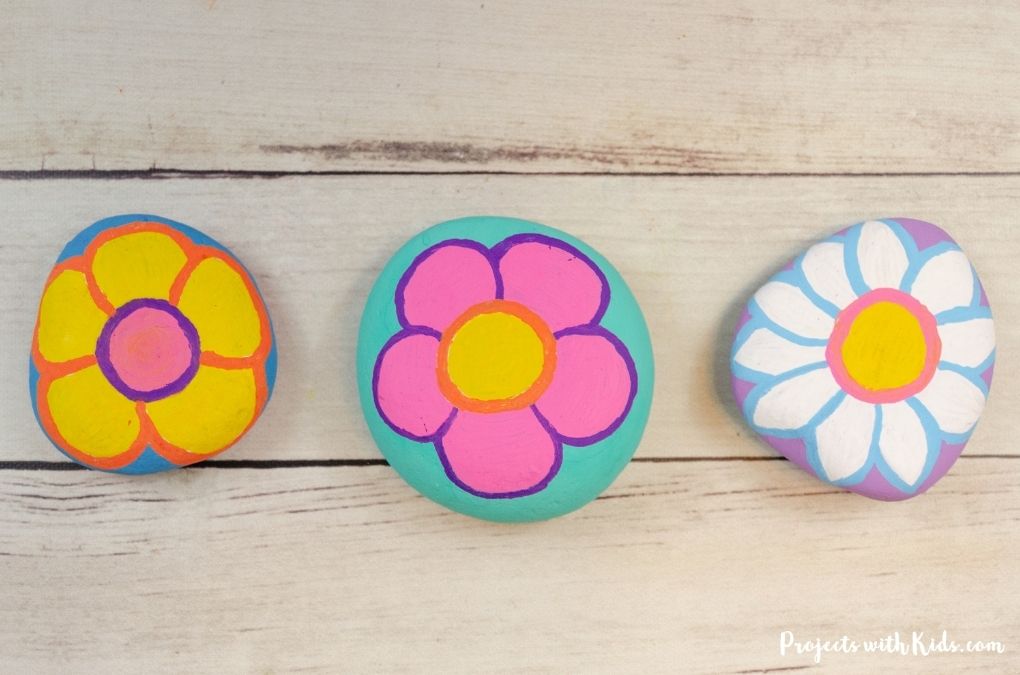
There are so many different color combinations and flower types kids can do for their painted rocks, each one will be unique!
More flower art kids will love
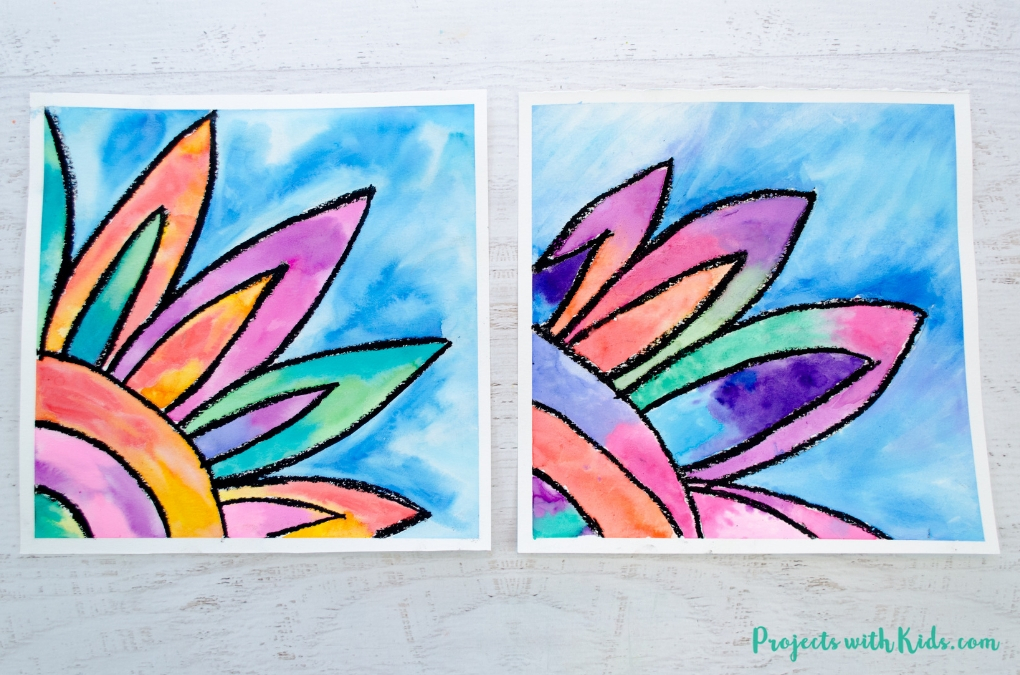
How to Make a Beautiful Watercolor Flower Painting
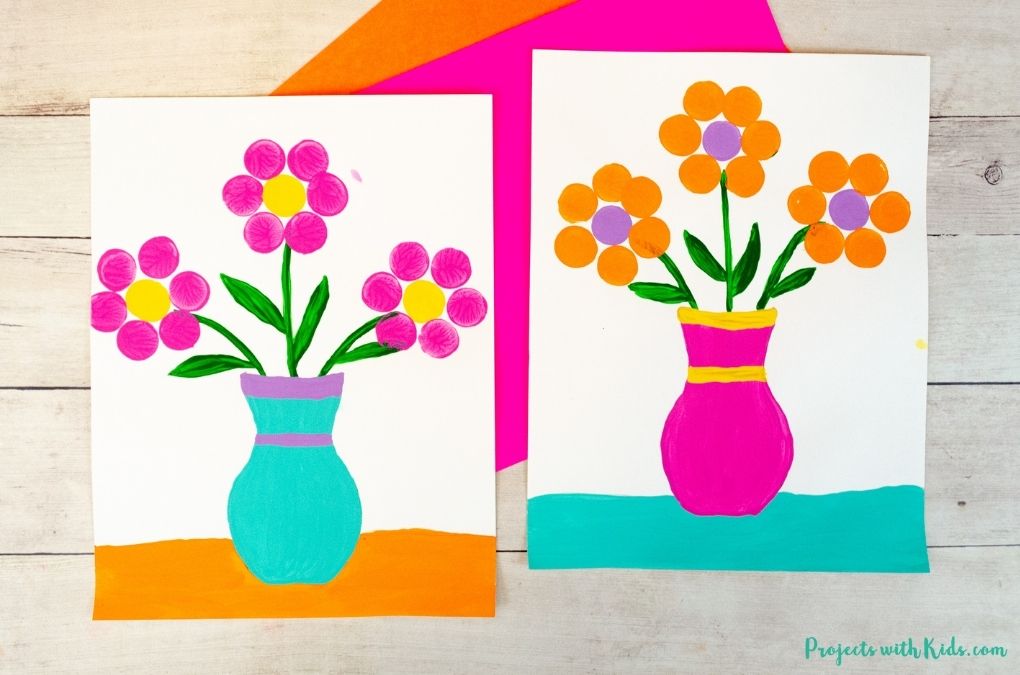
Easy Cork Stamped Flower Painted for Kids to Make
Follow me on Pinterest for more amazing project ideas.
Pin this rock painting craft for later
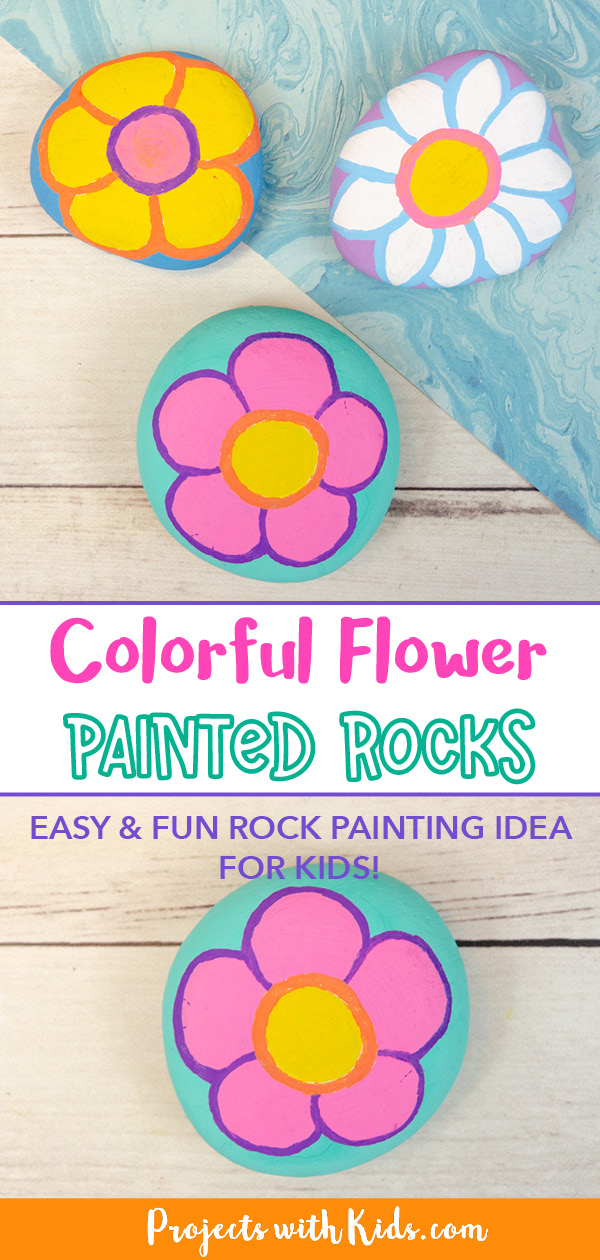
Colorful and Easy Flower Painted Rocks to Make
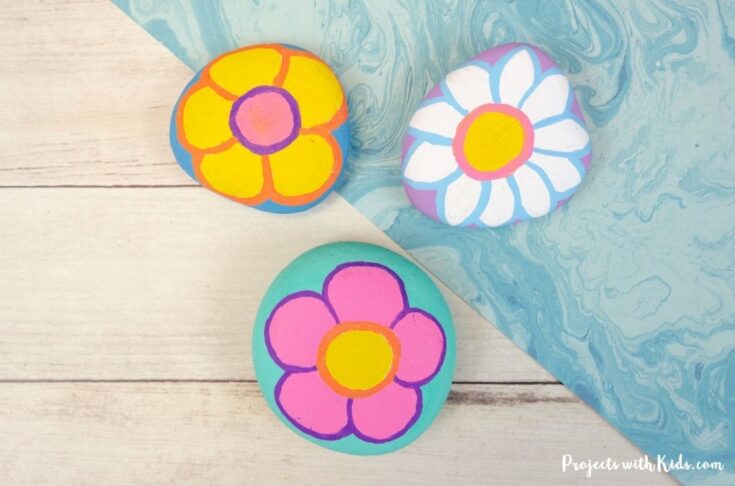
Colorful flower painted rocks that are easy to make using only a few simple supplies. A fun craft kids will love!
Materials
- River rocks
- Paint pens
- Acrylic paints
- Pencil
Tools
- Paintbrushes
- Paint palette and water dish
- Cork or small plastic lid to use as a template (optional)
Instructions
- If you are collecting your rocks outside, you want to make sure that your rocks are clean and dry.
Paint your rock with acrylic paint. Depending on the type of paint and color you use, you may need two coats. Let the paint dry completely before moving on. - Use a pencil to lightly draw a flower on your rock. Using a cork or small plastic lid as a template for the center of the flower will help make it easier for kids to draw.
- Color in the center of the flower with a paint pen. If you need a second coat for the center, let the first coat dry completely.
- Color in the flower petals with a paint pen, again letting the paint dry completely between coats.
- Have kids decide on a color for the outline of the center and carefully draw around the center of the flower with a paint pen.
- Carefully draw around the petals with a paint pen. Let everything dry completely.
- Protect your painted rocks by painting on two thin coats of a sealer. You can use Mod Podge to do this, it's easy for kids to paint on themslves.
If you are going to be placing your rocks outside, make sure to use an outdoor Mod Podge to protect your rocks from the elements.


