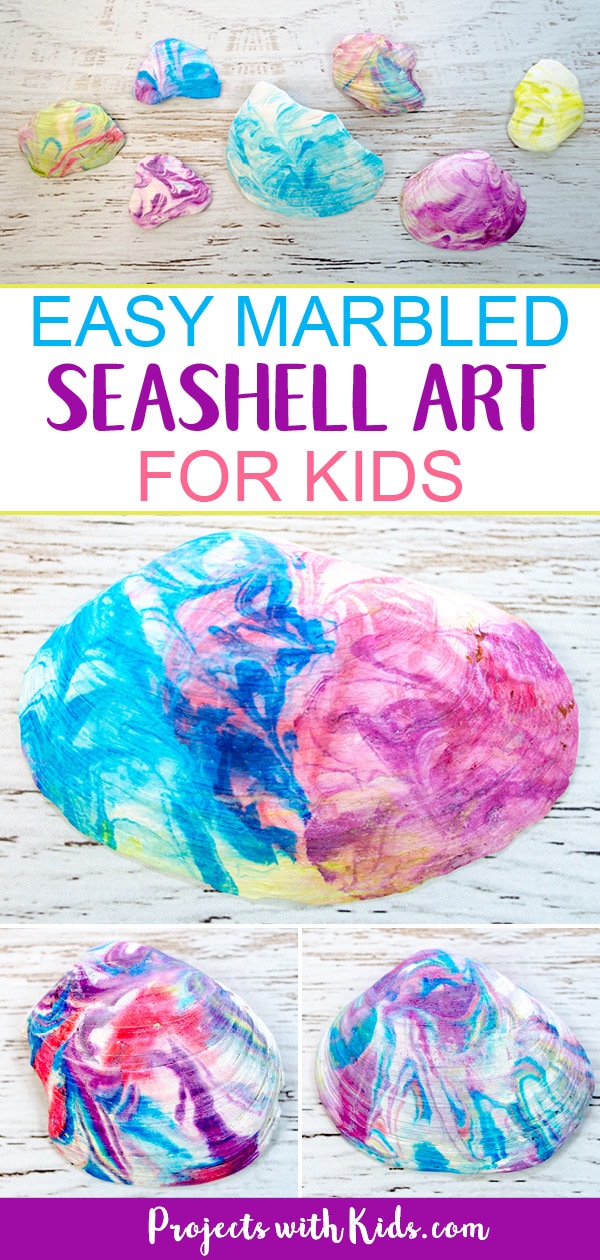
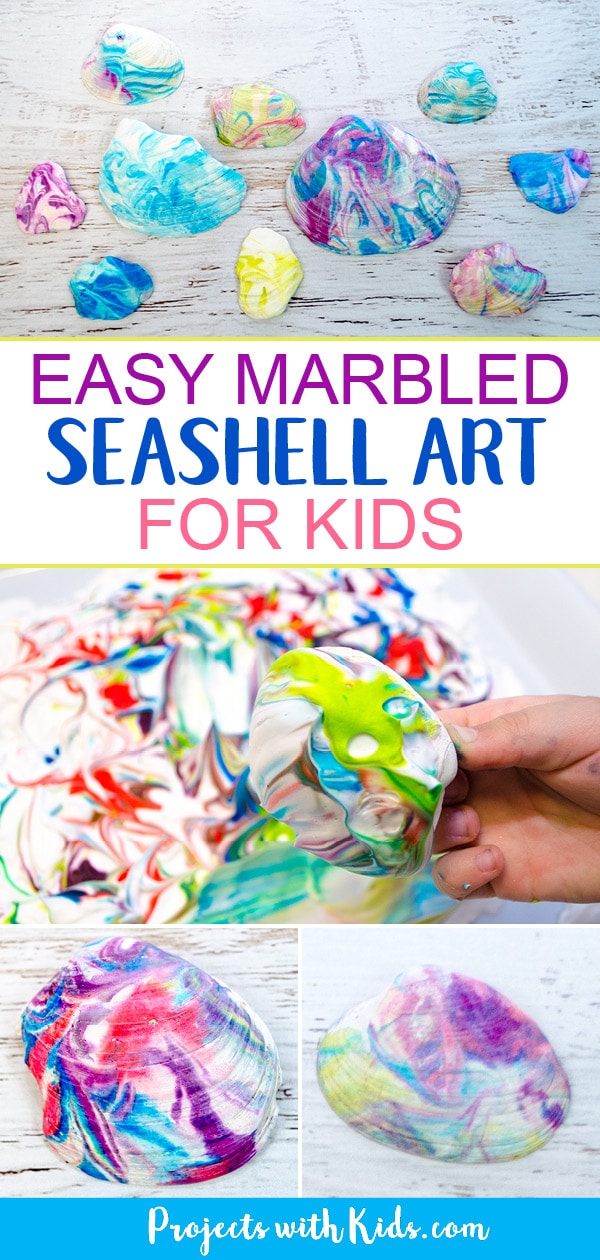
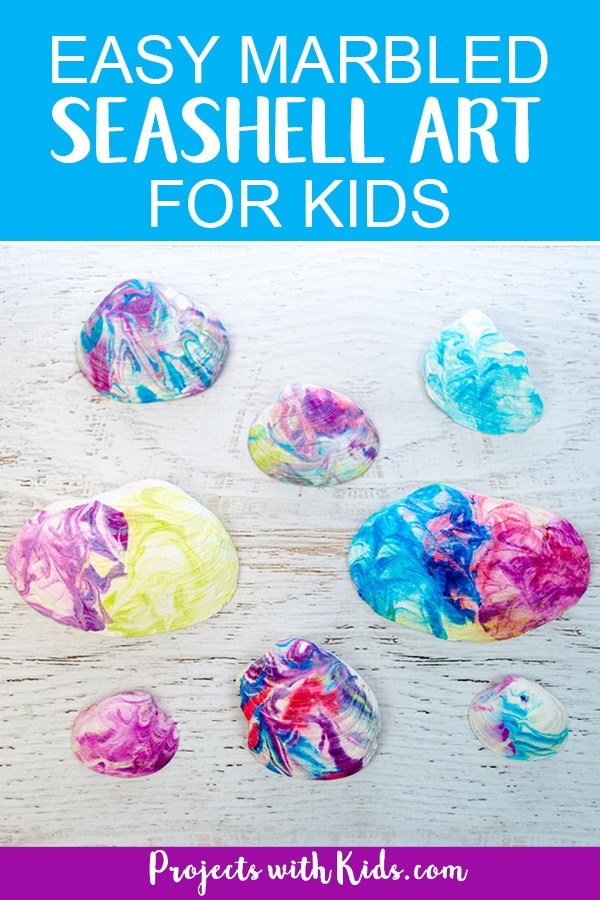
This seashell art is so addicting and mesmerizing! The colors turned out beautifully and the patterns were so cool. We used up all of the shells I put out and went looking for more. I even started a second tray of shaving cream so I could do my own seashell art.
We did lots of experimenting with different color combinations and dipping the shells into one color at a time and layering and trying to make different patterns with the food coloring. We love exploring different painting techniques. Take a look at my collection of painting ideas for kids for more fun and creative art projects to try!
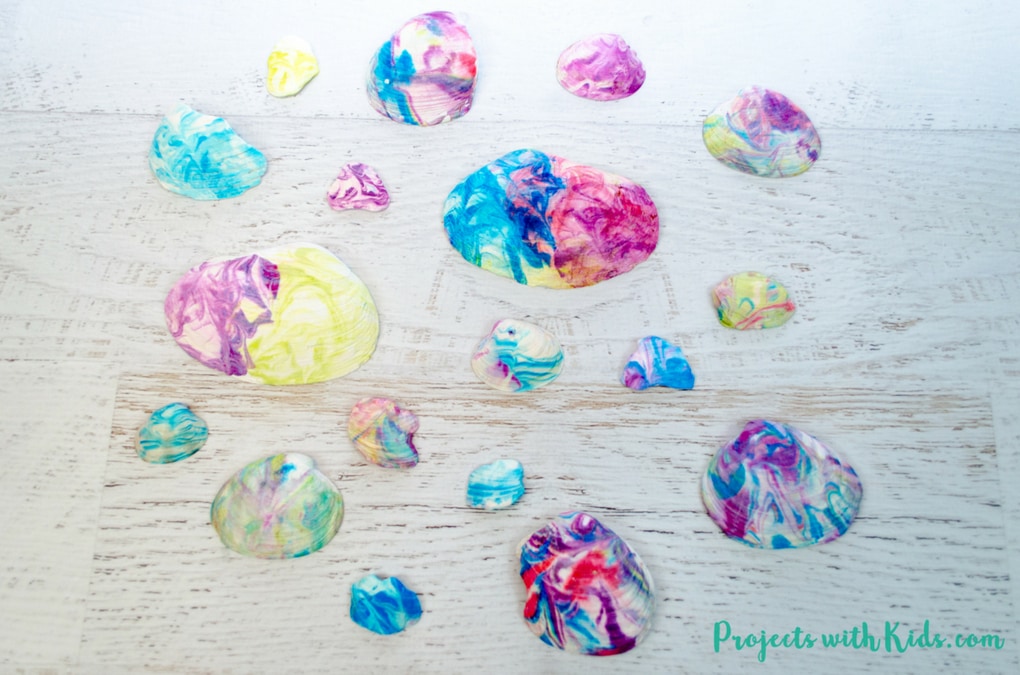
We found that we had the best results with the shells we had collected ourselves from the beach. I have quite a few bins of beach treasures that I have collected over the years and this was the perfect project for us to dig through those bins and pick out some shells to use.
The shells that were mostly white in color that didn’t have a shine or coating on it seemed to work the best. We also used some broken shells and shell fragments that turned out just beautifully!
Create your own marbled seashell art for kids
This post contains affiliate links, which come at no cost to you. If you would like more information please review my privacy & disclosure policy.
Supplies
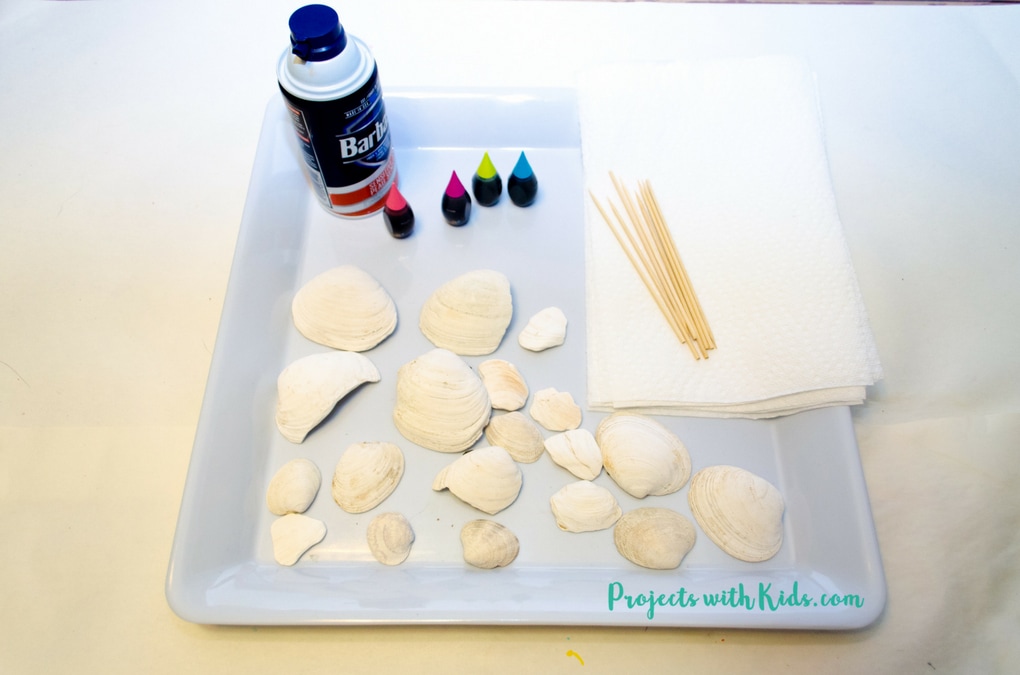
- Shells, white clam shells that we had collected ourselves from the beach seemed to work the best
- Food coloring, we used a neon food coloring pack
- Shaving cream
- Craft trays
- Bamboo skewers
- Paper towels, you will need a lot!
Instructions
1. Get your shells ready. Make sure that they are clean and dry. As I mentioned above we had the best results with the shells that we had collected from the beach. White clam shells that don’t have any coating or shine to them produced the best results.
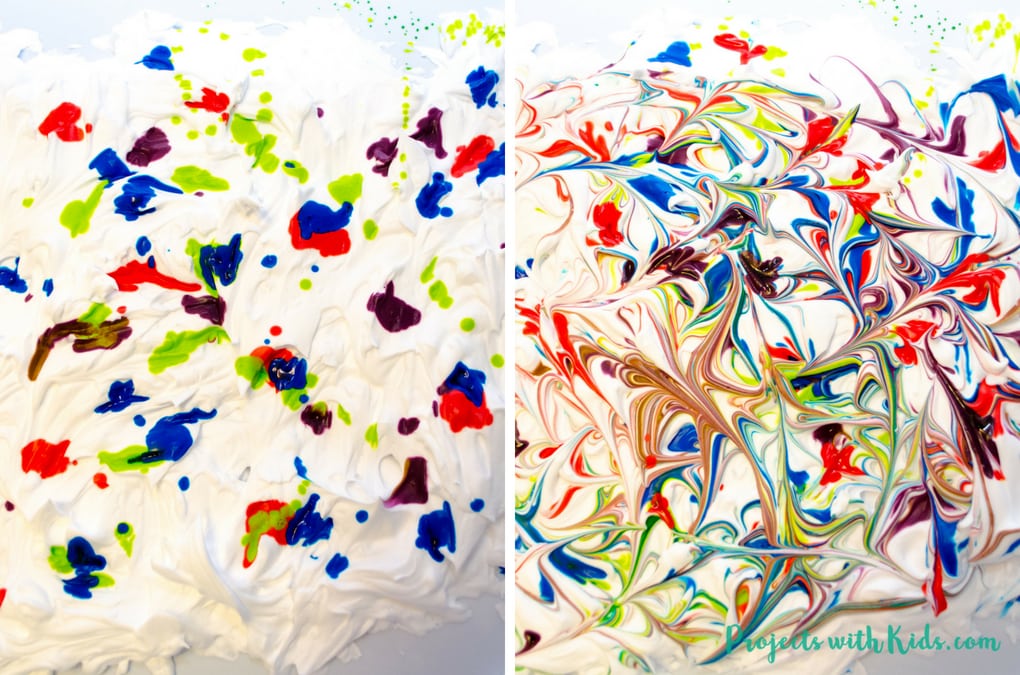
2. Fill your tray with shaving cream and squeeze your food coloring onto the shaving cream. We used a neon pack of food coloring although, I didn’t find the colors looked very neon like. But they still turned out very bright and colorful. Whatever colors you use will turn out great!
You may also like: Easy Painted Fairy Houses for the Garden
3. Using the bamboo skewers make a marbled pattern in the shaving cream. We initially started with multiple colors and then experimented with using one color at a time.
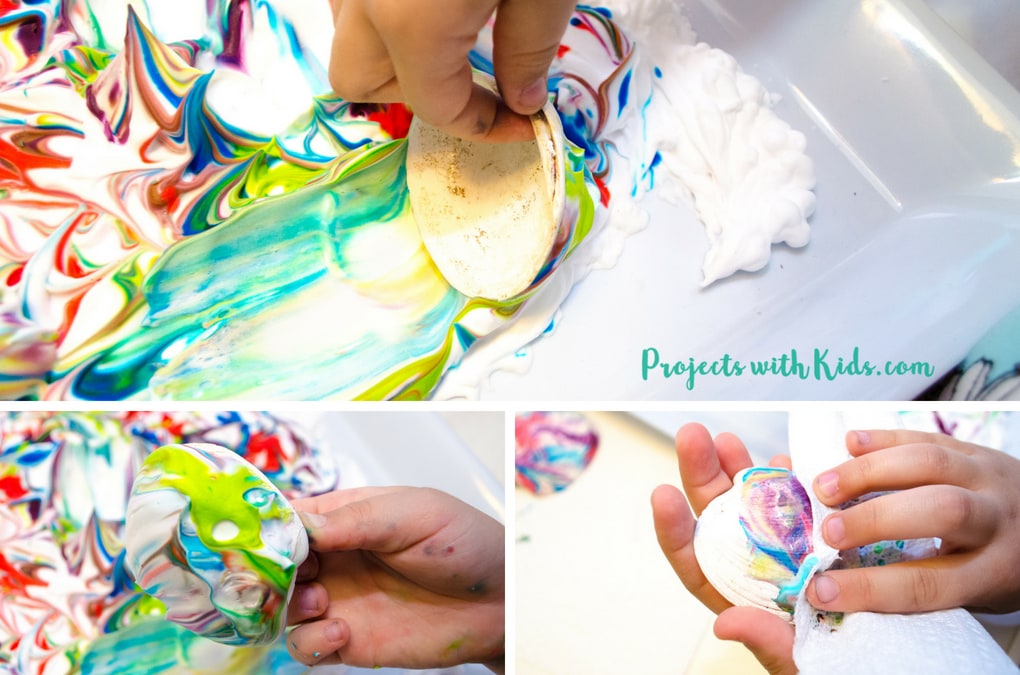
4. Dip a shell into the marbled shaving cream, we dipped the shells and then scooped up the shaving cream a bit. Taking a paper towel, wipe off the shaving cream to reveal the amazing patterns underneath! Place the shell on some more paper towels to dry.
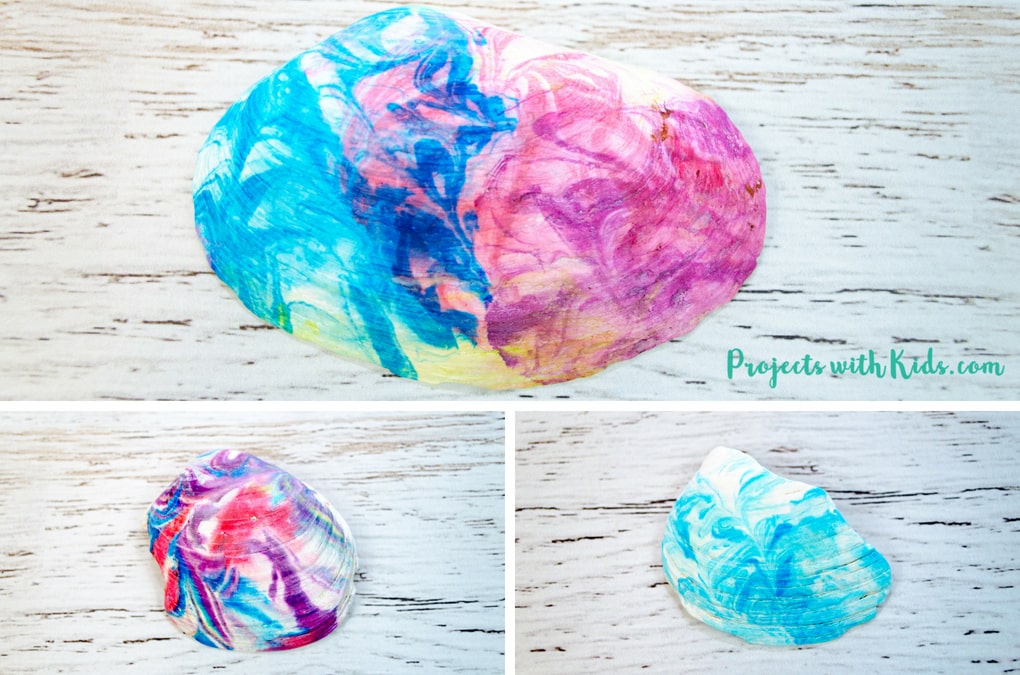
Experiment with creating different patterns and color combinations. I also tried dipping one side of a shell in one color and then dipping another side in another color, letting the colors overlap slightly and I love how this process turned out!
5. Continue creating your beautiful seashell art!
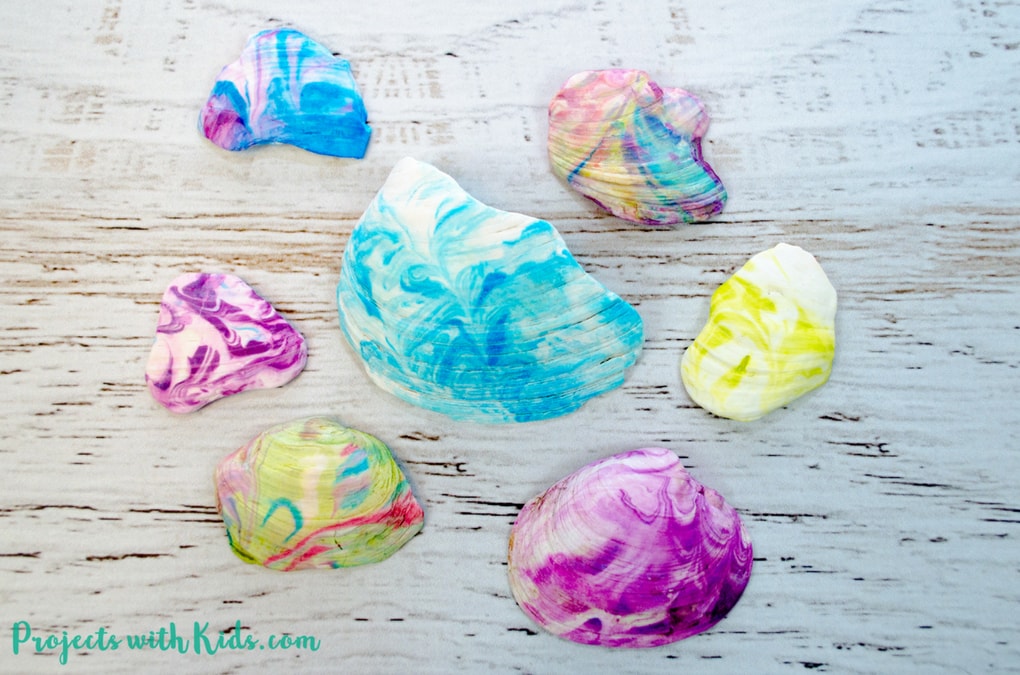
My kids had a great time with this seashell art and didn’t want to stop! We had so much fun creating cool and interesting marbled designs in our seashells, I ended up making more trays of shaving cream and getting out more shells so we could continue. It’s definitely a summer craft we will do again!
More summer crafts you will love
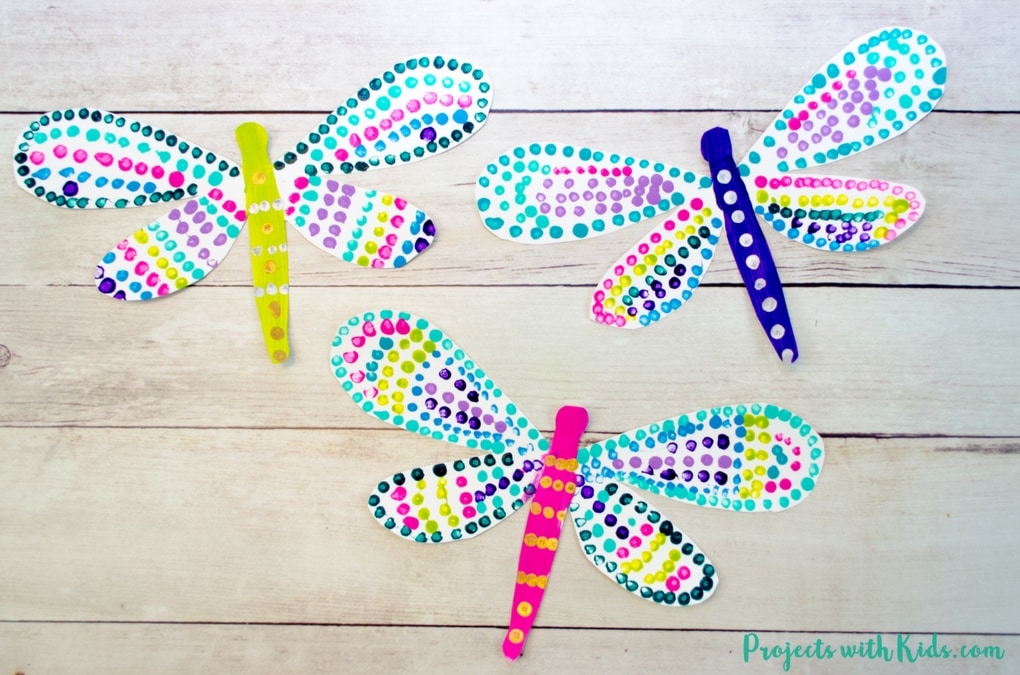
Colorful Dragonfly Craft Using Q-tips
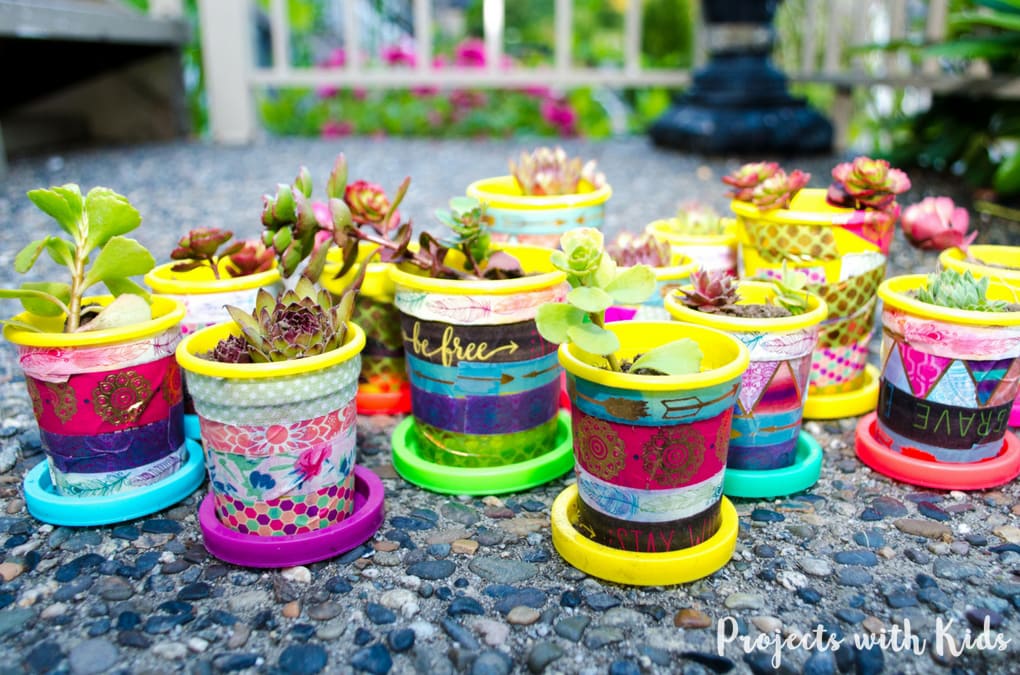
Mini Upcycled Plant Pots with Washi Tape
Follow me on Pinterest for more amazing project ideas!
Pin this project for later




Ria Cheripuram
This is such a clever idea! Love the colours and patterns on the shells.
Now, I know what to do with the left-over seashells I have 🙂 My daughter is gonna love this activity!
ProjectswithKids
Thank you Ria! It really is a fun craft, I hope you and your daughter have fun creating your marbled seashells!