Bright green leaves on trees, light blue skies, and colorful wildflowers all come together to make this gorgeous spring trees painting! Kids will love painting this spring forest scene.
Using bundled q-tips is a fun way for kids to explore painting! The bundled q-tips are perfect for creating leaf and flower textures.
This is a great project for talking about the early signs of spring when the leaves on trees are just starting to appear and spring wildflowers start to bloom. We love exploring different painting techniques. Take a look at my collection of painting ideas for kids for more fun and creative art projects to try!
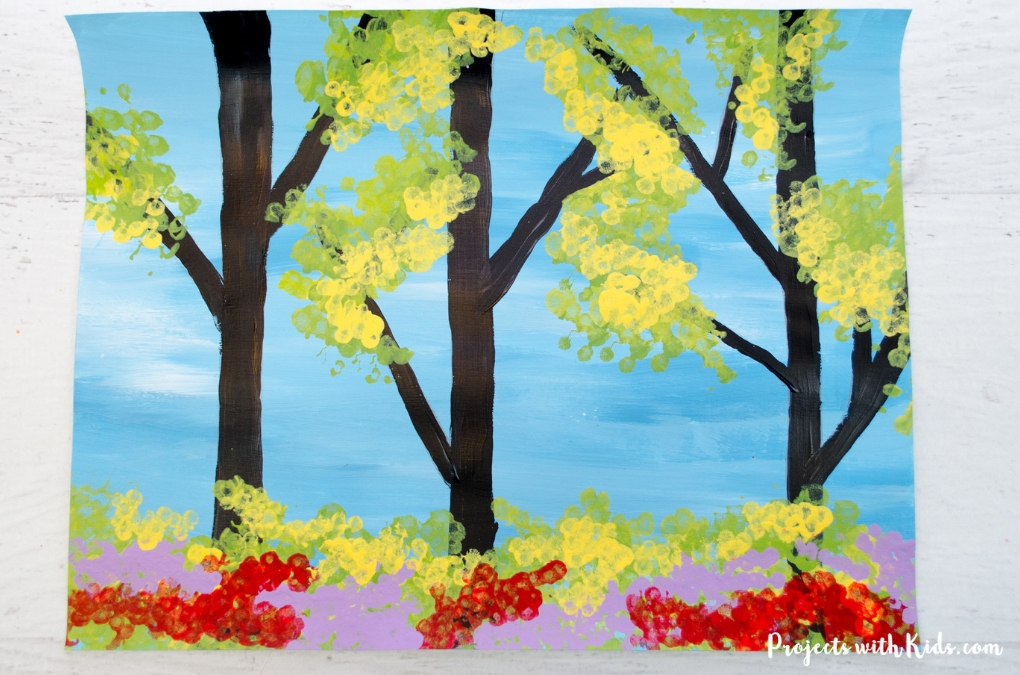
For this project, I created a free printable template to make this art project even easier for you. This is a great option for younger kids who might have difficulty drawing the trees and branches and just want to focus on painting with q-tips.
This template is available to my email subscribers. Fill out the form below to get the free template.
After signing up you will receive a welcome email with your download link.
Painting with q-tips is something we’ve done quite a few times. Take a look at this simple pointillism art for kids project and this fall forest q-tip painting that uses the same printable template!
Create your own spring trees painting with q-tips
This post contains affiliate links, which come at no cost to you. If you would like more information please review my privacy & disclosure policy.
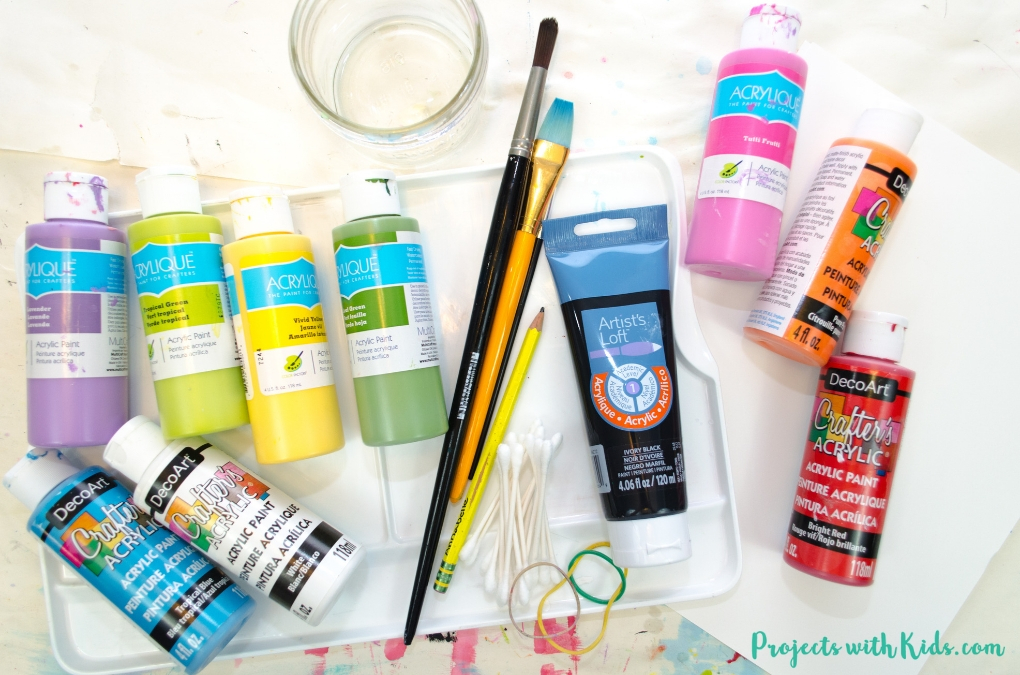
Supplies
- Tree template (optional)
- White cardstock
- Acrylic paint in bright spring colors
- Paint palette
- Paintbrushes
- Water dish
- Q-tips
- Elastic Bands
Instructions for your spring painting
1. First, print out your tree template on white cardstock if you are using one. This template is a great option for younger kids who might find it difficult to draw in the trees and branches and just want to focus on painting with q-tips. If you are not using the template you will still use white cardstock.
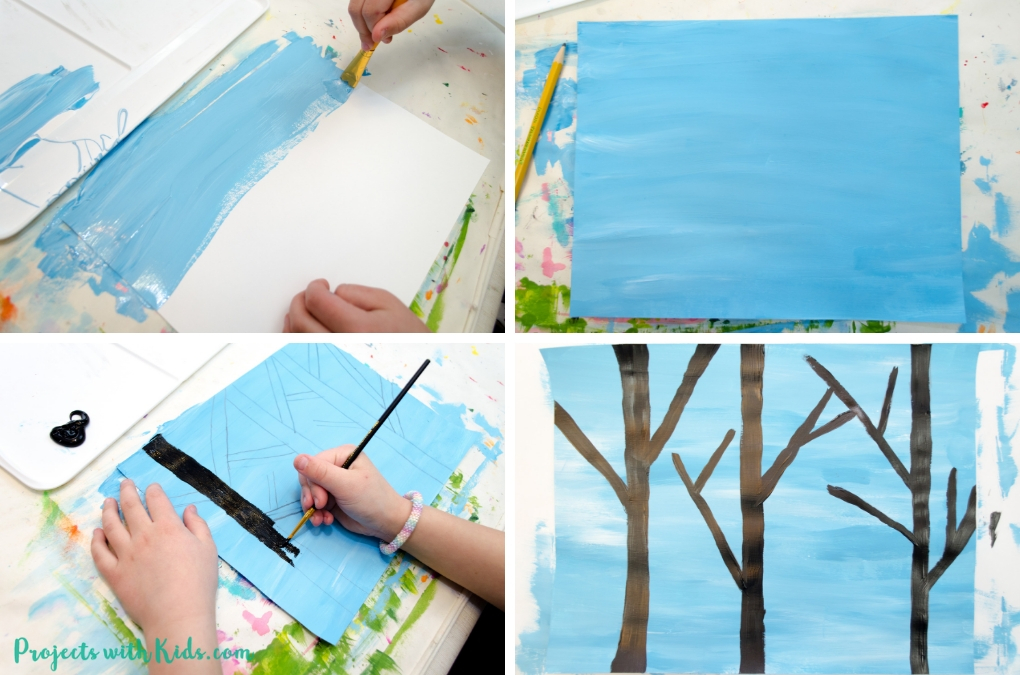
2. Paint the sky blue. We mixed our blue paint with a bit of white for some color variation. Using a larger brush for this step is best. If you are using the template, you can paint right over the tree outlines with your sky color.
Related: Colorful Q-tip Painted Dragonfly Craft
3. If you are not using the template, draw in your trees and branches. We did 3 trees, which I think looks nice, but kids can choose their own style. Paint your trees and branches with black paint. Using a smaller brush to do this will help keep the branches on the thinner side.
Let the trees dry before moving on. I like to keep a hairdryer in our craft area to help speed up drying times.
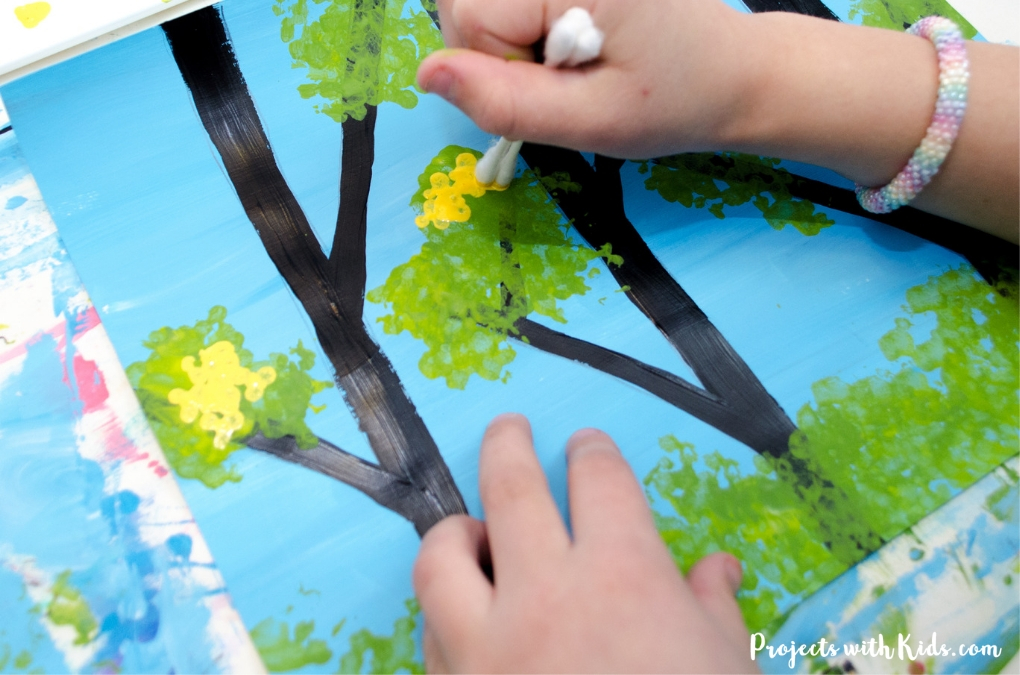
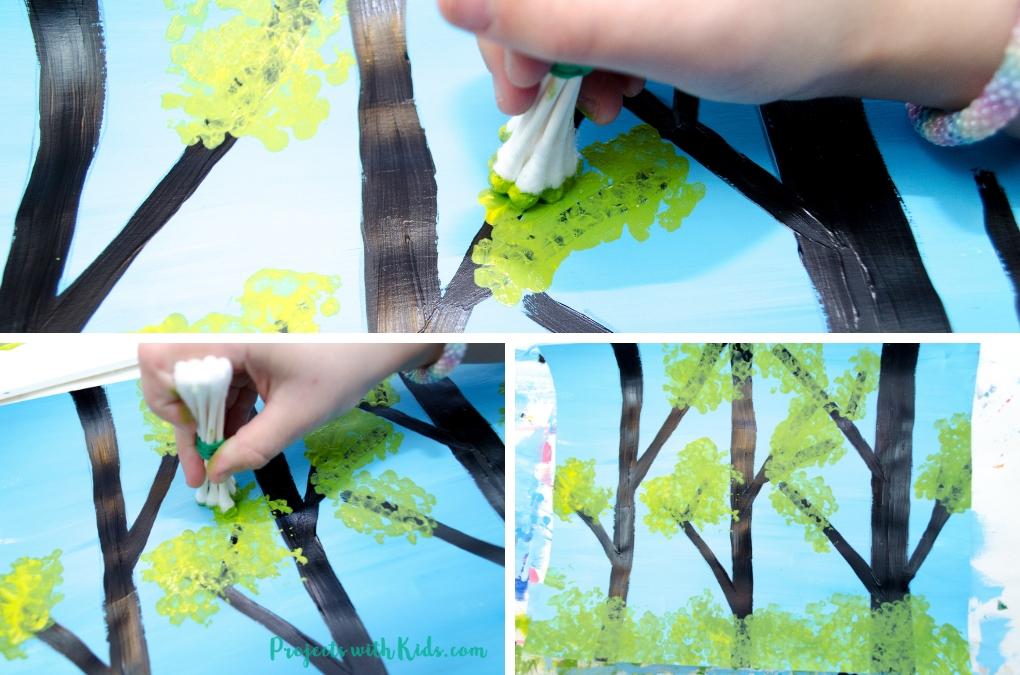
4. Now it’s time to paint with q-tips! To paint the green leaves you will need two shades of green, light green, and a medium shade.
Bundle nine q-tips together with an elastic band for this part. Have kids dip their q-tip bundles into the 2 shades of green and start painting in the leaves on their trees. Paint along the bottom of the paper as well for the leaves and bushes.
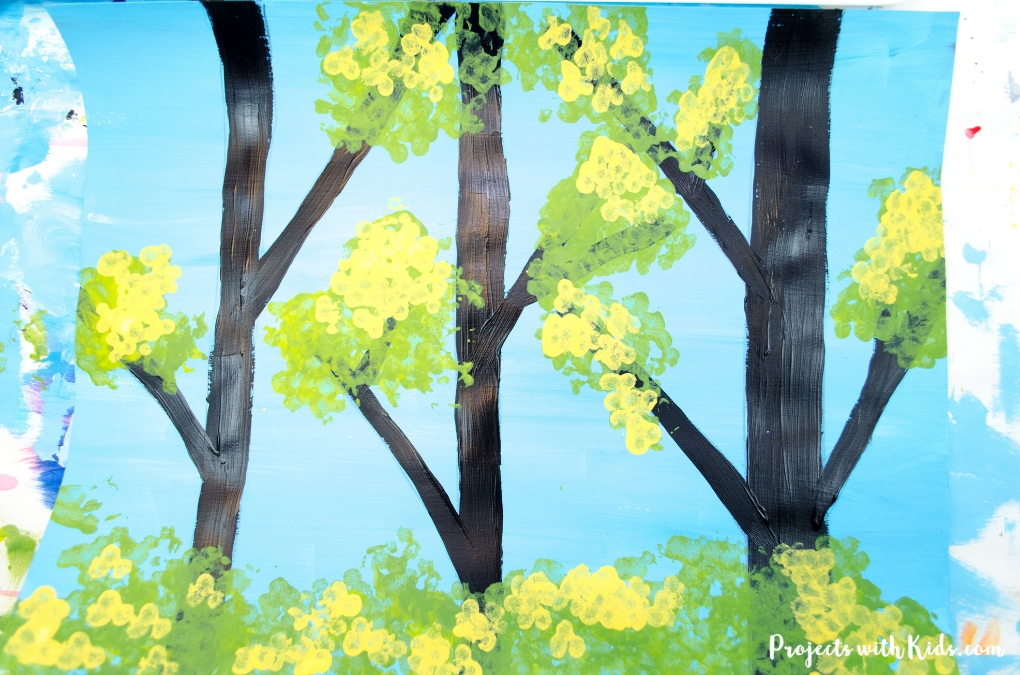
This is a spring forest, the leaves are just starting to come in, so you want to make sure not to cover the branches completely.
5. Once your green leaves are dry, bundle together three q-tips to add in some yellow highlights on the trees and at the bottom. This really helps to make the spring forest look bright and fresh and add in some color variations.
If you are looking for more spring projects, take a look at this colorful collection of spring art for kids!
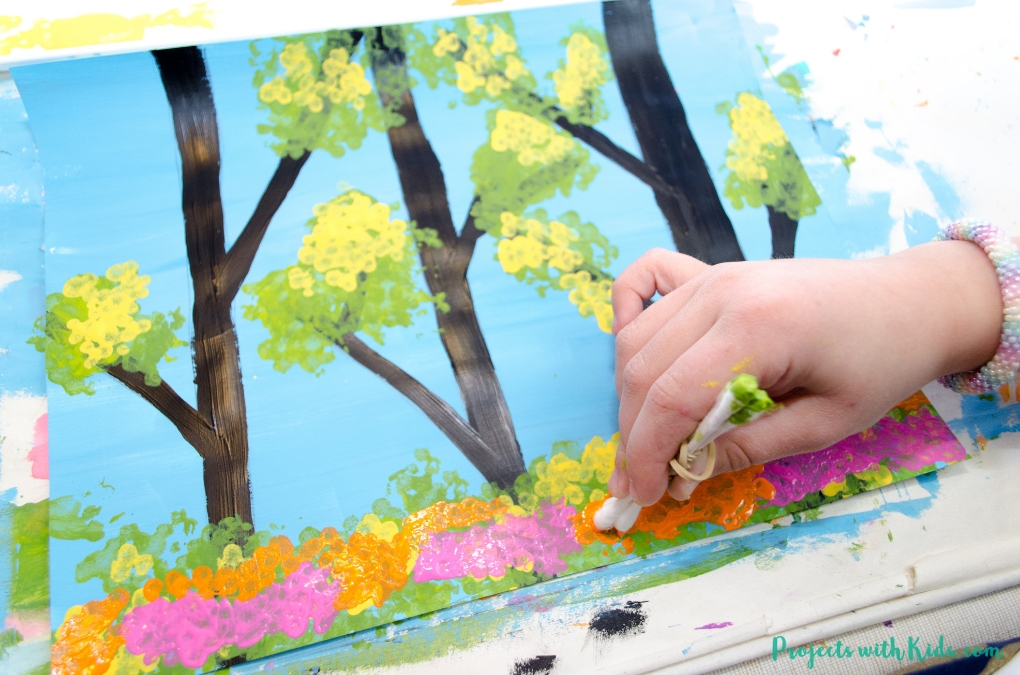
Remind kids to not cover over all of their green leaves, but to add in the yellow sparingly.
6. Now kids can pick two colors to create their wildflowers on the bottom. I love how the bright colors of the flowers really make this spring trees painting stand out! Use three q-tips bundled together for this step as well and have kids paint their wildflowers across the bottom of their painting.
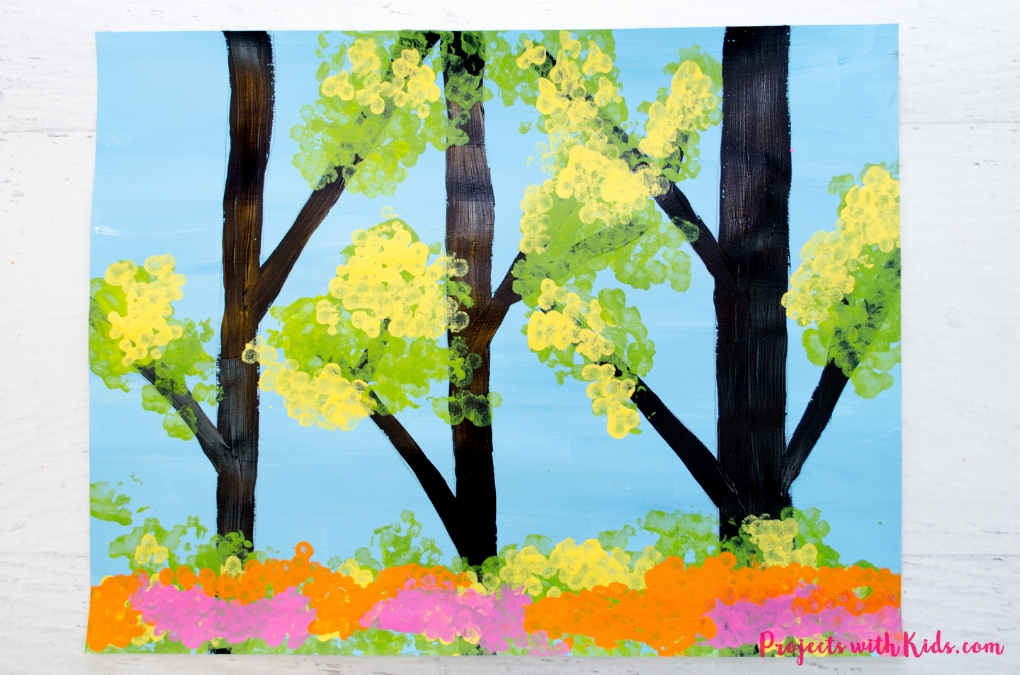
This spring trees painting makes a wonderful spring art project for kids of all ages to create. Painting with bundled q-tips is so fun for kids and creates a perfect texture for the leaves and flowers. I hope you give it a try!
If you are looking for more art projects to try, take a look at our ultimate collection of amazing art projects for kids!
Fill in the form below to get your free printable template!
After signing up you will receive a welcome email with your download link.
More spring painting ideas kids will love
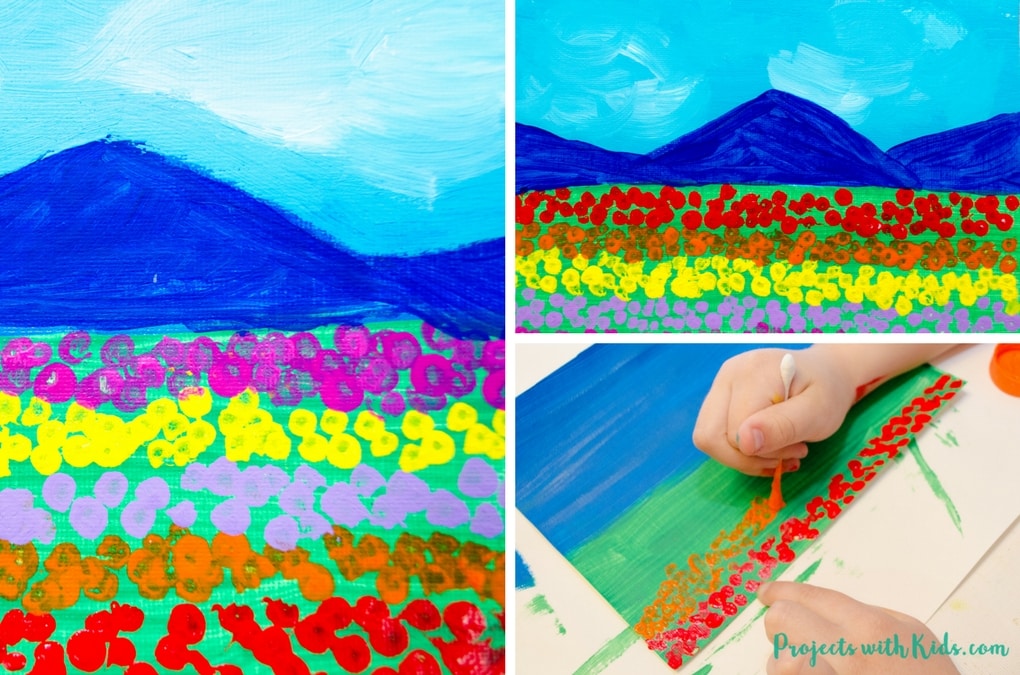
Field of Tulips Q-Tip Painting
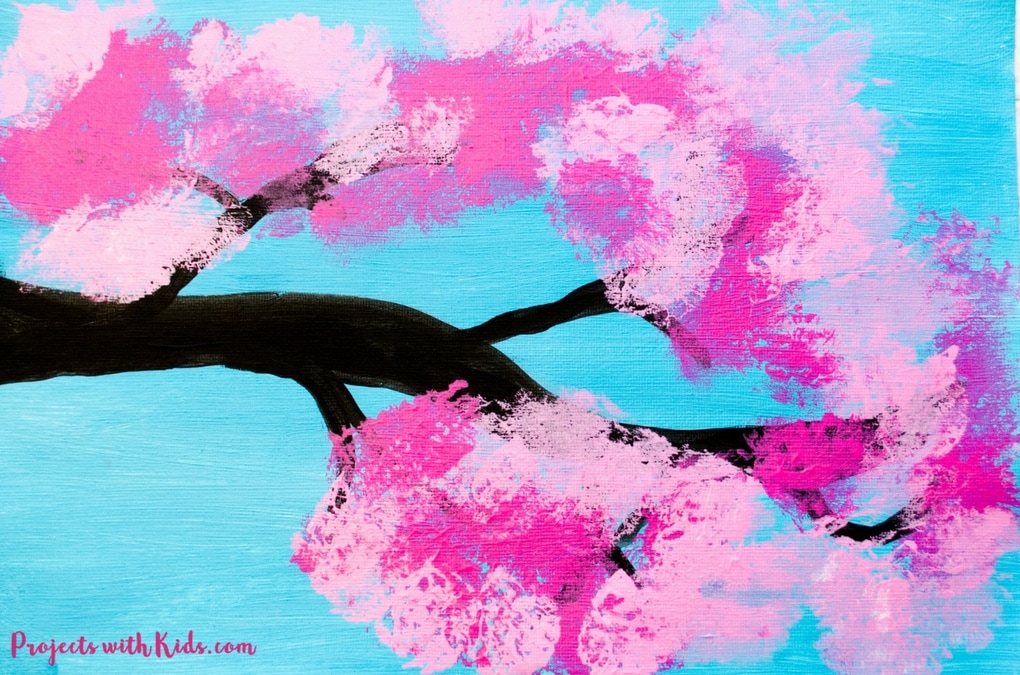
Cherry Blossom Painting with Cotton Balls
Follow me on Pinterest for more amazing project ideas.
Pin this painting idea for later
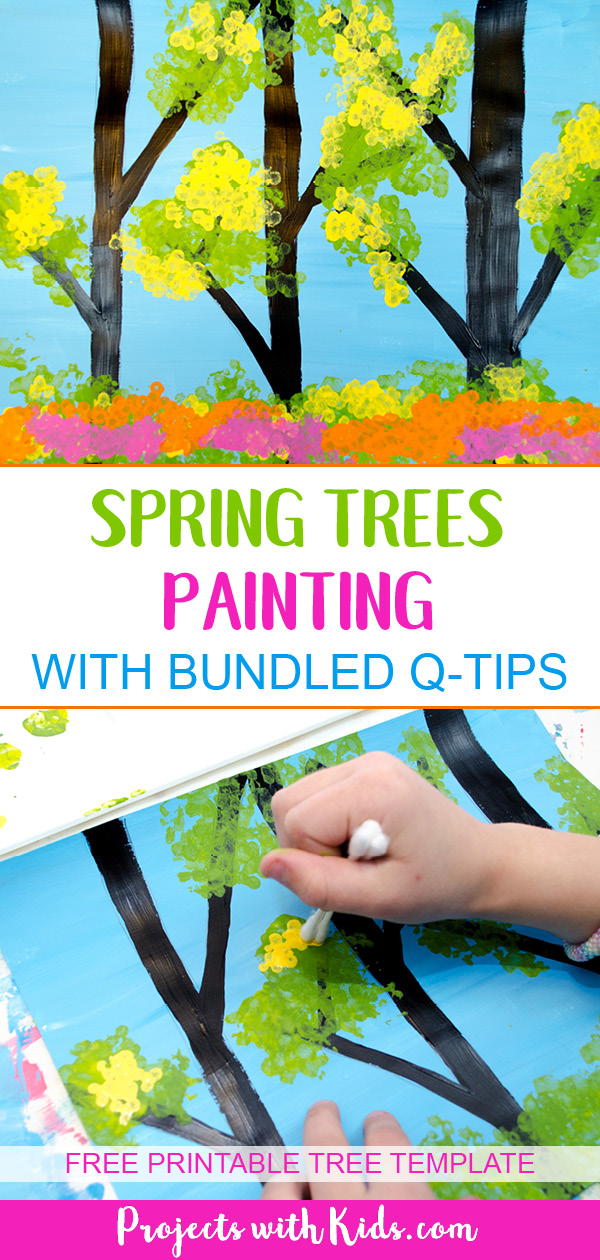
Easy Spring Trees Painting with Bundled Q-Tips
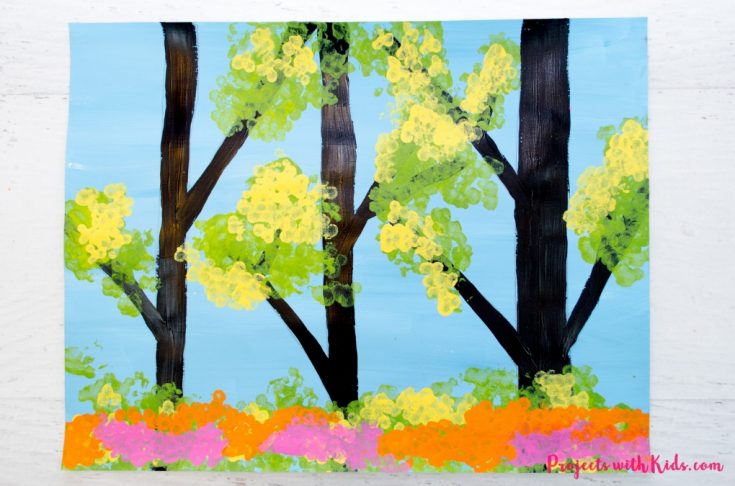
Kids will love making this spring trees painting! Using bundled q-tips makes this an easy art project for kids of all ages.
Materials
- Tree template (optional)
- White cardstock
- Acrylic paint in bright spring colors
- Q-tips
Tools
- Paint palette
- Paintbrushes
- Water dish
- Elastic Bands
Instructions
- If you are using the tree template, print it out onto white cardstock.
- Paint your paper with light blue acrylic paint and let it dry.
- If kids are not using the template, then lightly draw in trees and branches with a pencil.
- Paint the trees and branches with black acrylic paint and let it dry.
- Have two shades of green ready in your paint palette, a light shade, and a medium shade. Bundle nine q-tips together with an elastic band. Have kids dip their q-tip bundles into the green paint and start to paint leaves on the trees.
Paint leaves along the bottom of the paper as well. - Bundle together three q-tips and use yellow paint to add in some highlights to the leaves on the trees and along the bottom.
- Have kids choose two colors for the wildflowers. Bundle together three q-tips for his step as well and have kids paint in the wildflowers at the bottom of the paper.


Gina Bencivengo
So thrilled to stumble across your EASY SPRING TREES PAINTING WITH BUNDLED Q-TIPS. So perfect for my daughter’s paint party! Would love to have the template.
Thanks,
Gina