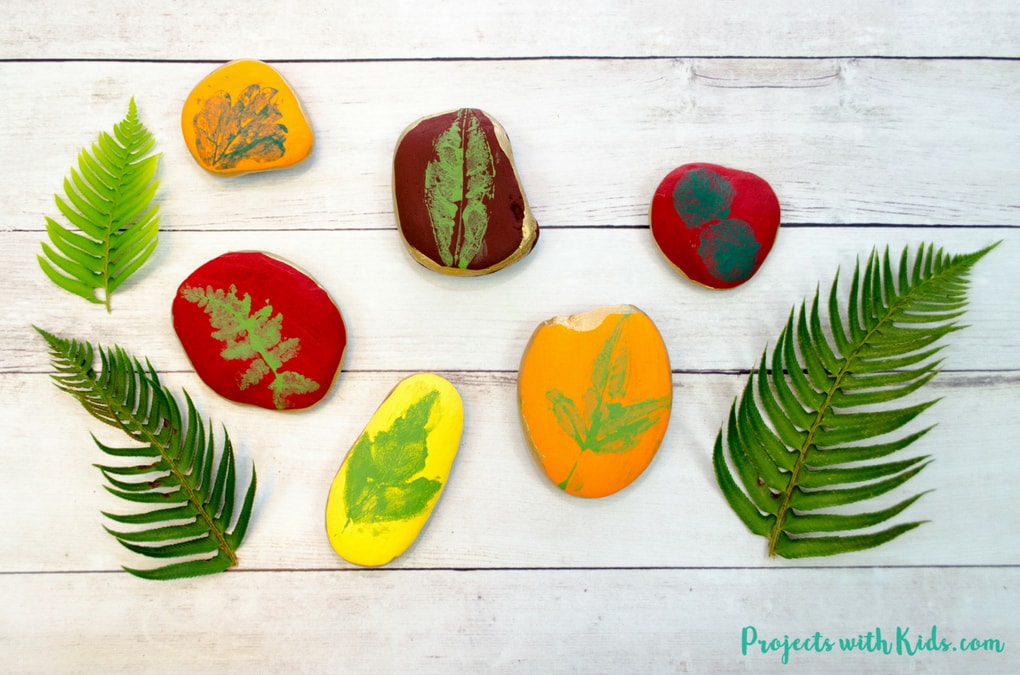
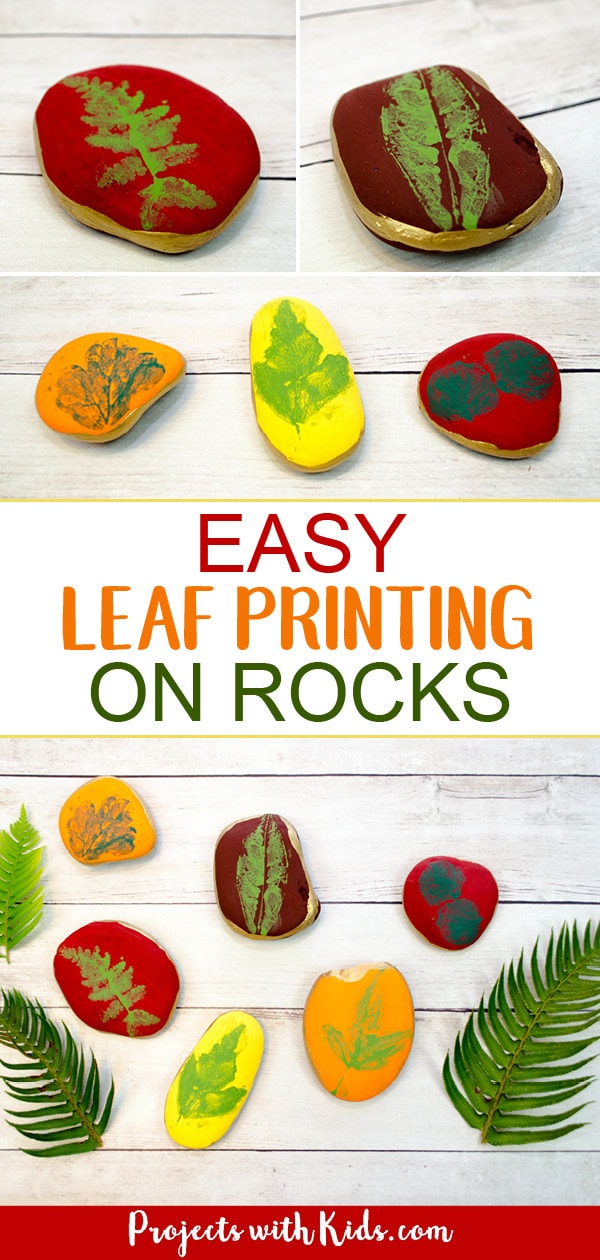
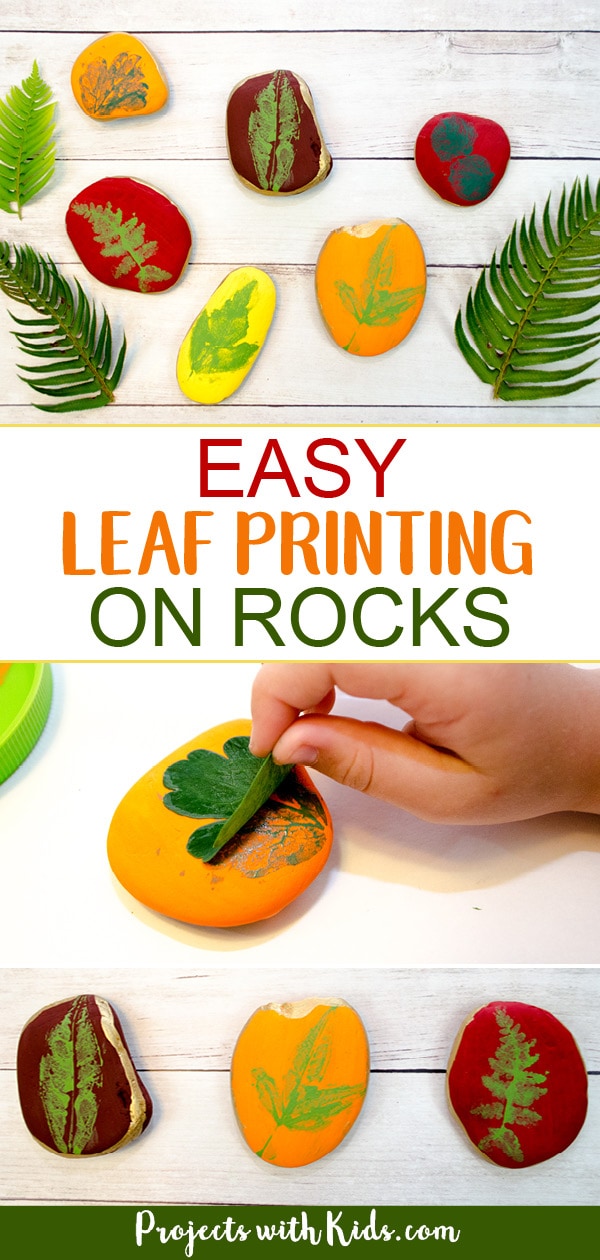
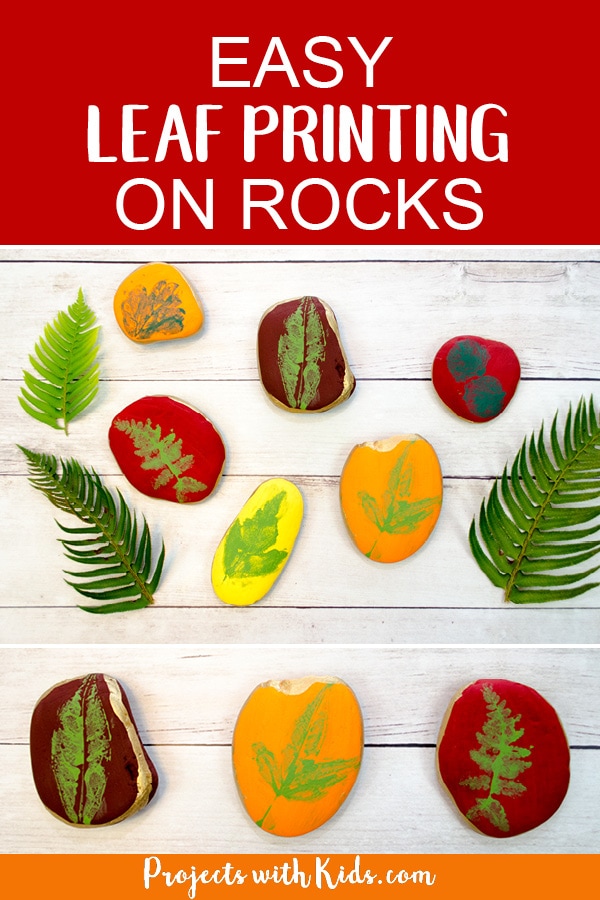
This leaf printing on rocks art project is such a fun and easy fall craft that kids will love. We used beautiful fall colors to paint our rocks and edged them in gold for an extra special touch.
You could use these leaf printed rocks as part of your fall decor, they would look amazing in a bowl or dish in the center of a table or you could even use them as place settings for your holiday table for Thanksgiving. My daughter has a couple of her favorites on display in her room.
If you are looking for more rock painting ideas check out my collection of creative rock painting for kids!
Take a look at my collection of painting ideas for kids for more fun and creative art projects to try!
If you are looking for more fall art projects take a look at my collection of creative fall painting ideas for kids! There are ideas for kids of all ages that use different types of art materials and techniques.
Make your own leaf printing on rocks
This post contains affiliate links, which come at no cost to you. If you would like more information please review my privacy & disclosure policy.
Supplies
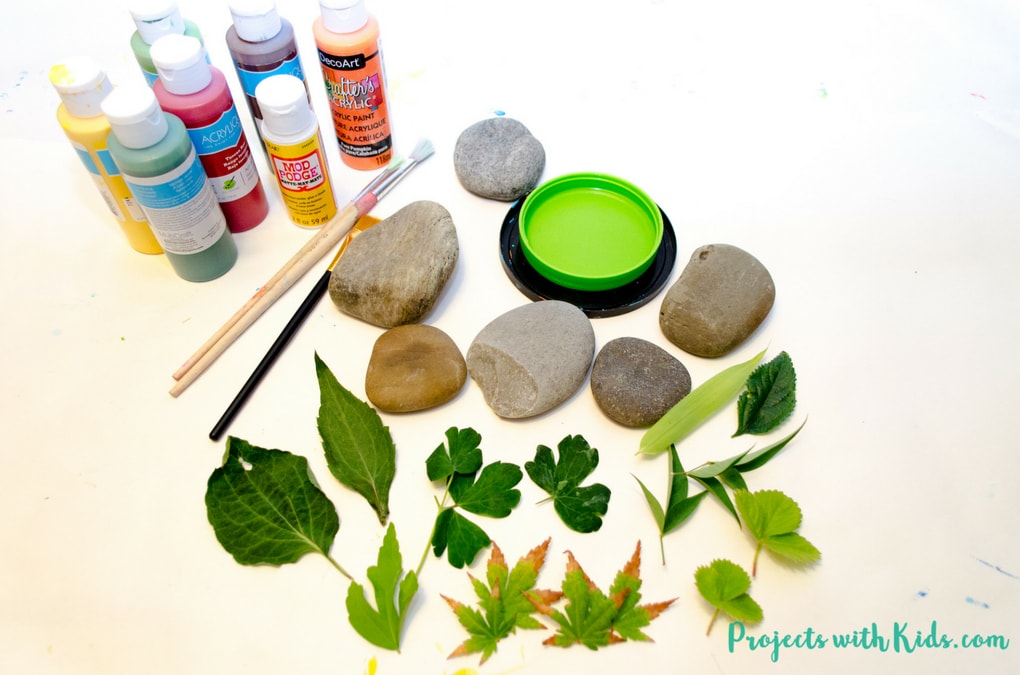
- Rocks, make sure your rocks are large enough for your leaves
- Leaves, different sizes, and shapes
- Paintbrushes
- Acrylic paint in fall colors, we used orange, yellow, red & 2 shades of green
- Gold paint for edging
- Mod Podge
Instructions
Related: Autumn Tree Painting with Cotton Balls
1. First, you need to collect some rocks and leaves. This could be a fun nature walk! My daughter and I went outside to look for leaves and river rocks. We tried to find larger rocks and leaves with interesting shapes that were on the smaller side.
You could also print a part of the leaf if all you have are bigger leaves. That would still look pretty cool!
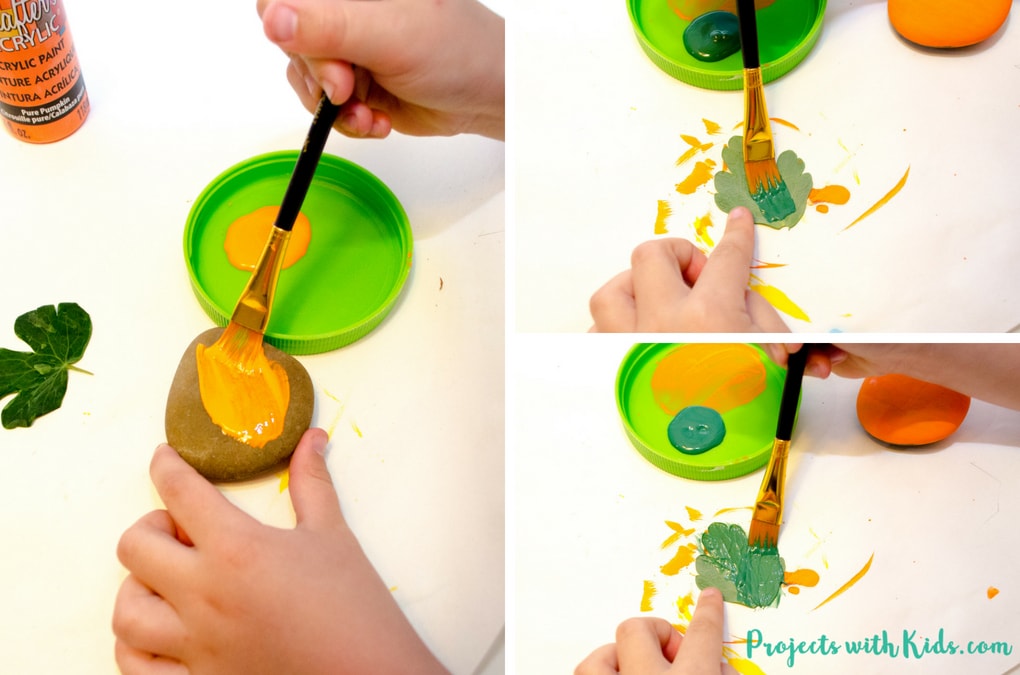
2. Make sure your rocks are clean and dry before painting. We choose to paint our rocks yellow, orange, red, and brown for fall, but you really could paint them any color you like. Depending on the paint that you use and the color you might need to do more than one coat on your rocks.
Related: Cookie Cutter Process Art Made into Fall Placemats
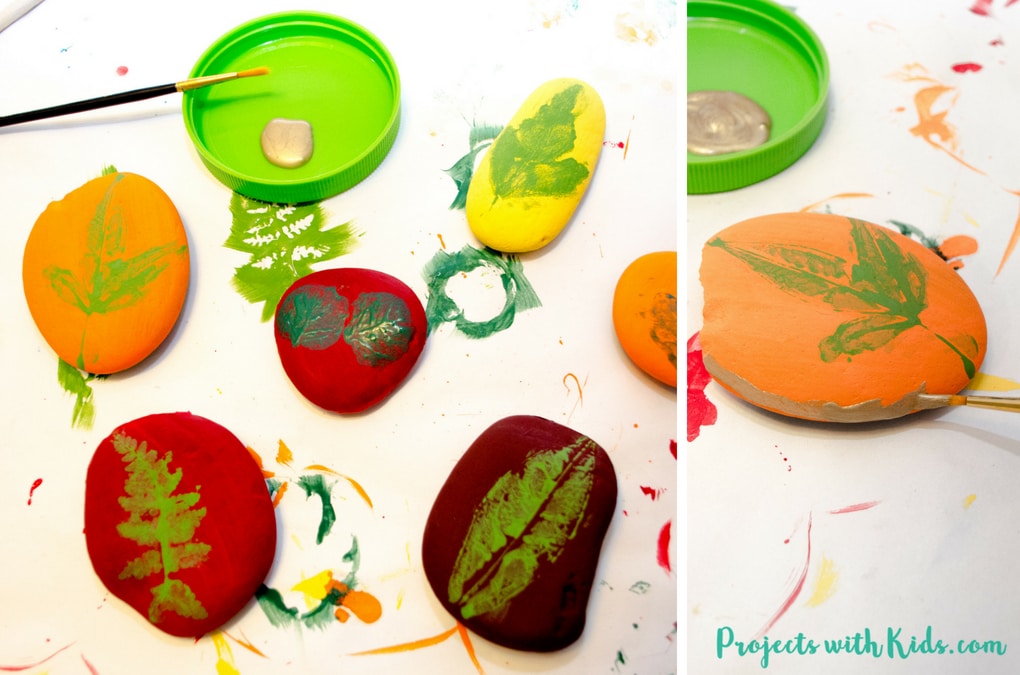
3. Once your rocks are dry, it’s time for the leaf printing! I found that painting the leaves on the back, helped create more detail when printed. Paint your leaves with a paintbrush, but be careful not to put the paint on too thick or it will not make a clear print.
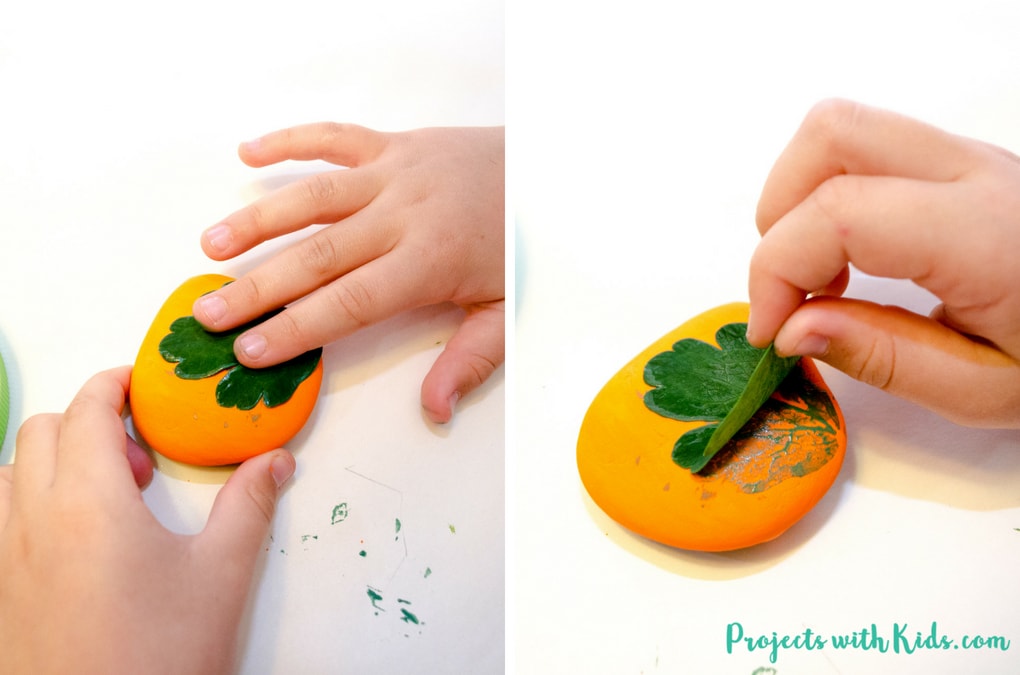
4. Take your painted leaf, press it on your painted rock and gently lift off to reveal your beautiful print! Continue printing with your leaves on the rest of your rocks.
Related: Pinecone Place Card Holders for Your Holiday Table
5. Let everything dry and edge your rocks in gold paint with a small paintbrush. Don’t worry about the lines being too straight, that just adds to the design!
6. Once the gold paint is dry, seal your rocks with Mod Podge (I like to use a matte finish).
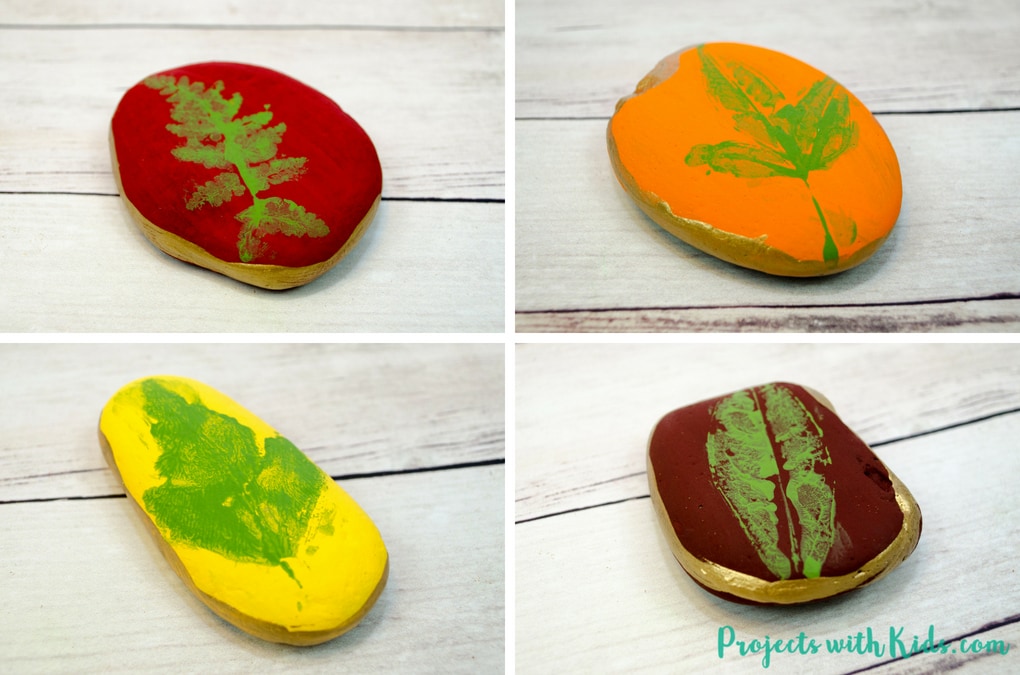
This leaf printing project turned out beautifully! I love how the leaves look on our painted rocks and am looking forward to adding them to our fall decor.
More fall projects kids will love
Easy Paper Quilling Apple Craft
Make Unique Fall Suncatchers Using Seeds
Fall Leaf Painting with Watercolors & Glitter
Autumn Sunflower Craft with Oil Pastels
Follow me on Pinterest for more great project ideas!
Pin this project for later




Sharlene Habermeyer
This looks like such fun! What a great idea to foster creativity and engaging play–as well as staying in touch with nature–love it! Thank you–going to try this with the kiddies this week!